Glass cabochons, with their captivating dome-like shape and brilliant shine, are treasured by jewelry makers and artisans alike. Their mesmerizing allure stems from the interplay of light and color within the glass, creating a depth and brilliance that's hard to replicate. Whether you're a seasoned crafter looking to refine your technique or a curious beginner eager to explore a new art form, the possibilities for creativity with glass cabochons are truly endless. From elegant earrings to striking pendants, these versatile gems can transform ordinary designs into extraordinary pieces.
This guide will walk you through the process of creating your own stunning glass cabochons, from selecting the right materials to achieving a flawless, professional finish. Prepare to be amazed as we delve into a detailed, step-by-step process, empowering you to craft these captivating gems with your own hands. Let's begin!
Preparation and Safety Guidelines
- Glass stringers (light turquoise, orange, green)
- Cabochon mandrel with bead release
- Graphite paddle
- Graphite tweezers
- Marver
- Kiln
- Glass of water
- Always wear safety glasses to protect your eyes from flying debris and glass shards.
- Use appropriate ventilation when working with potentially harmful materials like certain glass powders or adhesives. Consider a well-ventilated area or respirator.
- Handle sharp tools and hot materials with extreme care. Allow cabochons to cool completely before handling after firing or curing.
Step-by-Step Instructions
Preparation
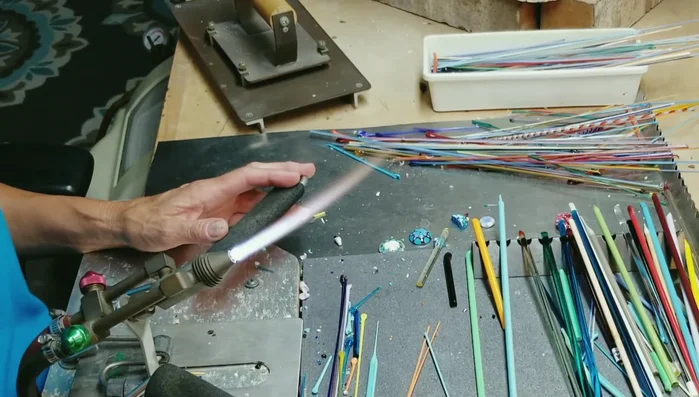
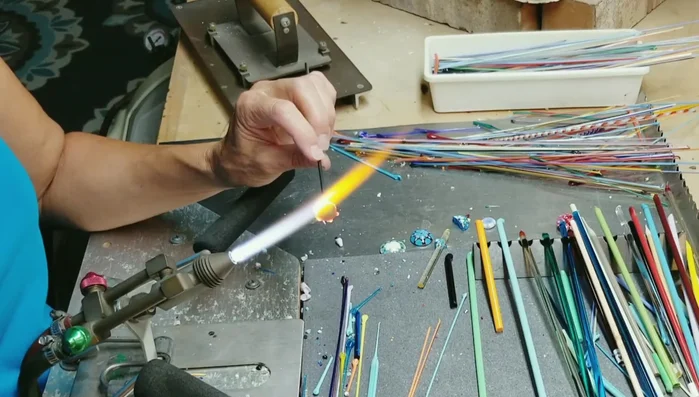
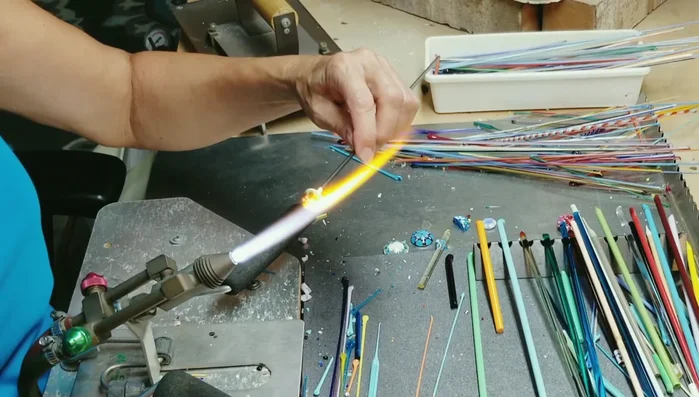
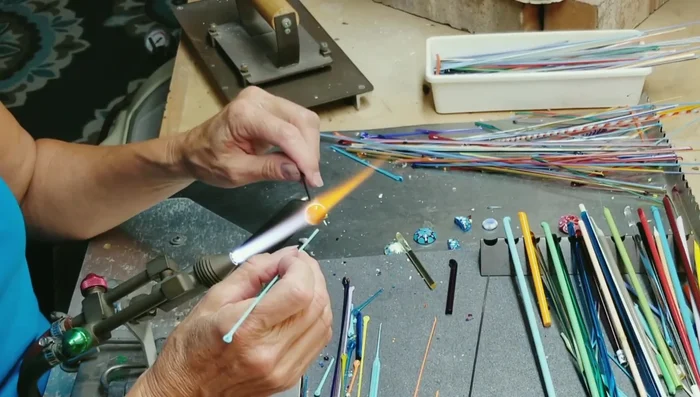
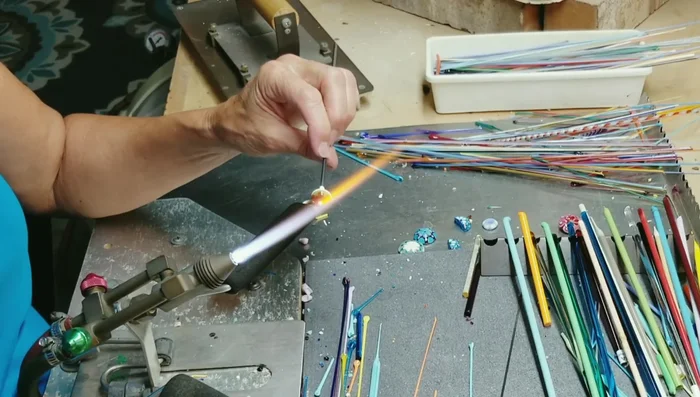
- Prepare stringers and mandrel. Heat the mandrel until red-hot.

Preparation Create the Base
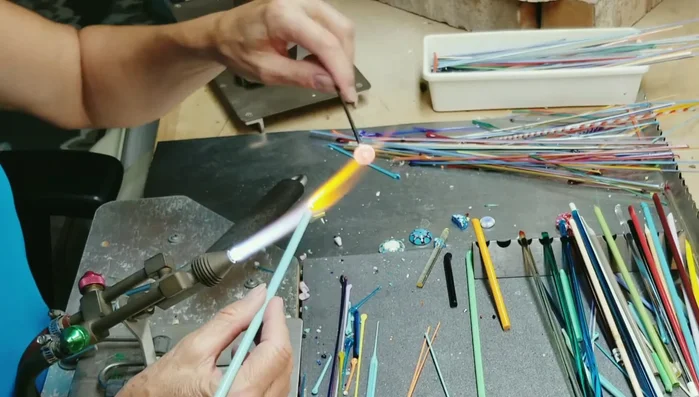
- Gather light turquoise glass onto the rod and place it in the center of the hot mandrel. Pull it off the heat and reshape to create a round base.
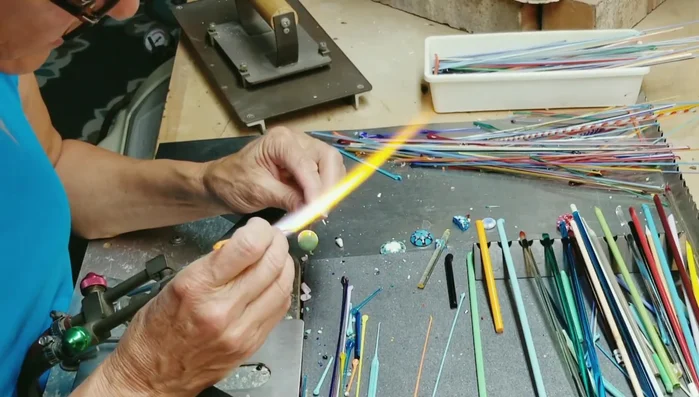
- Using a graphite paddle, spread the turquoise glass to the outside edge of the mandrel, ensuring it's evenly distributed.
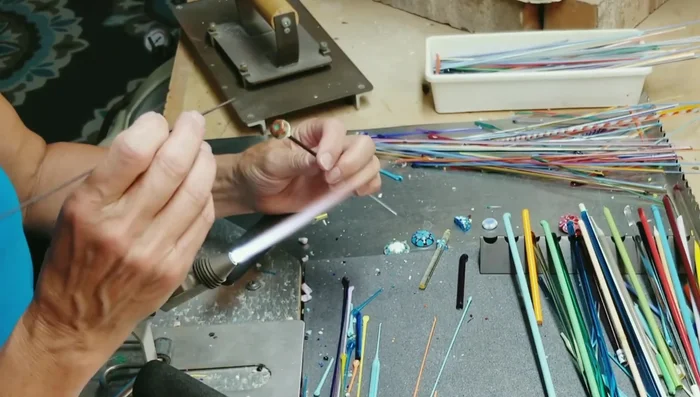
Create the Base First Layer of Dots (Green)
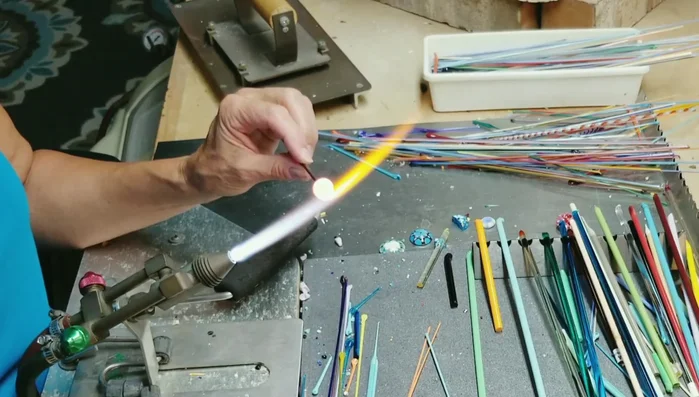
- Apply green dots around the outside edge, spacing and sizing them evenly as possible.
- Heat the green dots, pulling them slightly toward the center to blend them into the base.
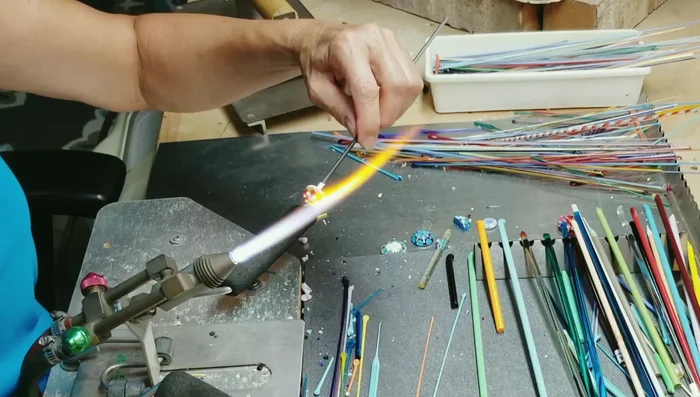
First Layer of Dots (Green) Second Layer of Dots (Orange)
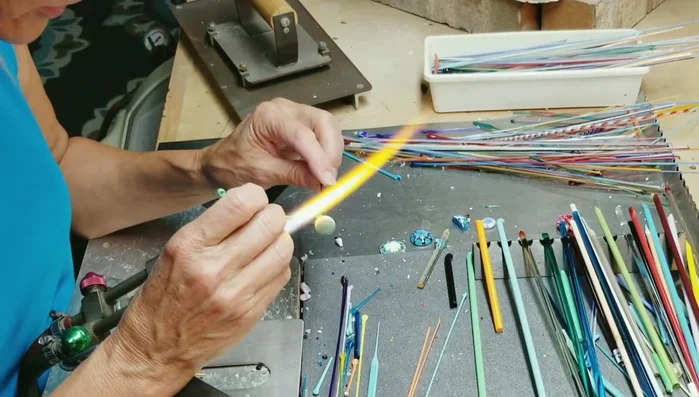
- Add orange dots over the green dots, applying the same heating and blending technique.
- Heat and blend all the dots, ensuring even distribution and preventing cracking.
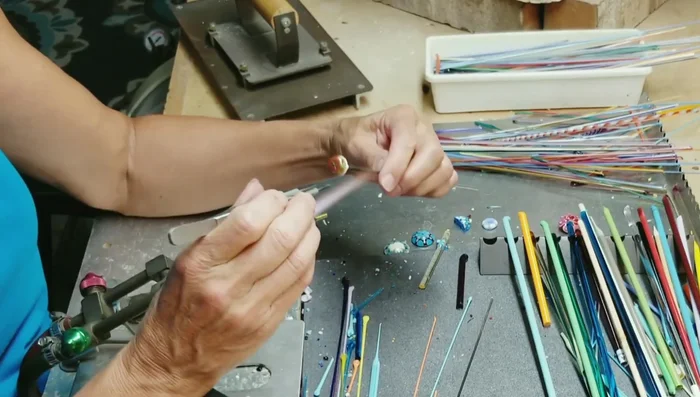
Second Layer of Dots (Orange) Third Layer of Dots (Green)
- Add another layer of green dots between the orange dots.
- Heat and blend all the dots, ensuring even distribution and preventing cracking.
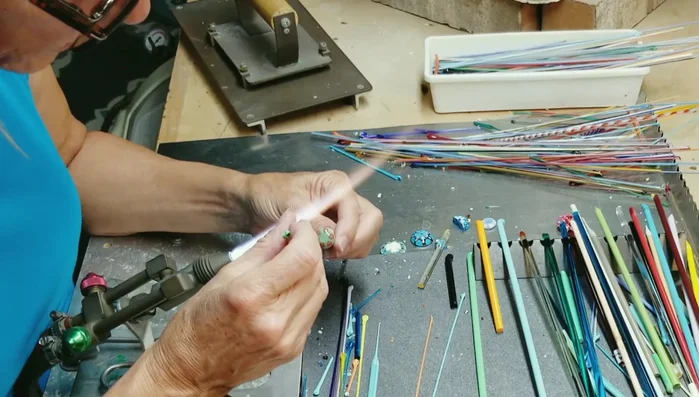
Third Layer of Dots (Green) Dot Refinement
- Adjust any uneven dots by adding or removing glass using stringers.
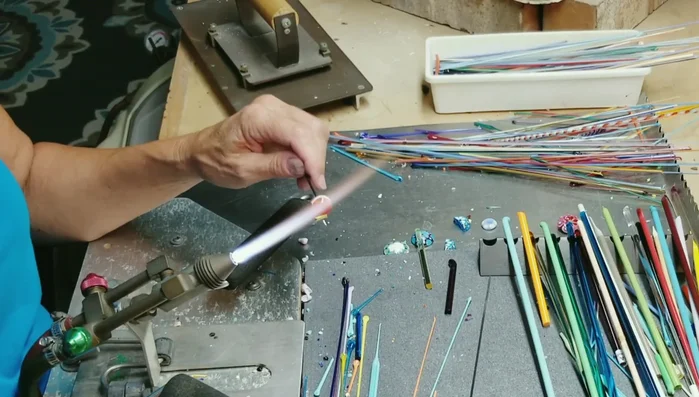
Dot Refinement Create Flower Design
- Using a pointed mandrel or tool, gently pull the outermost dots toward the center to create a flower-like design.
- Using graphite tweezers, shape and refine the flower design, removing excess glass.
Create Flower Design Surface Smoothing
- Smooth the top surface using the marver.
Surface Smoothing Center Detail
- Add a final touch of turquoise in the center.
Center Detail Annealing
- Anneal the cabochon in a kiln at 950 degrees for one hour, then cool slowly.
Annealing
Read more: DIY Tiered Tassel Earrings: A Quick & Easy Jewelry Tutorial
Tips
- Keep the glass hot throughout the process to prevent cracking.
- Maintain a consistent rhythm while adding dots for even spacing and glass amount.
- Continuously turn the mandrel to utilize centrifugal force for even shaping.
- Use a glass of water nearby to quickly cool the mandrel if necessary.