Garter stitch, with its simple yet satisfying texture, is the perfect knitting pattern for beginners. This incredibly versatile stitch creates a wonderfully reversible fabric that's surprisingly robust, making it ideal for a wide array of projects. Imagine the cozy comfort of a chunky garter stitch blanket, the timeless appeal of a subtly textured sweater, or even the durable structure of a pair of sturdy jeans – all achievable with this foundational knitting technique. The beauty of garter stitch lies in its simplicity; its repetitive nature allows knitters to focus on mastering the basic skills without getting overwhelmed by complex stitch patterns.
This approachable guide will walk you through the fundamentals of garter stitch, from casting on to binding off. We’ll demystify the process with clear instructions and helpful images, guiding you step-by-step to create your own stunning garter stitch creations, including jeans, sweaters, and blankets. Let's get started and unlock the endless possibilities of this classic stitch!
Preparation and Safety Guidelines
- Yarn
- Needles
- Always use sharp scissors to cut yarn to prevent fraying and ensure clean edges on your project. Dull scissors can snag the yarn and cause unevenness.
- Before starting your project, check your gauge (stitches and rows per inch) to ensure your finished item will be the correct size. Knitting a gauge swatch is a crucial step!
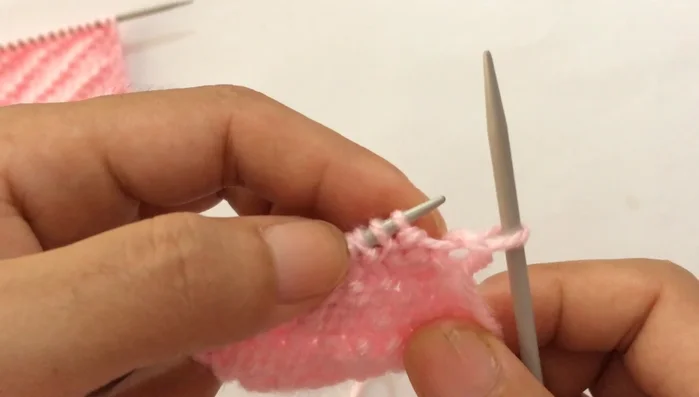
- Pay attention to your tension while knitting. Consistent tension is key to achieving an even fabric and avoiding holes or puckering in your garter stitch work.
Step-by-Step Instructions
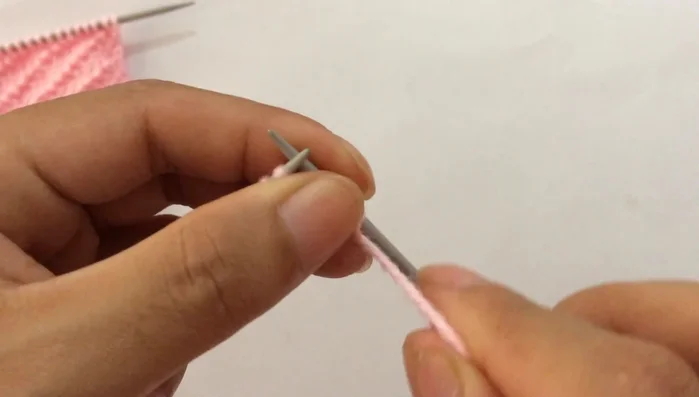
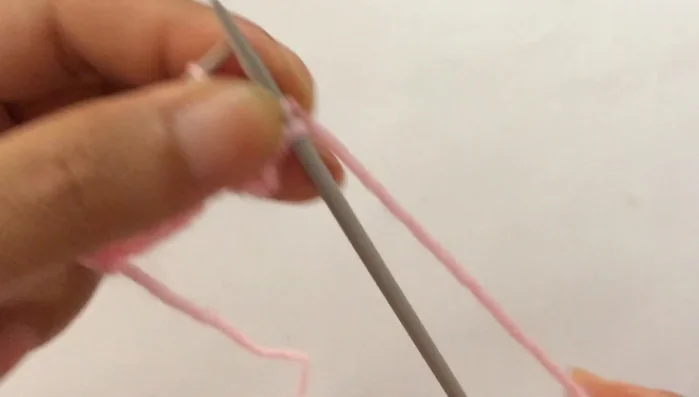
Casting On
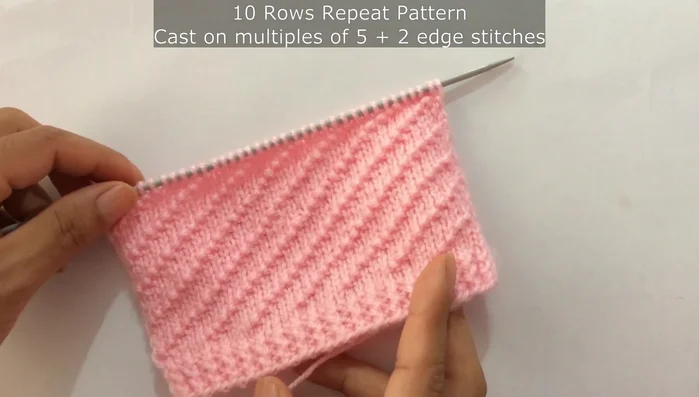
- Cast on multiples of five stitches plus two extra stitches (e.g., 12 stitches = 5 + 5 + 2).

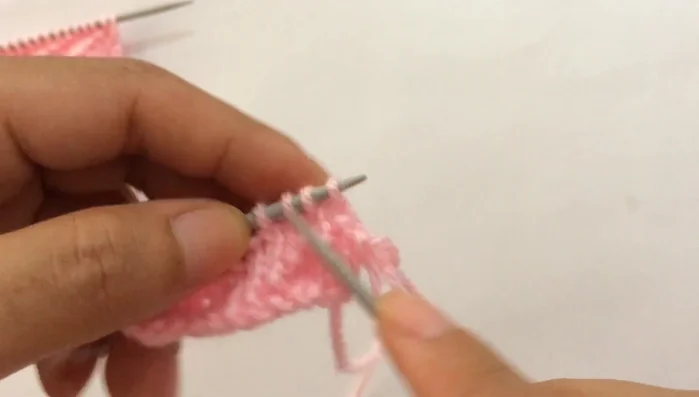
Casting On Establishing the Pattern (Rows 1-10)
- knit four, purl one (until you reach the last stitch). Knit the last edge stitch.
- purl one, knit one, purl three (until you reach the last stitch). Purl the last edge stitch.
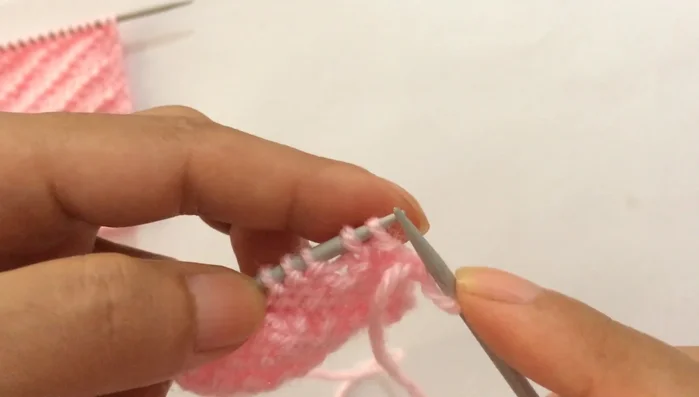
- knit two, purl one, knit two (until you reach the last stitch). Knit the last edge stitch.
- purl three, knit one, purl one (until you reach the last stitch). Purl the last edge stitch.
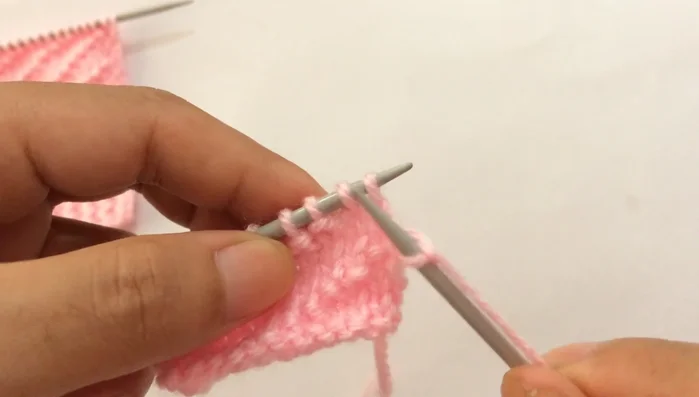
Establishing the Pattern (Rows 1-10) - purl one, knit four (until you reach the last stitch). Knit the last edge stitch.
- knit one, purl four (until you reach the last stitch). Purl the last edge stitch.
- knit three, purl one, knit one (until you reach the last stitch). Knit the last edge stitch.
- purl two, knit one, purl two (until you reach the last stitch). Purl the last edge stitch.
Establishing the Pattern (Rows 1-10) - knit one, purl one, knit three (until you reach the last stitch). Knit the last edge stitch.
- purl four, knit one (until you reach the last stitch). Knit the last edge stitch.
Establishing the Pattern (Rows 1-10) Repeating the Pattern
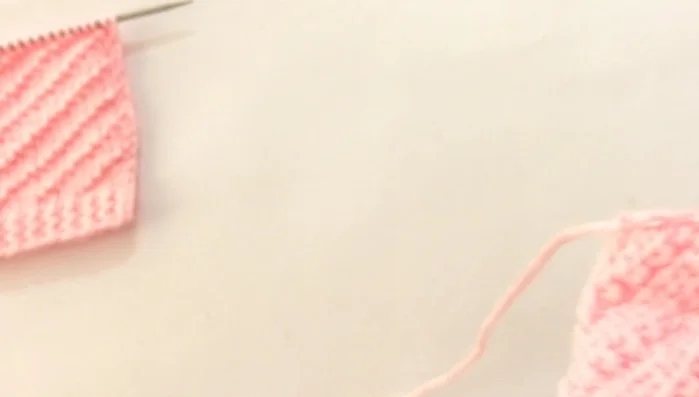
- Repeat rows 1-10 until desired length is reached.
Repeating the Pattern


Read more: Knitting a Reversible Basketweave Blanket: A Customizable Guide
Tips
- This pattern is suitable for various projects like jeans, sweaters, and blankets.
- A border can be added for a finished look (link in description).