Are you looking for a quick and easy knitting project to boost your confidence? This beginner-friendly garter stitch bow headband tutorial is perfect for those just starting their knitting journey, or anyone seeking a satisfyingly simple craft to relax with. The garter stitch, known for its simple knit-every-row pattern, is incredibly forgiving, making this project ideal for practicing your basic knitting skills. No complicated increases or decreases are needed, allowing you to focus on mastering the fundamental techniques and enjoying the process of creating something beautiful.
This charming headband is a fantastic way to add a touch of style to any outfit, and the added bow detail elevates it from basic to adorable. We'll guide you through each step, from casting on to binding off, ensuring you achieve a perfectly crafted headband you'll be proud to wear. Ready to get started on your knitting adventure? Let's dive into the step-by-step instructions below!
Preparation and Safety Guidelines
- Yarn (double knitting or 8 ply, smooth acrylic or wool recommended)
- 4mm needles (or size to meet gauge)
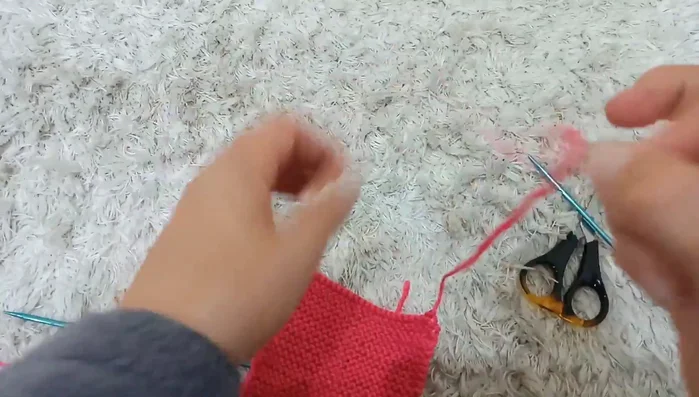
- Scissors
- Tapestry needle
- Tape measure
- Use blunt-ended needles to avoid accidental needle pokes, especially for beginners.
- Always check your tension regularly to ensure an even fabric and avoid distortions in the headband.
- If using metal needles, be mindful of the temperature – prolonged contact with skin might cause discomfort.
Step-by-Step Instructions
Measure and Calculate Headband Dimensions
- Measure the wearer's head circumference where the headband will sit. Aim for a band about 3 inches shorter than this measurement.
Knit the Bow
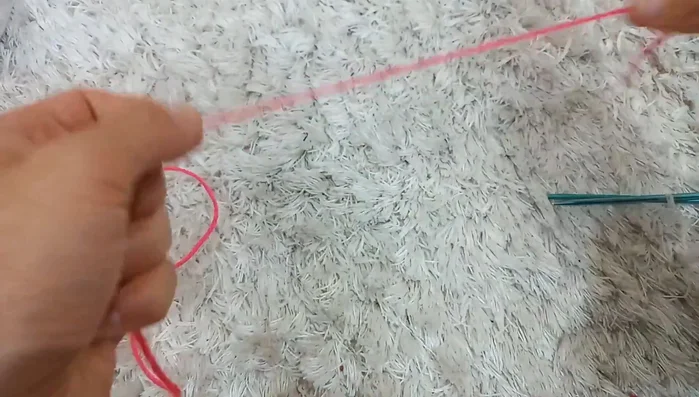
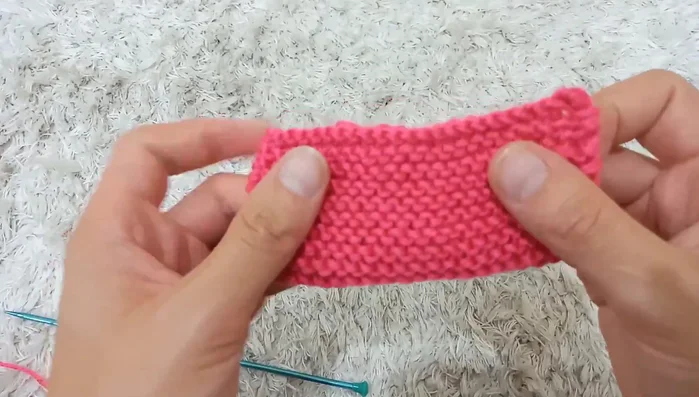
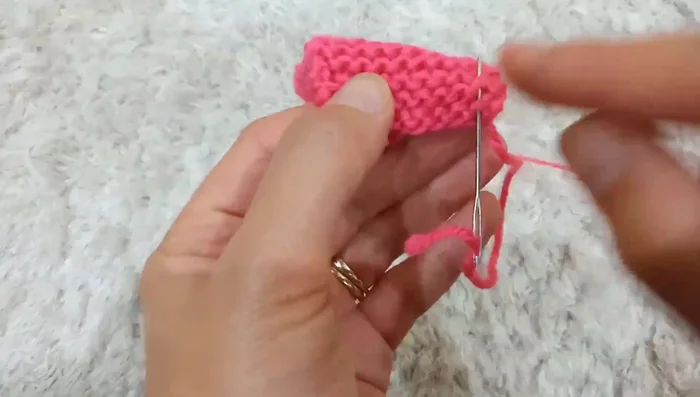
- Use the backwards loop cast-on to cast on 22 stitches. Knit in garter stitch (knit every row) until a square is formed (check by folding). Cast off.
- Weave in the ends of the bow.

Knit the Bow Shape and Secure the Bow
- Fold the square into five sections to create the bow shape.
- Wrap yarn around the center of the folded bow about 20 times, secure with a knot, and weave in the ends.
Shape and Secure the Bow Knit the Headband
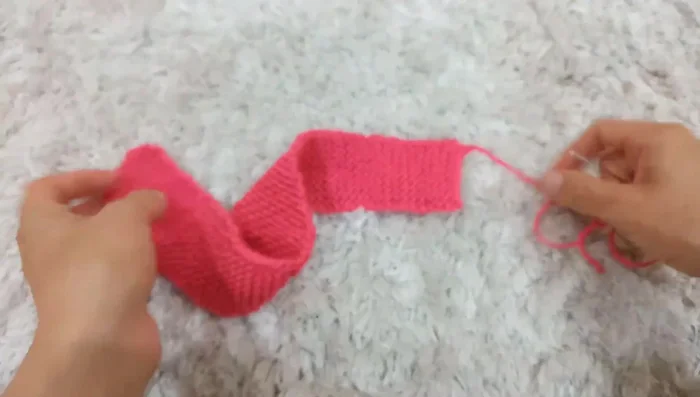
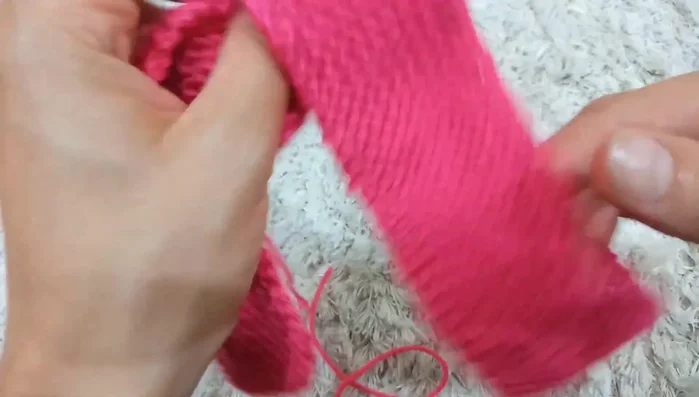
- Cast on 10 stitches and knit in garter stitch until the desired length (13 inches or 3 inches shorter than the head measurement) is reached. Cast off.
- Weave in the ends of the headband.
Knit the Headband Assemble the Headband
- Sew the headband together using a whip stitch.
- Attach the bow to the headband using a whip stitch, weaving in the ends.
Assemble the Headband

Read more: Knitting a Reversible Basketweave Blanket: A Customizable Guide
Tips
- Don't use cellulose fibers like cotton as they don't stretch well. Acrylic or wool are better choices.
- Gauge (stitches and rows per inch) is not crucial for this project.
- When measuring the headband while knitting, don't pull the knitting tightly.
- If making for a baby, do not let the baby sleep in the headband to prevent suffocation.