Tired of wobbly desks and cluttered gaming setups hindering your performance? A dedicated gaming table offers the stability and organization you need to dominate the digital battlefield. This isn't just any table; we're building a robust, customizable masterpiece featuring integrated T-track accessory rails, providing unparalleled flexibility for mounting monitors, peripherals, and even drink holders – keeping everything within easy reach and perfectly positioned. Forget flimsy furniture that threatens to collapse under the weight of your equipment.
This comprehensive guide will walk you through each step of constructing a sturdy gaming table equipped with the versatile T-track system. From selecting the right materials to the final assembly, we'll equip you with the knowledge and confidence to build a gaming station that’s as impressive as your skills. Let's dive into the step-by-step process and build the ultimate gaming table!
Preparation and Safety Guidelines
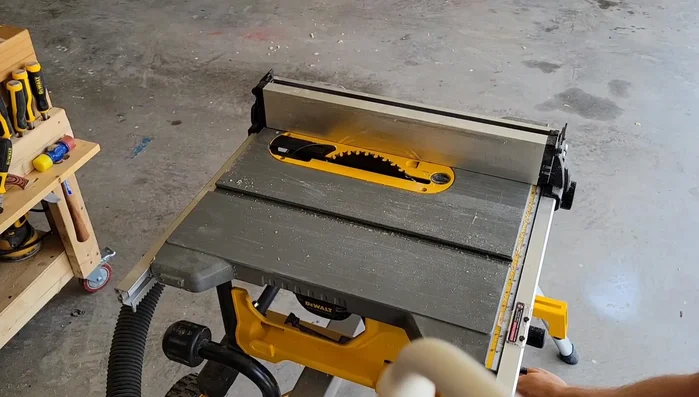
- Table saw
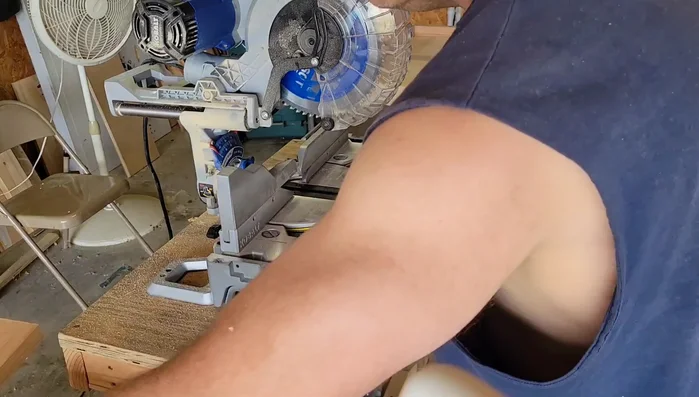
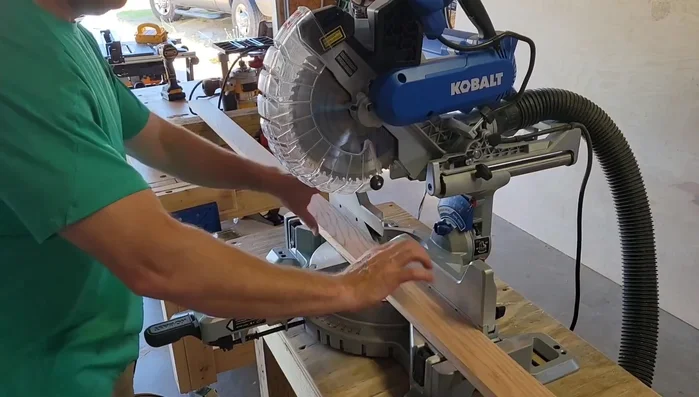
- Miter saw
- Router
- Clamps
- Wood glue
- Screws
- Wood filler
- Sandpaper
- Stain
- Baltic birch plywood
- Oak wood
- Drill
- Measuring tape
- Pencil
- Safety glasses
- Always wear safety glasses when using power tools like saws, drills, and sanders. Wood dust and flying debris can cause serious eye injuries.
- Ensure proper ventilation when working with wood, especially when using finishes. Wood dust and fumes can be harmful if inhaled.
- Use clamps to secure your workpieces before cutting, drilling, or assembling. This prevents shifting and potential injury from kickback or unstable materials.
Step-by-Step Instructions
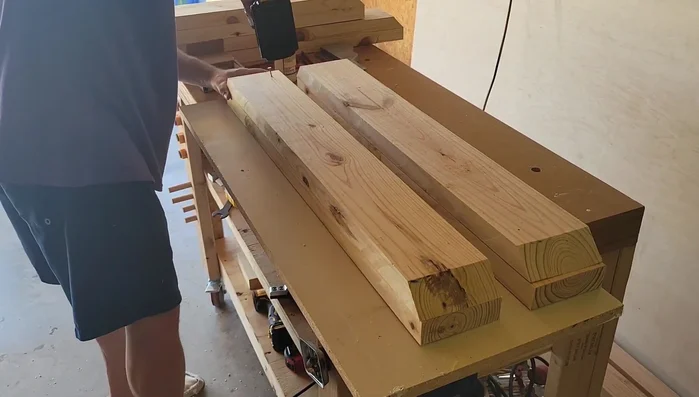
Prepare the Table Base
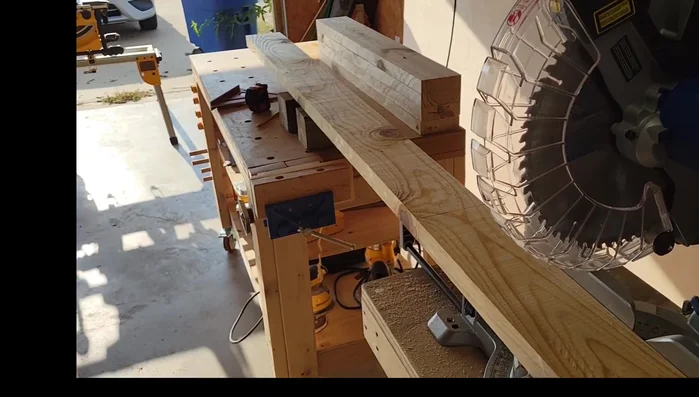
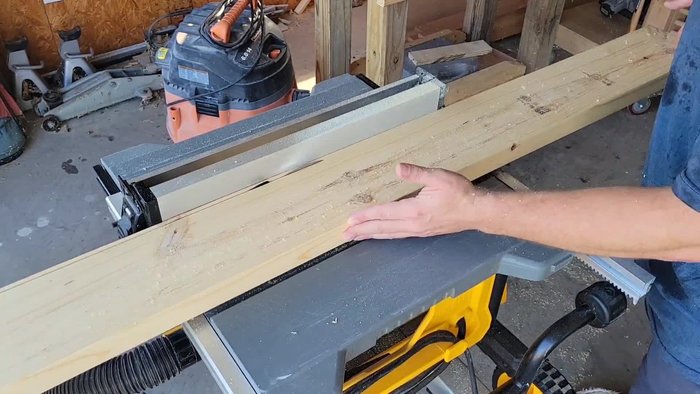
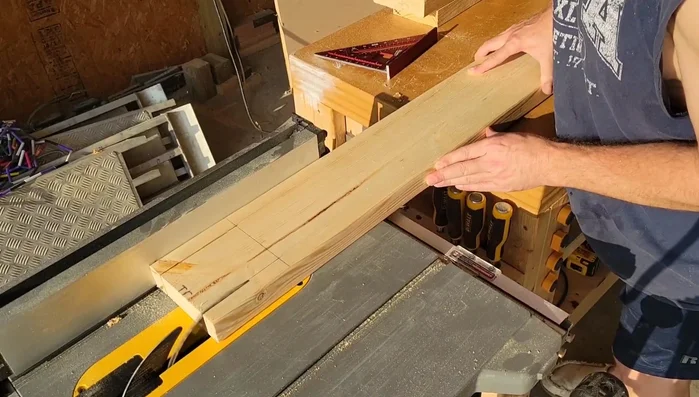
- Square up 2x6 lumber for the table base.
- Cut out the feet and upper supporting parts for the trestle table base.
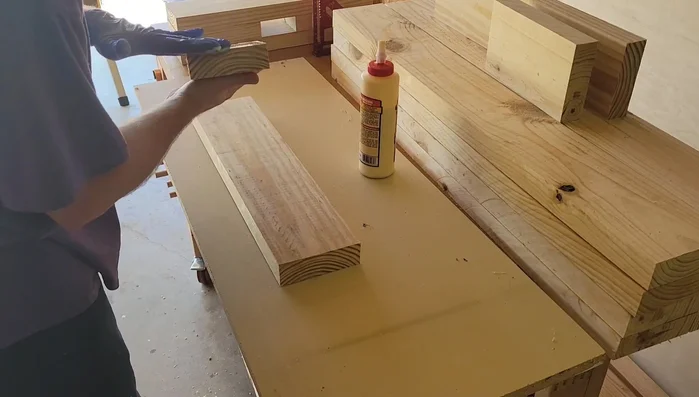
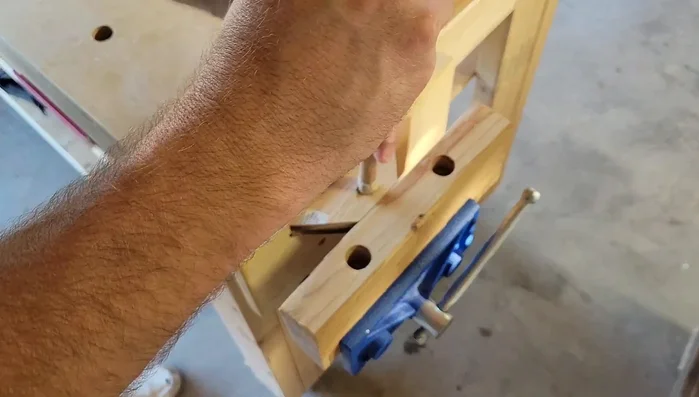
- Glue up the legs using a mortise technique.
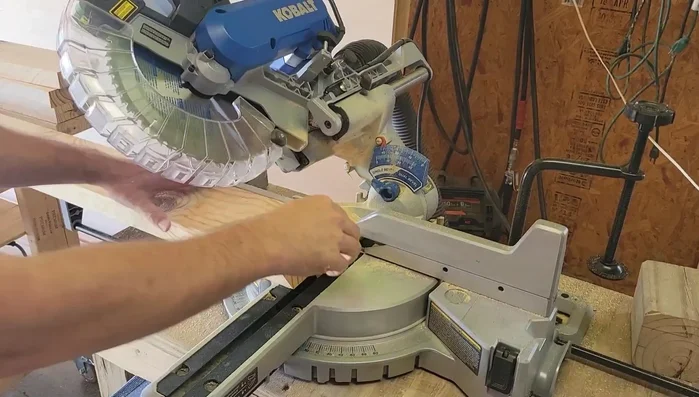
- Cut decorative angles for the feet and table top supports.

Prepare the Table Base - Glue and screw together the table base components, filling any gaps with wood filler.
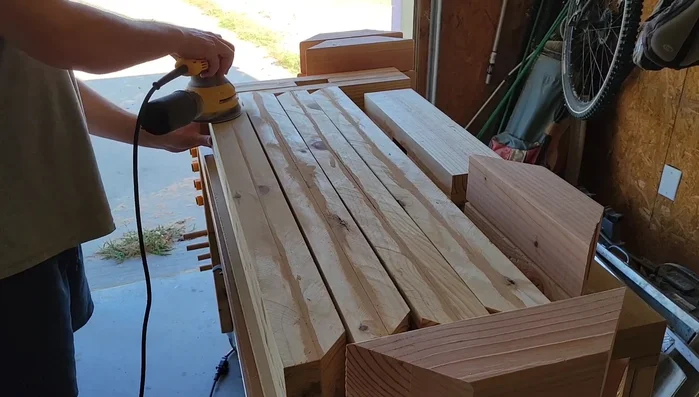
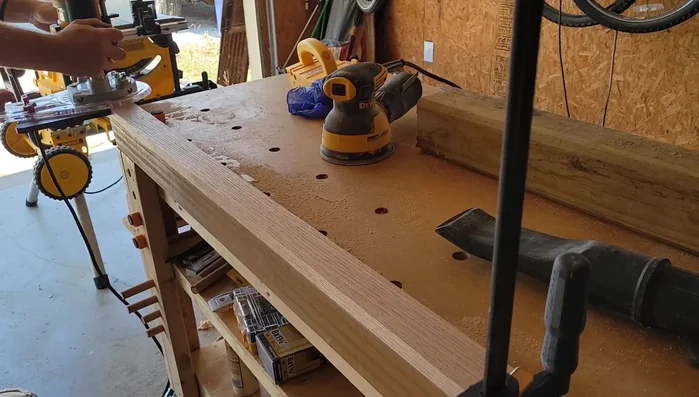
- Sand down the wood filler.
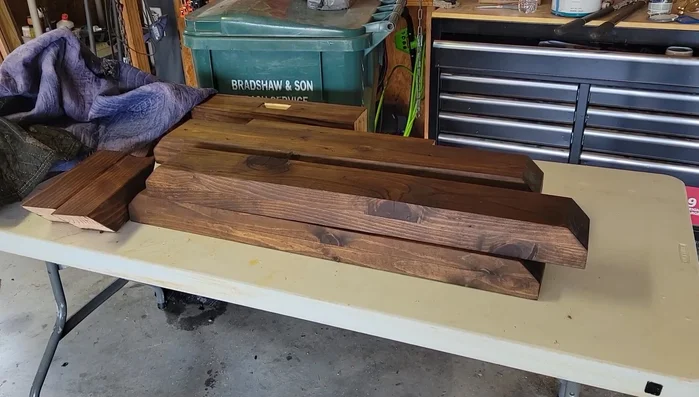
- Stain the table base components.
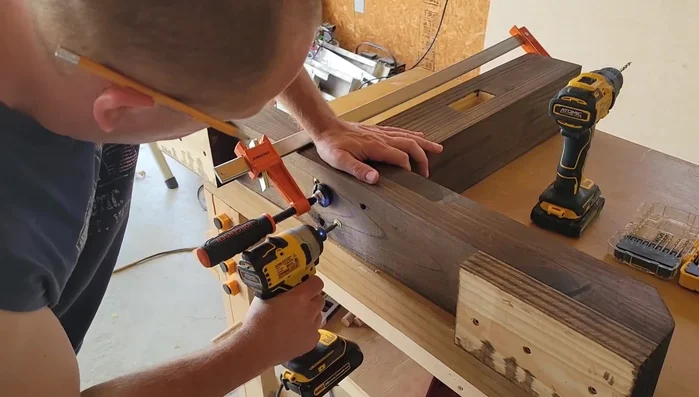
Prepare the Table Base Assemble the Table Base
- Attach the legs to the base using five-inch screws and glue.
Assemble the Table Base Prepare the Tabletop
- Cut the 2x6 support piece for between the trestle base sections.
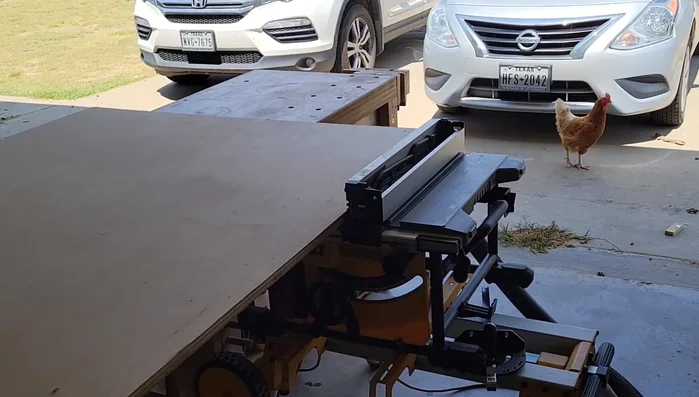
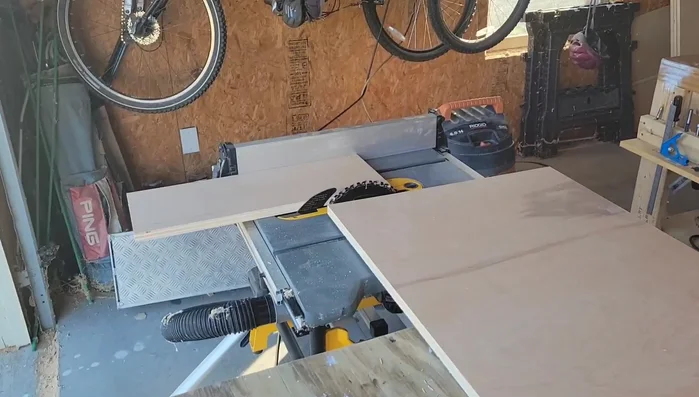
- Cut the Baltic birch tabletop to size.
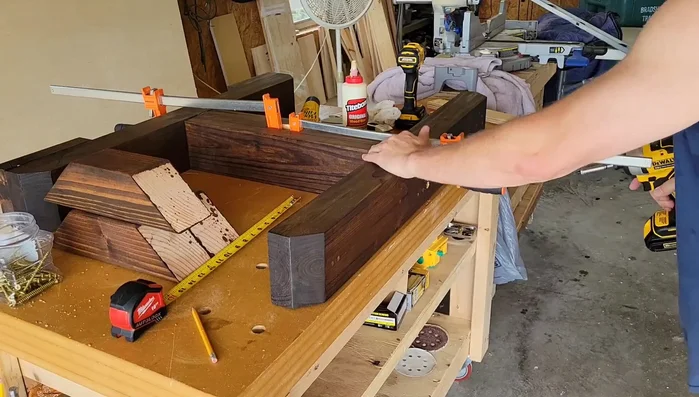
Prepare the Tabletop Construct the Gaming Well
- Cut and attach the table's inner framing.
- Glue oak to the inside of the gaming well.
Construct the Gaming Well Install the T-Track System
- Cut and rout the outer rails to create the T-track accessory rail using a keyhole router bit.
- Widen the T-track openings for accessories.
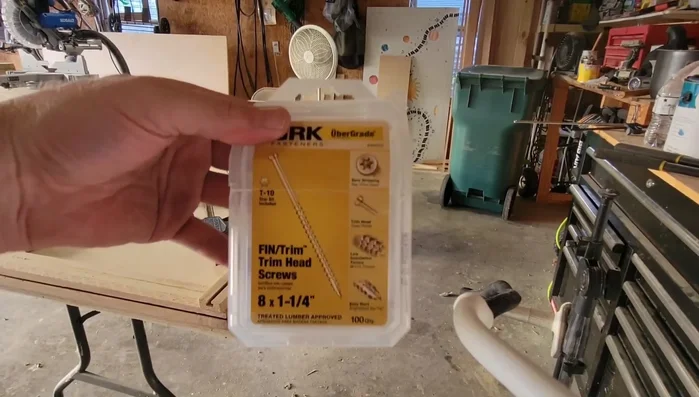
- Sand the T-track and attach it to the table using trim screws only (no glue).
- Cut and attach the table apron below the T-track.
Install the T-Track System Add Finishing Touches
- Create and attach the top rail/armrests, routing in card holders.
- Cut and create a mechanism for lifting and removing the table leaves.
- Glue armrests to the table.
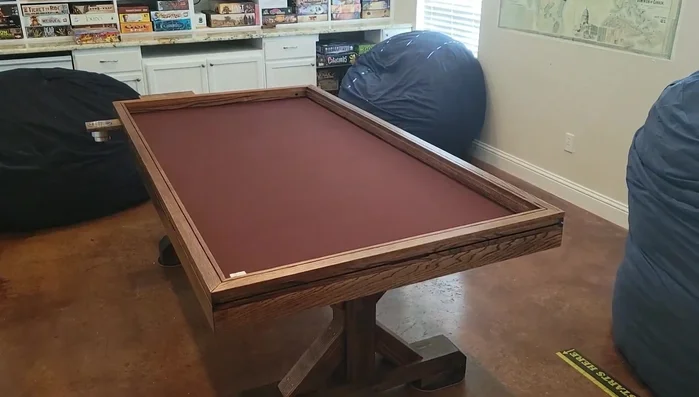
Add Finishing Touches Attach Tabletop and Leaves
- Attach the tabletop to the base using three-inch screws and glue.
- Cut and attach the removable tabletop leaves that go over the gaming well. Add dowels to hold the leaves together.
Attach Tabletop and Leaves Attach Table Top
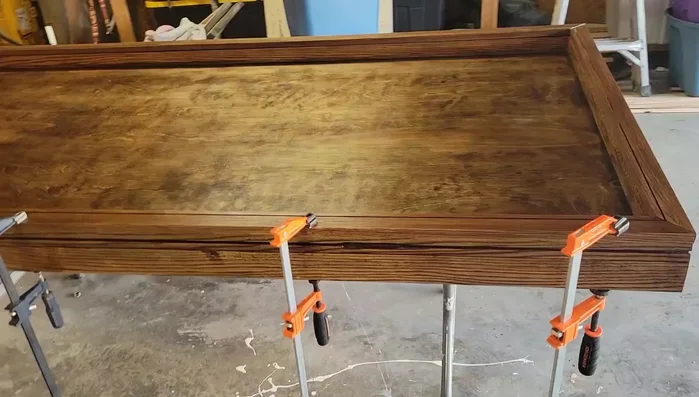
- Attach the tabletop using five-inch screws, glue, and clamps.
Attach Table Top


Read more: Build a Stunning Black Walnut Coaster Set: The Ultimate Furniture Protector
Tips
- Consider using a mortise technique for stronger leg joints.
- Pre-drill holes for screws to prevent wood splitting.
- Using a 10-inch blade miter saw may not be suitable for cutting 45° angles on 4x4 posts.
- Have assistance when cutting large pieces of plywood.
- Consider making the gaming well a little bit deeper.