Floating shelves, with their minimalist aesthetic and seemingly effortless design, add a touch of modern elegance to any room. However, achieving that clean, floating appearance often involves more than meets the eye. While various methods exist, building a robust and visually appealing floating frame doesn't require complex tools or intricate woodworking skills. This guide presents a surprisingly efficient glue-and-nail method, perfect for DIY enthusiasts of all levels. We’ll leverage the strength of wood glue combined with strategic nail placement to create a strong and stable support system, capable of holding even heavier items.
Forget cumbersome brackets and visible hardware; this method ensures a truly seamless integration with your wall. We will break down the process step-by-step, guiding you through each stage with clear instructions and helpful tips. Let's get started with the first step in building your own beautiful and functional floating frame.
Preparation and Safety Guidelines
- Table saw
- Miter saw
- Scientific square
- Glue
- 23-gauge pin nailer (optional, clamps are a good alternative)
- Strap clamp
- Biscuit joiner
- Wood finish (e.g., wash)
- Screws
- Always wear safety glasses to protect your eyes from flying debris and glue splashes.
- Use appropriate clamps to secure the frame during glue drying; inadequate clamping can lead to uneven gaps and weak joints.
- Ensure adequate ventilation when working with wood glue and finishes; some adhesives and finishes release fumes that can be harmful if inhaled.
Step-by-Step Instructions
Rough Cut
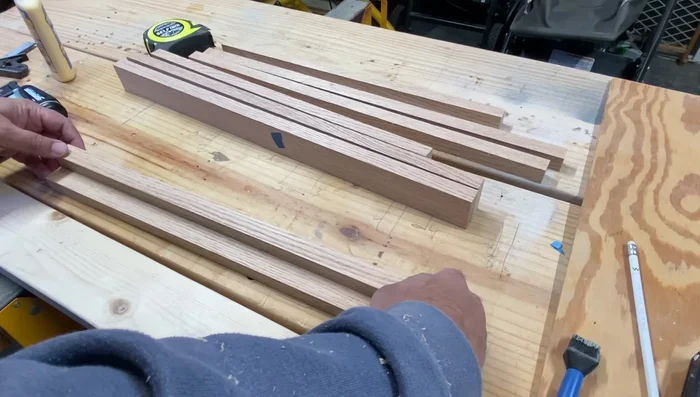
- Cut all pieces to rough dimensions.

Rough Cut Precise Cutting
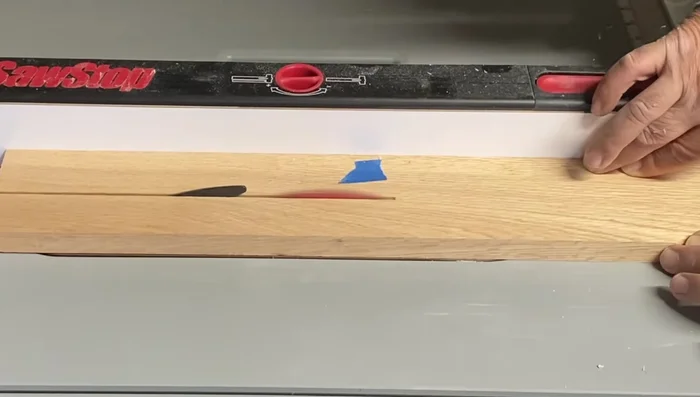
- Precisely cut pieces to the correct width using a table saw.
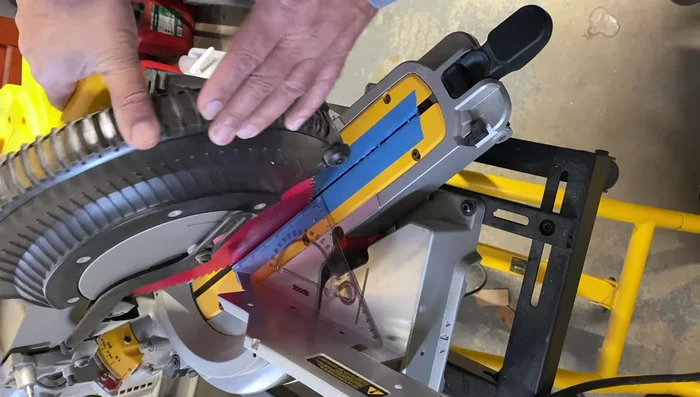
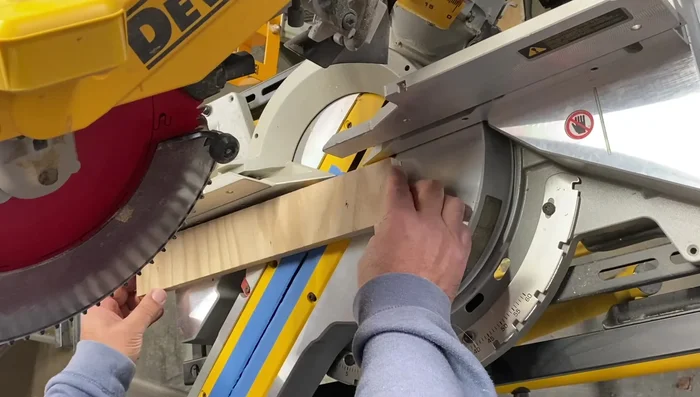
- Cut 45-degree miters on the frame pieces using a miter saw. Ensure the saw is perfectly at a 45-degree angle using a scientific square and a test cut.
Precise Cutting Prepare Mounting Plates
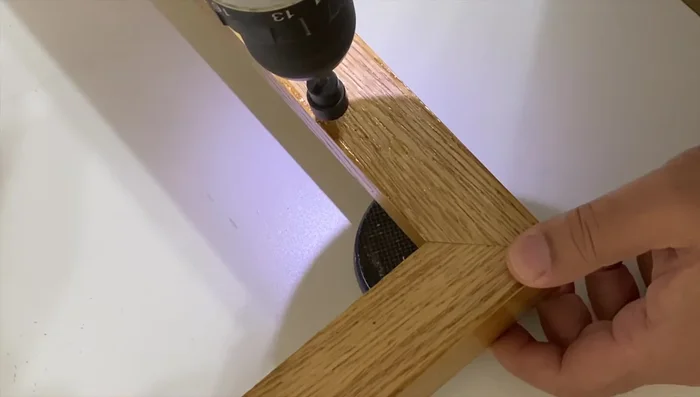
- Glue mounting plates onto the frame pieces.
- Pre-drill holes for mounting plates on the back of the frame.
Prepare Mounting Plates Assemble Frame
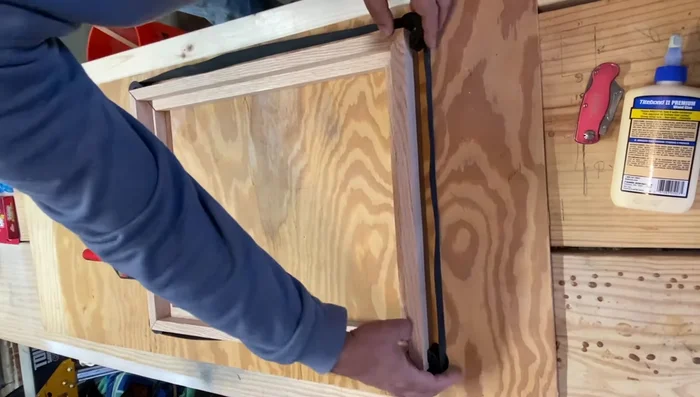
- Glue and (optionally) pin nail the mitered frame pieces together using a strap clamp.
- Cut slots for and add splines using a biscuit joiner to reinforce the corners (optional, but recommended).
Assemble Frame Finishing Touches
- Apply wood finish (optional).
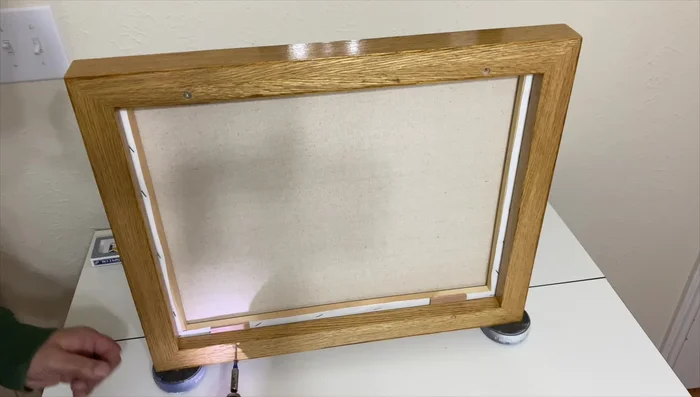
Finishing Touches Attach Artwork
- Attach the painting to the frame using the mounting plates and screws.
Attach Artwork


Read more: Build a Stunning Black Walnut Coaster Set: The Ultimate Furniture Protector
Tips
- Use clamps instead of a pin nailer for gluing the frame pieces together for better control and easier cleanup.
- Cut one side of the frame first, and then use that as a template for the opposite side to ensure equal lengths.
- Use playing cards to evenly space and hold the painting in place while attaching it from the back.