Crafting beautiful, handcrafted wooden trays can be a rewarding experience, but the process can often be time-consuming. This is especially true when tackling multiple trays at once. However, with a well-planned approach, batch production can significantly streamline the process, allowing for greater efficiency and a more consistent final product. Imagine creating eight stunning, identical trays in a fraction of the time it would take to make them individually. The key lies in optimizing each step, from material preparation to the final finishing touches.
This article will guide you through a proven, efficient method for making eight wooden trays simultaneously. We'll break down the process into manageable steps, focusing on techniques that minimize wasted time and materials. Get ready to discover how strategic planning and smart techniques can transform your woodworking experience, leading to a batch of beautiful, high-quality trays in a surprisingly short amount of time. Let's dive into the step-by-step process now!
Preparation and Safety Guidelines
- Band saw
- Planer
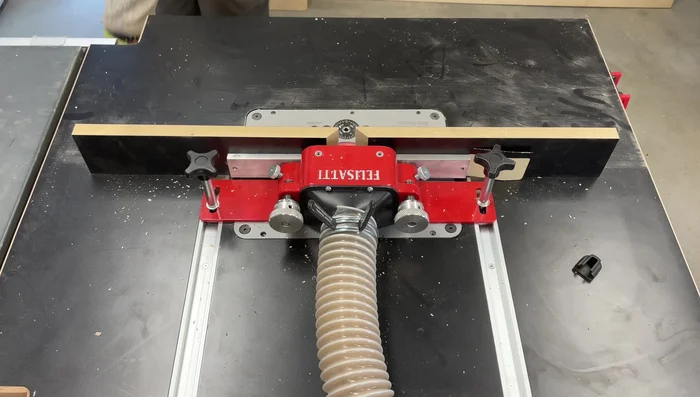
- Router table with template bit and featherboard
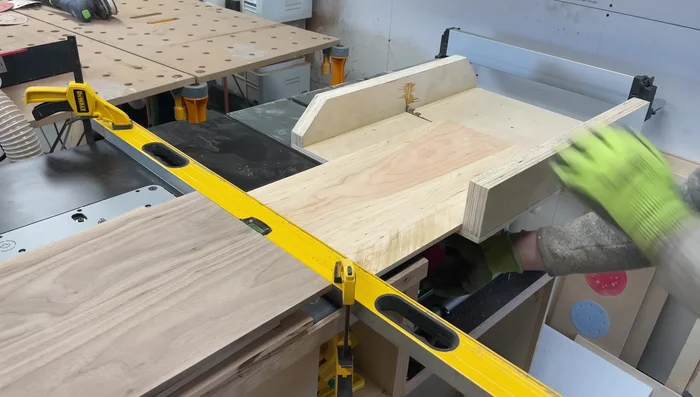
- Clamps
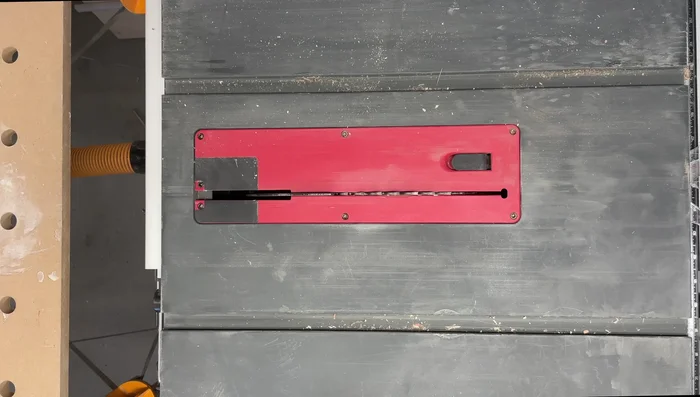
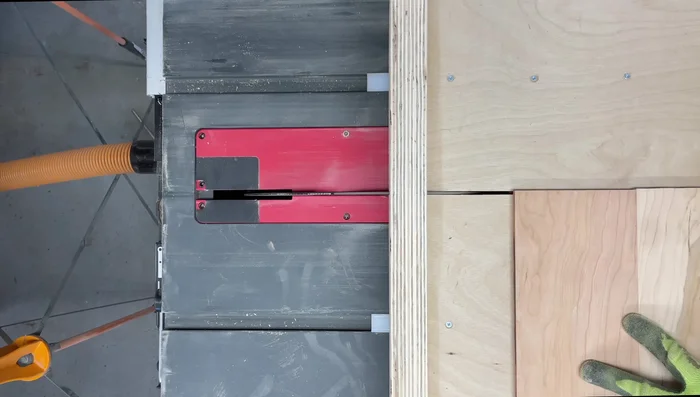
- Table saw with crosscut sled
- Drill press
- Sandpaper (120, 150 grit)
- Osmo Polyx Oil
- Always wear appropriate safety glasses and a dust mask when using power tools and working with wood dust. Wood dust is a respiratory hazard.
- Use clamps to secure your wood pieces firmly during gluing and assembly. Improper clamping can lead to uneven joints and potentially injury.
- Ensure your blades are sharp and your power tools are properly maintained before beginning. Dull blades require more force, increasing the risk of kickback and injury.
Step-by-Step Instructions
Material Preparation
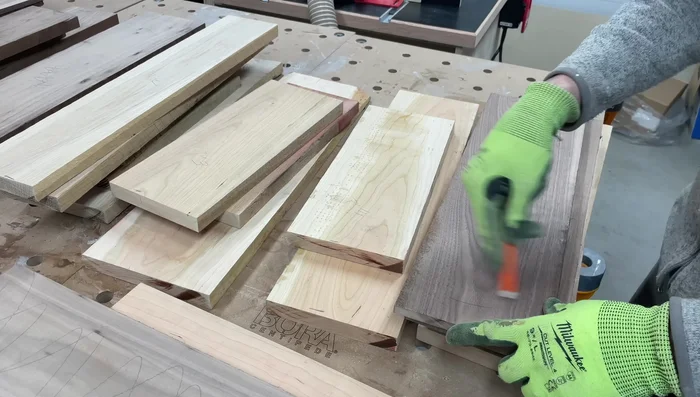
- Cut wood to length for sides, ends, and bottoms. Resaw thicker bottoms to 3/8 inch for lighter weight.
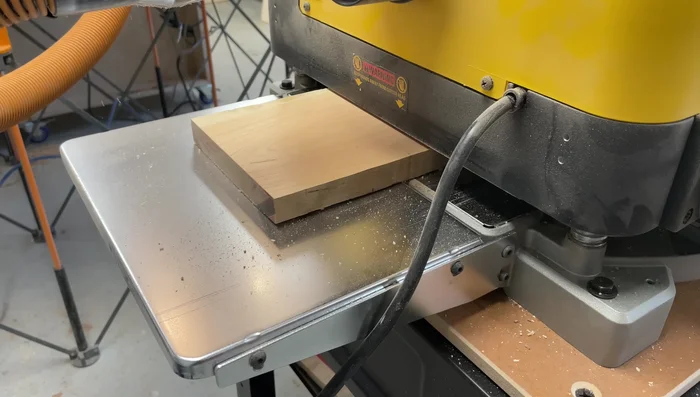
- Plane the bottoms to remove band saw marks and achieve a final thickness of 3/8 inch.
- Plane sides and ends to final thickness (3/4 inch).
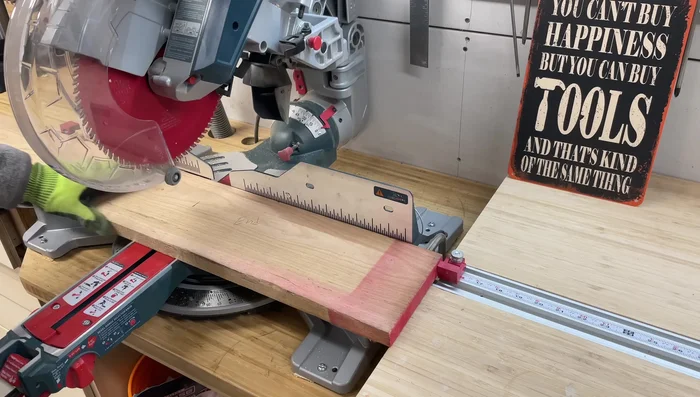
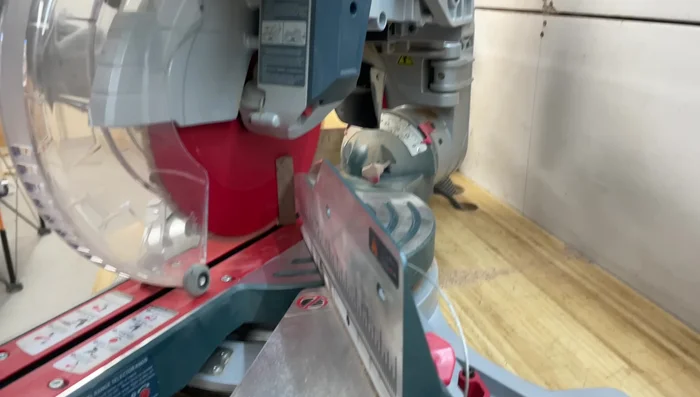
- Cut sides and ends to final height (2 3/4 inches) using the table saw.

Material Preparation Bottom Preparation
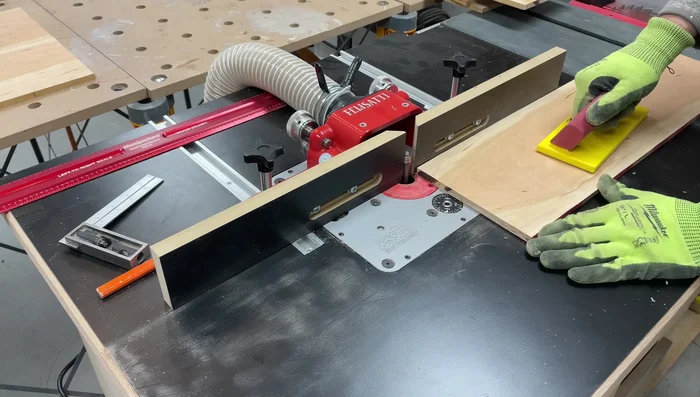
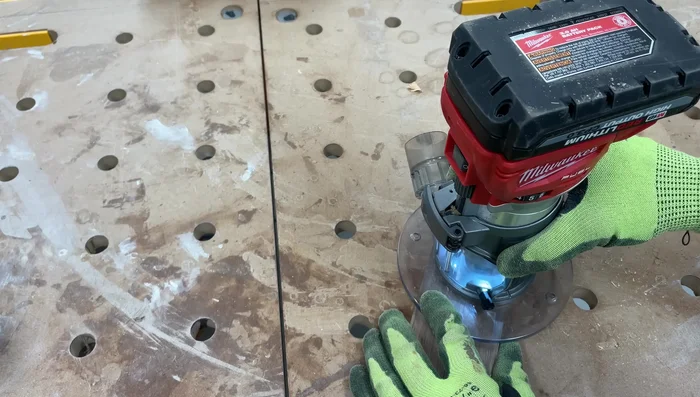
- Joint one edge of each tray bottom using the router table to create a perfectly straight edge for the next step.
- Rip the other side of the bottoms to the desired width using the table saw and fence.
- Square up edges of the bottoms using a crosscut sled.
- Cut bottoms to length using a level as a stop block.
Bottom Preparation Edge Preparation
- Joint edges using a router table with a template bit. Apply pressure on the outfeed side to prevent bowing.
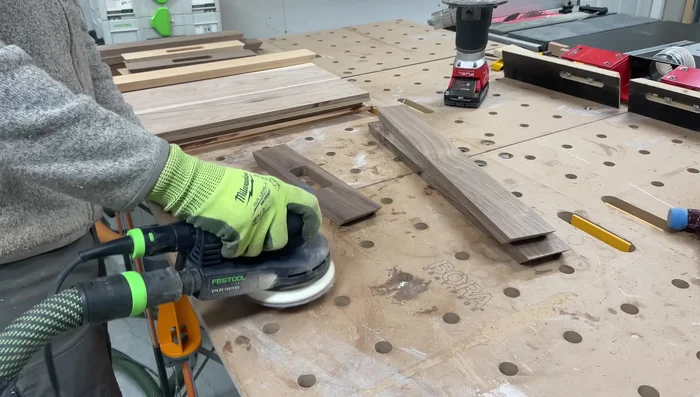
- Remove excess glue and smooth edges with a scraper and 120-grit sandpaper.
Edge Preparation Tray Assembly Preparation
- Cut dados first for more accurate miter cuts)
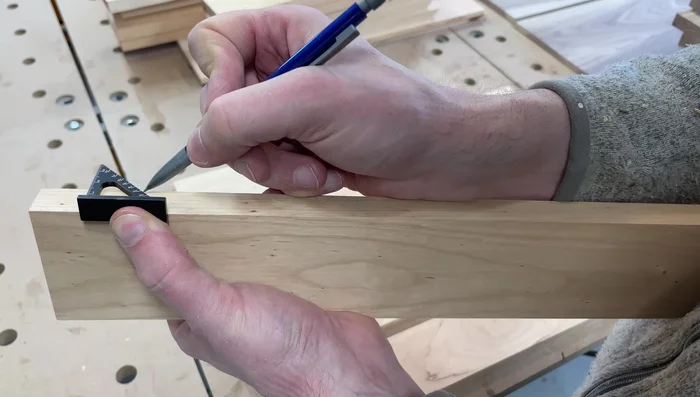
- Cut dados in the sides. Use a small square to accurately transfer angles from the faces to the edges of the wood.
- Cut handles using a plywood template, drill press, and router table.
- Round over the edges of the handles using a router.
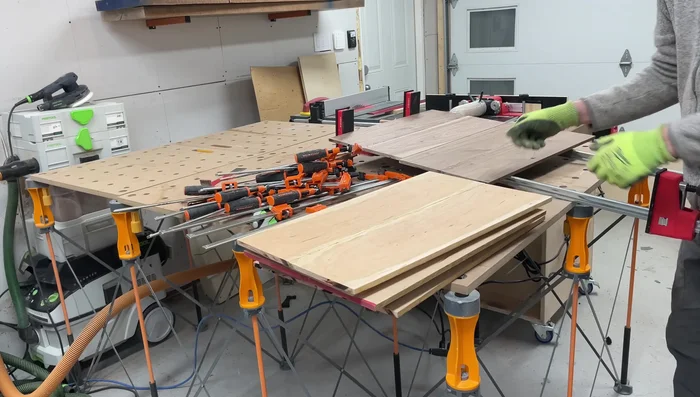
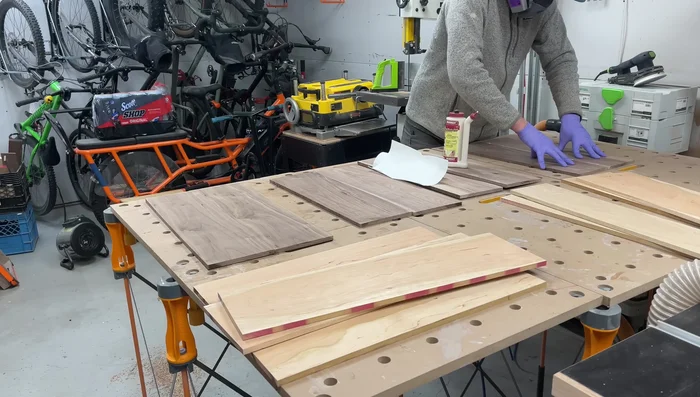
Tray Assembly Preparation - Sand all pieces thoroughly before assembly (150 grit).
Tray Assembly Preparation Tray Assembly
- The creator mentions challenges with clamping, suggesting pre-planning and sufficient clamps are crucial for efficiency).
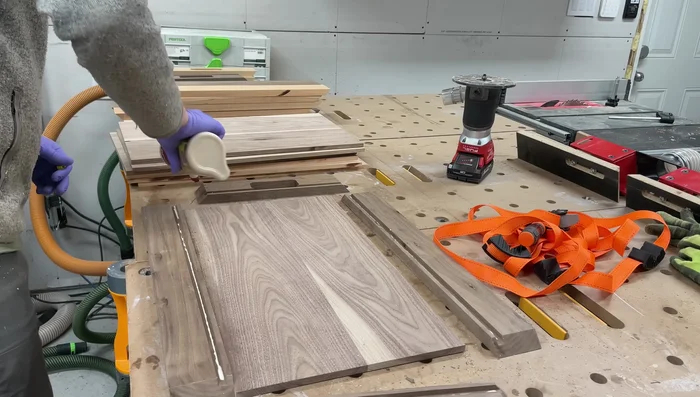
- Assemble the trays, using clamps to ensure a tight fit.
Tray Assembly Finishing
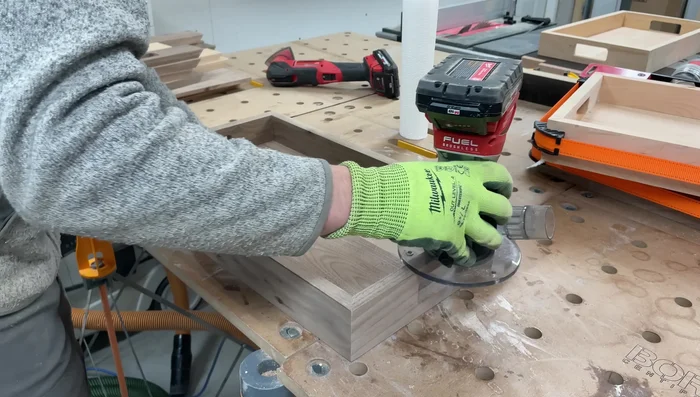
- Round over the edges of the assembled trays to soften them.
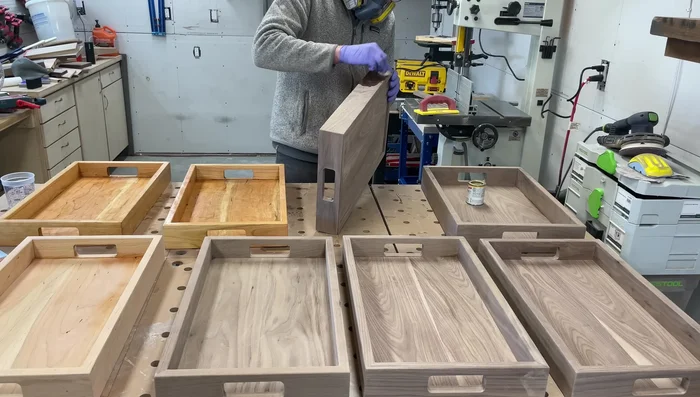
- Apply finish (Osmo Polyx Oil).
Finishing
Read more: Build a Stunning Black Walnut Coaster Set: The Ultimate Furniture Protector
Tips
- Resawing thicker bottoms makes lighter, more manageable trays.
- Use a featherboard on the router table for better control and safety.
- Pre-planning and sufficient clamps are essential for efficient glue-ups.
- Sanding before assembly is easier than sanding after.
- Use masking tape in corners to minimize glue squeeze-out.