Cozy up your home with a beautiful, handmade crochet rug! This easy double-sided tutorial is perfect for beginners, requiring only basic crochet skills and readily available materials. Forget complicated patterns and frustrating instructions; this design is designed to be simple and enjoyable, allowing you to create a stunning, reversible rug that adds warmth and style to any room. You'll be amazed at how quickly you can whip up this versatile piece, perfect for adding a touch of handmade charm to your living room, bedroom, or even bathroom.
This double-sided technique creates a wonderfully textured and visually appealing rug without the extra work of a complex pattern. The process uses simple stitches repeated in a clever way to achieve a richly layered finish on both sides. Ready to transform your yarn stash into a delightful floor covering? Let's dive into the step-by-step instructions and start crocheting!
Preparation and Safety Guidelines
- Knitted yarn
- Crochet hook (size 5.5 recommended, adjust based on yarn thickness)
- Use a sturdy yarn and hook appropriate for your chosen yarn weight. Using too fine a yarn and hook can create a weak, easily damaged rug.
- Securely fasten off all yarn ends to prevent unraveling. Weaving in ends securely is crucial for a long-lasting rug.
- Work in a well-ventilated area, especially when using synthetic yarns that may release fumes during the crafting process.
Step-by-Step Instructions
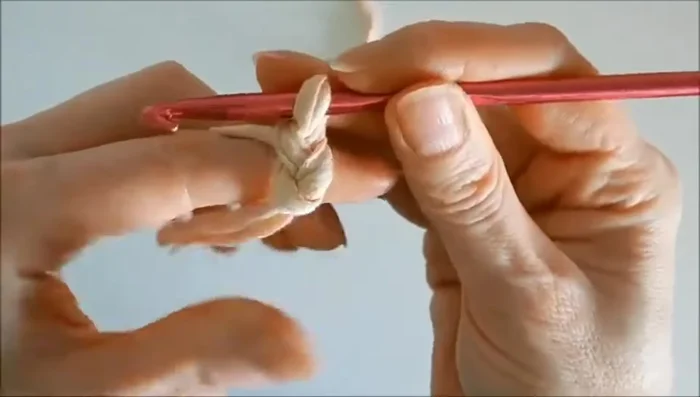
Foundation Chain
- Create a foundation chain of air loops. The more loops, the wider the rug.

Foundation Chain First Row
- Crochet the first row, ensuring loose stitches to make edge finishing easier later. This forms the initial pigtail structure.
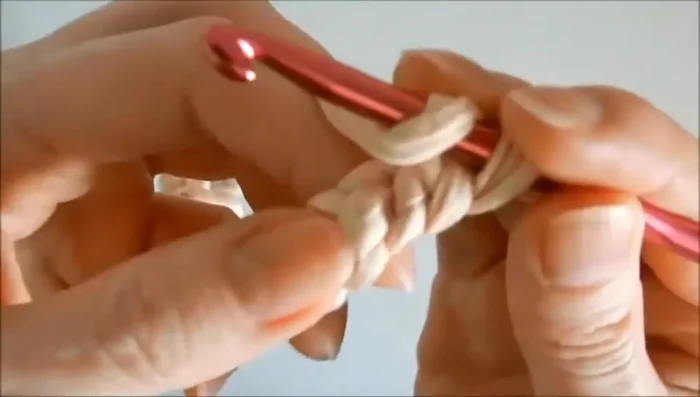
First Row Subsequent Rows
- Following the pattern (shown in the video), crochet each subsequent row. Secure the beginning and end of each row by working into the existing pigtail. Hide loose yarn ends within the row as you work.
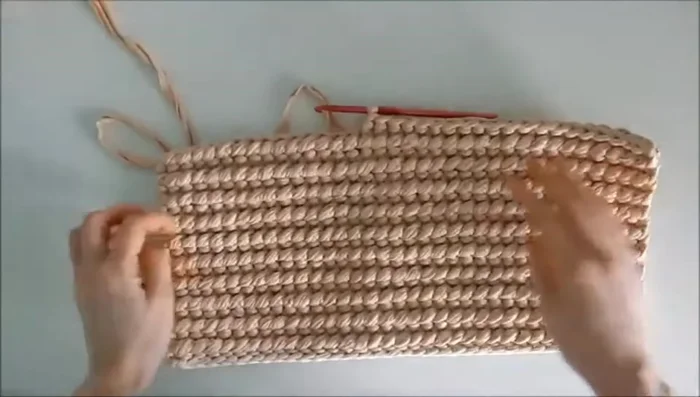
- Continue crocheting rows until your desired rug size is achieved. Pay close attention to maintaining consistent stitch count and shaping at the edges.
- Finish the last row ensuring the final stitch is completely worked to maintain rug shape.
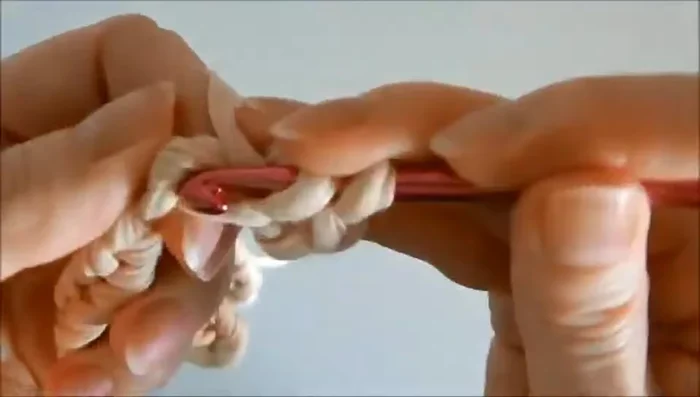
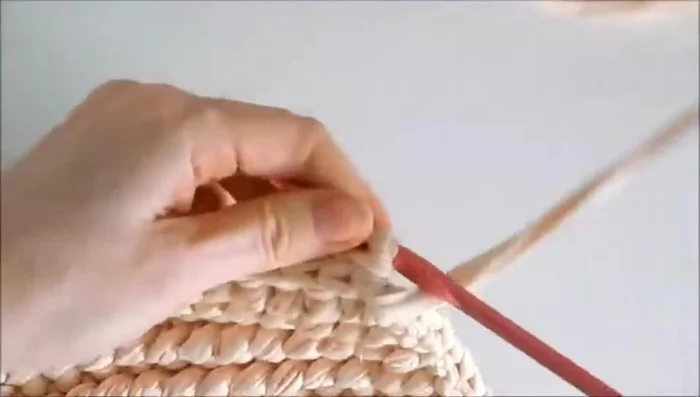
Subsequent Rows First Edging Row (Front)
- Crochet two additional rows around the perimeter. On the chosen 'front' side, work into the connecting columns loosely to avoid tightening. Work two double crochet stitches into each corner.
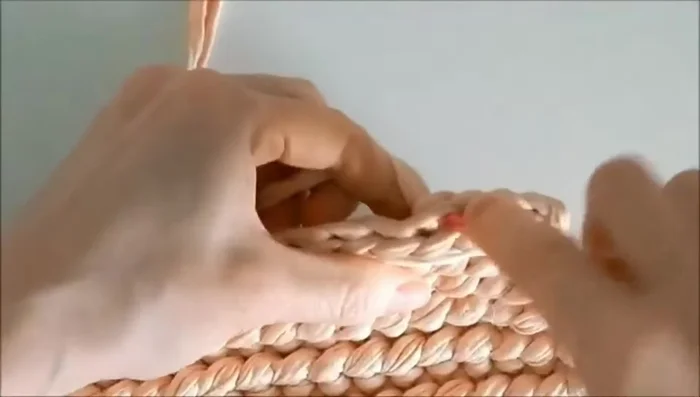
First Edging Row (Front) Second Edging Row (Back)
- On the reverse side, crochet into the back loops of the connecting columns, maintaining a loose tension.
- Complete the second edging row. Secure and weave in any remaining loose ends.
Second Edging Row (Back)


Read more: Easy Color Block Crochet Blanket Tutorial for Beginners
Tips
- Use a hook size appropriate for your yarn weight.
- Maintain loose tension throughout to prevent distortion and make edging easier.
- Carefully finish each row, including the last stitch, to create a neat, even rug.
- Ensure the first and last rows visually match to maintain symmetry.