Cardigans, those cozy companions on chilly days, often benefit from a beautifully finished detail: a sturdy, double-knit button band. This seemingly simple addition elevates the overall look and feel of your garment, adding a professional touch that significantly improves its durability. A well-crafted button band prevents stretching and provides a clean, crisp edge, showcasing the knitter's skill and attention to detail. Unlike flimsy single-layer bands, a double-knit version offers superior strength and prevents the buttons from pulling through the fabric over time.
This guide provides a comprehensive, easy-to-follow method for creating a perfectly formed double-knit button band, suitable for knitters of all skill levels. Whether you're a seasoned pro or a beginner tackling your first cardigan, prepare to discover the simple steps that will transform your next project, leading to a beautifully finished garment you'll be proud to wear. Let's dive into the step-by-step process now!
Preparation and Safety Guidelines
- Smaller needles than main fabric needles
- Double-pointed needles
- Circular needle (with a long cable)
- Yarn
- Ensure your button band is wide enough to comfortably accommodate your buttons and prevent them from pulling through the fabric. A general guideline is to make it at least twice the diameter of your largest button.
- Maintain consistent tension throughout the double knitting process to avoid unevenness in the button band, which can affect the appearance and functionality.
- Before sewing on buttons, try them on the completed button band to ensure a proper fit and spacing. Mark button positions with pins or tailors’ chalk before sewing.
Step-by-Step Instructions
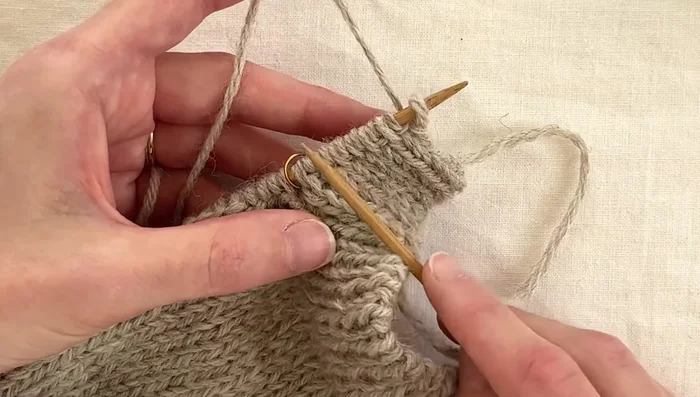
Preparing to Knit the Button Band
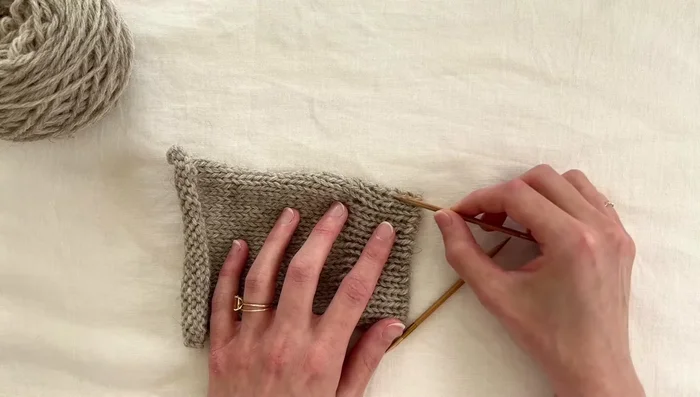
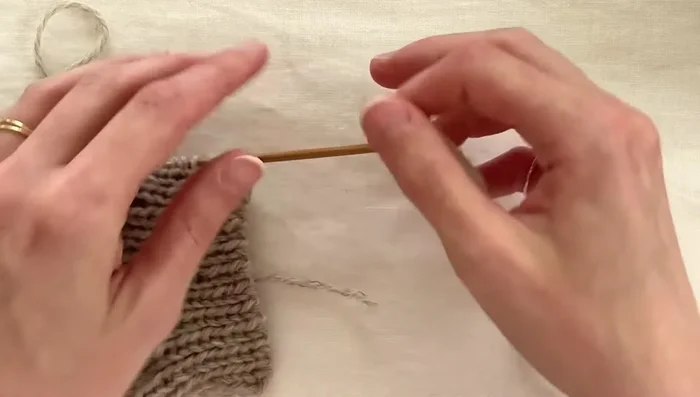
- Pick up 4 stitches, skip 1, repeat.
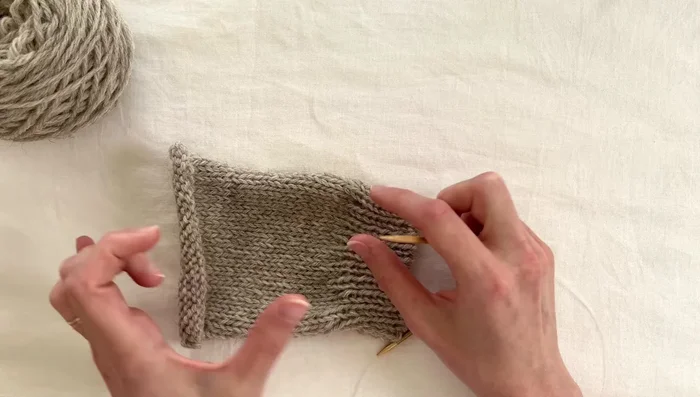
- Experiment with different ratios (e.g., 3:4, 4:5) to achieve a flat, non-scrunching button band.
- Pick up stitches from the very edge of the cast-off edge for a clean finish.
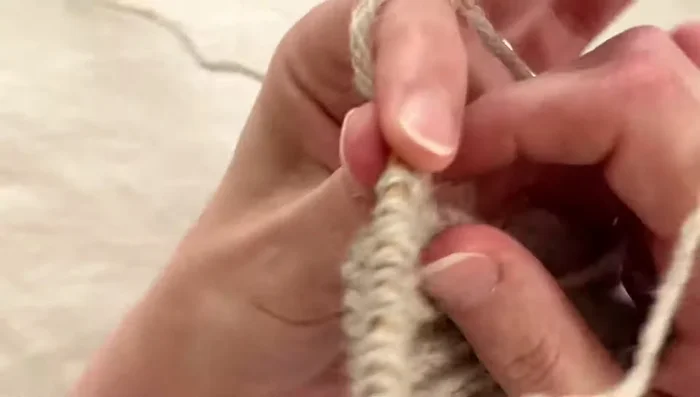
- Start a new yarn for the button band, leaving a tail for weaving in later.

Preparing to Knit the Button Band - Decide where you want your buttonholes and place stitch markers accordingly. Consider the cardigan's design (e.g., V-neck) and even spacing.
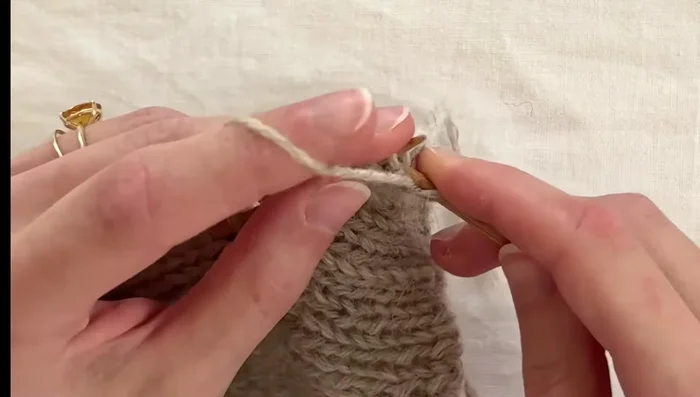
Preparing to Knit the Button Band Casting on and Joining the Button Band
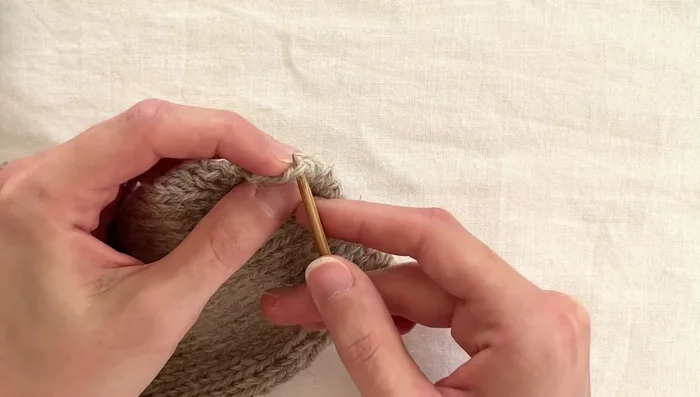
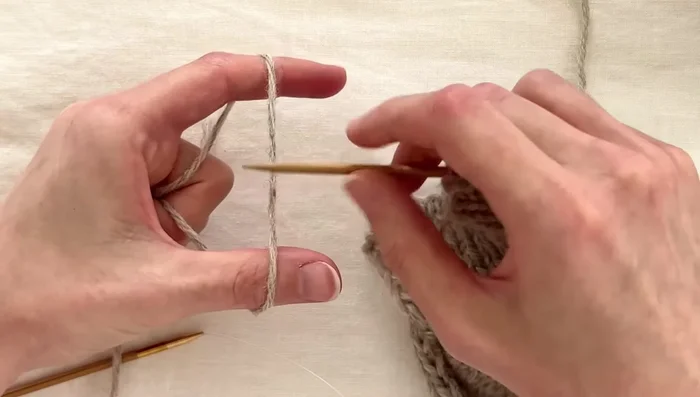
- Cast on an odd number of stitches (e.g., 13) using a tubular or Italian cast-on method on the same needle as the picked-up stitches. Flip the work to the wrong side.
- Knit two stitches together through the back loop to join the cast-on stitches to the picked-up stitches.
Casting on and Joining the Button Band Knitting the Double Knit Button Band
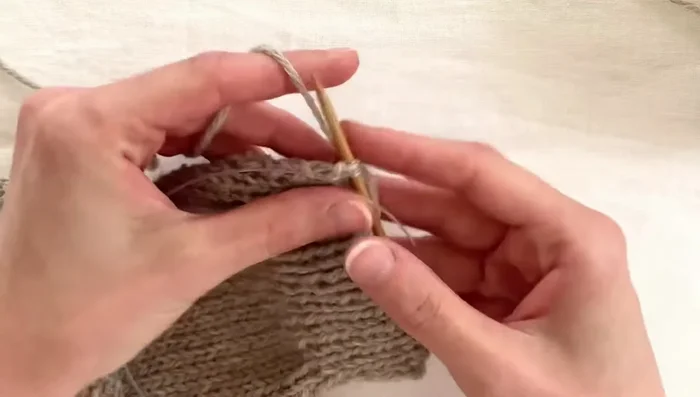
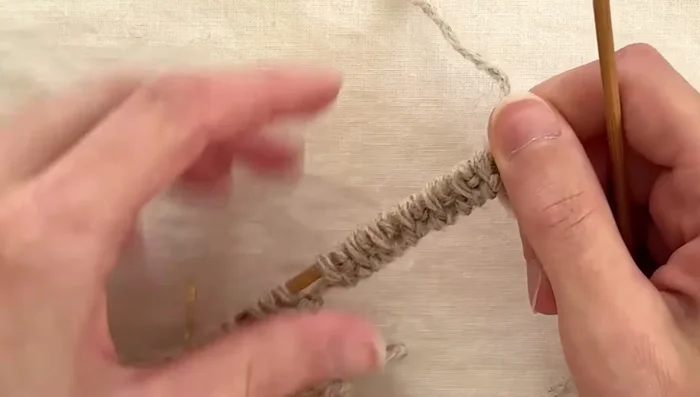
- Work a pearl one, knit one pattern on the wrong side. On the right side, knit through the back loop, slip with yarn in front, repeat.
- Continue the double knitting pattern until you reach a buttonhole marker.
Knitting the Double Knit Button Band Creating Buttonholes
- To create a buttonhole, work the right-hand stitches for a few rows, then jump to the left-hand stitches and work those for a few rows, creating a vertical slice.
Creating Buttonholes Completing the Button Band
- Continue double knitting until you've worked to the end of the picked-up stitches, joining the last stitch with the first using a Kitchener stitch.
Completing the Button Band

Read more: Knitting a Reversible Basketweave Blanket: A Customizable Guide
Tips
- Experiment with different stitch ratios to find what works best for your fabric and desired look.
- Plan buttonhole placement carefully, considering the cardigan's design and desired button placement.
- Practice tubular/Italian cast-on if unfamiliar. There are many helpful tutorials online.
- Securely fasten the tail yarn during cast-on to prevent unraveling.
- Practice Kitchener stitch/Italian bind-off before attempting on the final project.