The dogwood blossom, with its delicate petals and vibrant hues, is a symbol of springtime beauty often admired but rarely replicated. Now, you can capture its ethereal charm through the art of knitting. This guide provides a unique opportunity to create your own miniature dogwood blossoms, perfect for adorning sweaters, hats, or creating charming decorative pieces. Imagine the intricate details, the soft texture, and the satisfaction of crafting something beautiful with your own two hands.
Whether you're a seasoned knitter looking for a new challenge or a beginner eager to try a more ambitious project, this pattern is designed to be accessible. Let's embark on this delightful journey together, learning how to knit this exquisite flower, petal by petal. Follow the step-by-step instructions below to bring your very own knitted dogwood blossoms to life.
Preparation and Safety Guidelines
- Yarn (white, pink, or yellow)
- Double-pointed needles
- Yarn needle
- Use only high-quality, non-toxic yarn suitable for items that may come into contact with pets. Avoid yarns containing potentially harmful dyes or chemicals.
- Ensure all loose ends and yarn tails are securely fastened to prevent your dog from chewing or ingesting them, which could cause choking or intestinal blockage.
- Supervise your pet closely around the finished dogwood blossom knitting project, especially if your pet tends to chew on objects. Remove it if there's any risk of ingestion or damage.
Step-by-Step Instructions
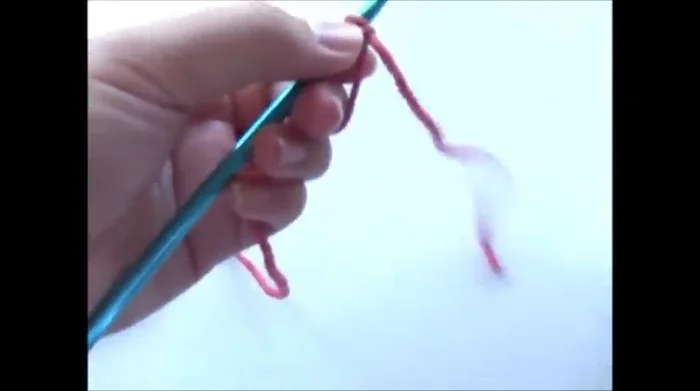
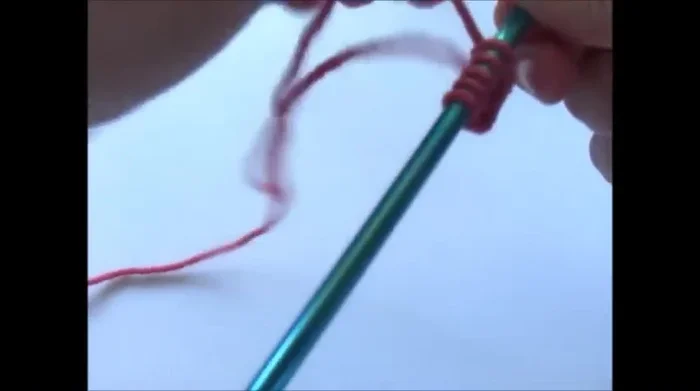
Casting on and Initial Rows
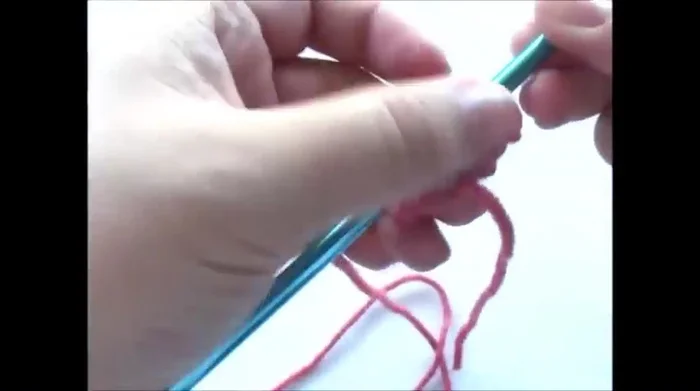
- Cast on 5 stitches.
- Pearl all 5 stitches.
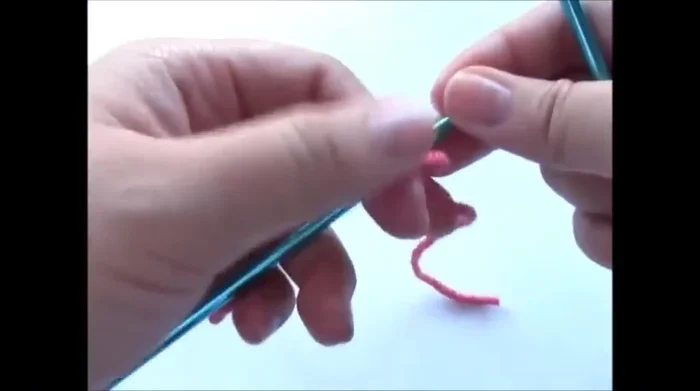
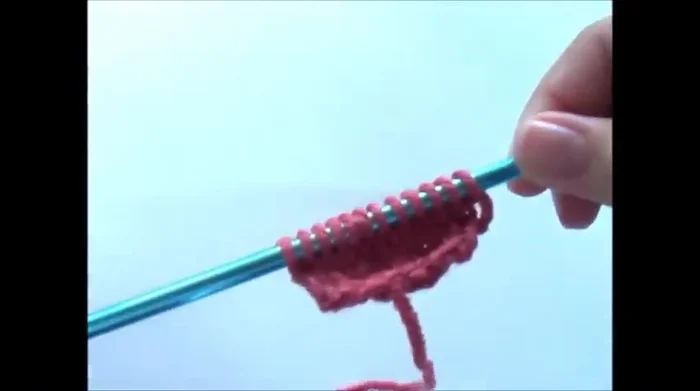
- Make 1 invisible increase (shown in detail in the video), knit 1, make 1 invisible increase, knit 1, make 1 invisible increase.
- Pearl all stitches.

Casting on and Initial Rows Increase Rows
- Knit 1, make 1 invisible increase, knit 7, make 1 invisible increase, knit 2.
Increase Rows Stockinette Stitch Section
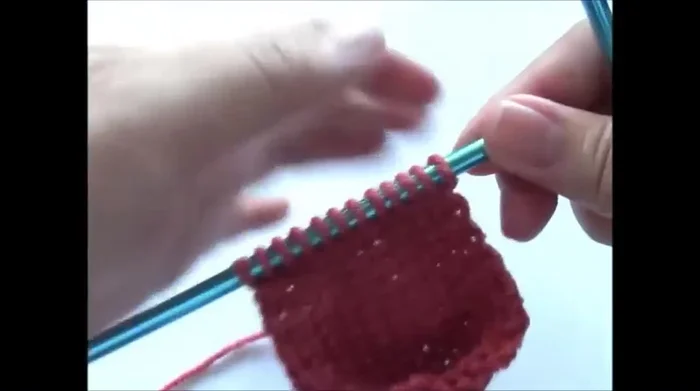
- Knit stockinette stitch (knit one row, pearl one row).
Stockinette Stitch Section Decrease Rows
- Knit 1, sk2p (slip 1, knit 2 together, pass slipped stitch over), knit 4, sk2p, knit 1.
- Pearl all stitches.
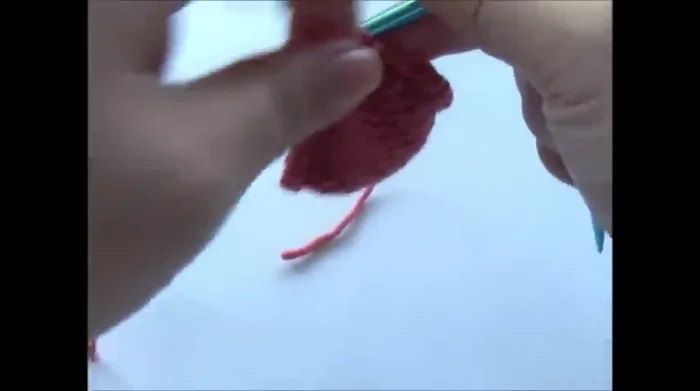
- Knit 1, sk2p, knit 3, knit 1.
- Pearl all stitches. Bind off.
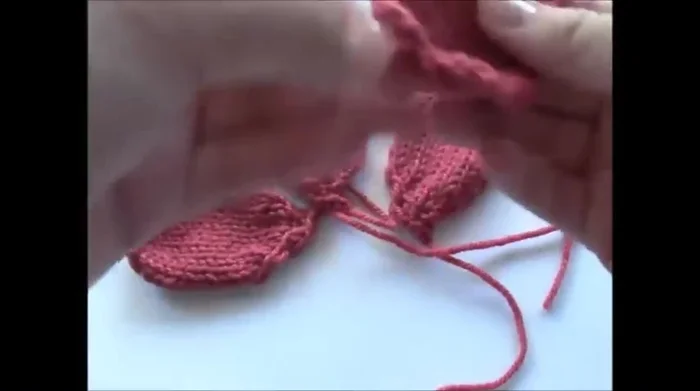
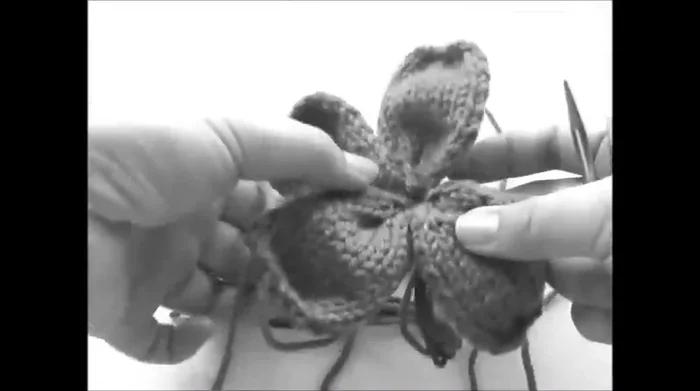
Decrease Rows Creating and Assembling Petals
- Repeat steps 2-10 to create three more petals. Sew the petals together at the base using green yarn from the bud.
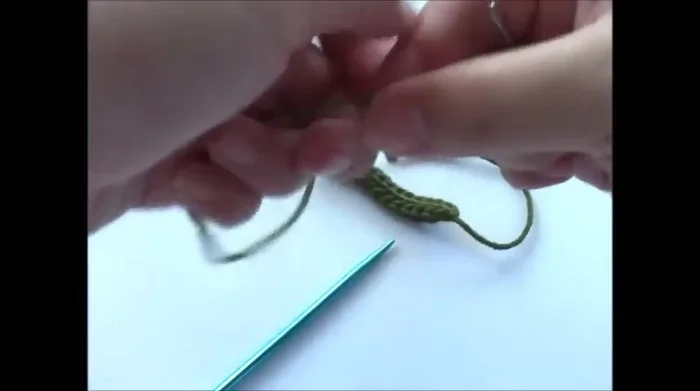
Creating and Assembling Petals Knitting the Bud
- Knit an i-cord for the bud (cast on 4 stitches, knit back and forth on double-pointed needles) until desired length (approx. 2-3 inches). Bind off.
Knitting the Bud Closing the Bud
- Sew the ends of the i-cord together to form a closed loop.
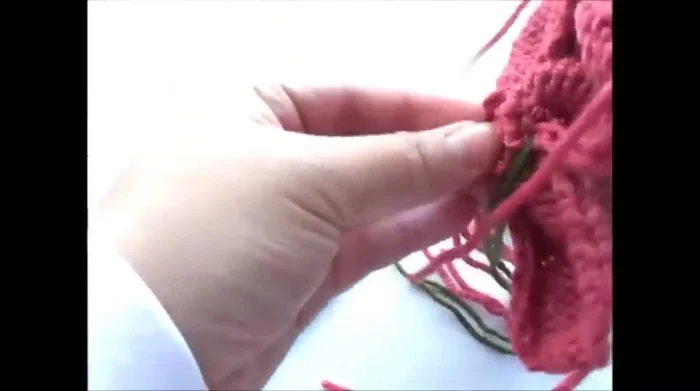
Closing the Bud Attaching the Bud and Finishing
- Insert the bud into the center of the flower and sew the remaining loose ends to the bud and petals.
Attaching the Bud and Finishing


Read more: Knitting a Reversible Basketweave Blanket: A Customizable Guide
Tips
- For a more accurate Dogwood flower, use the smaller petal pattern with four petals.
- If you don't want the petals to curl, block them after knitting.
- The invisible increase technique provides a cleaner look. There are other increase techniques, but this is recommended.
- For the bud, you can adjust the i-cord length to control how much it protrudes from the flower.