Are you feeling overwhelmed by the stresses of daily life? Seeking a calming, tactile ritual to center yourself and find a moment of peace? Then look no further than the ancient practice of using worry beads, also known as prayer beads or worry stones. This simple yet elegant craft allows you to create a personalized, beautiful tool for managing anxiety and promoting mindfulness. Using readily available semi-precious stones and fragrant sandalwood, you can craft your own unique set of worry beads, perfectly tailored to your taste and needs. The natural beauty of the stones and the soothing aroma of sandalwood combine to create a truly therapeutic experience.
This tutorial will guide you through the easy-to-follow steps of making your own set of DIY worry beads, transforming simple materials into a cherished personal item. From selecting your stones and preparing your sandalwood to assembling and finishing your beads, we'll walk you through each stage, ensuring you create a beautiful and functional piece to help you navigate life's challenges with greater serenity. Let's begin!
Preparation and Safety Guidelines
- Cutters or scissors
- Lighter
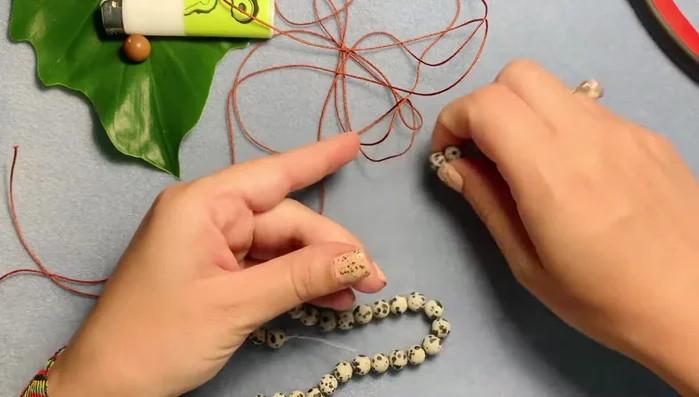
- Two yards of 0.8 millimeter Chinese knotting cord
- Beads with a 1 millimeter hole
- Extra bead (wood bead recommended)
- Bead mat
- Small beads pose a choking hazard. Keep away from young children and pets.
- Some semi-precious stones may be porous and absorb oils from skin. Clean beads regularly to maintain their appearance and prevent discoloration.
- Always wash your hands before and after handling beads to avoid transferring oils or dirt.
Step-by-Step Instructions
Prepare Materials
- Count out 23 beads and two extras for tassels.

Prepare Materials Prepare the Cord
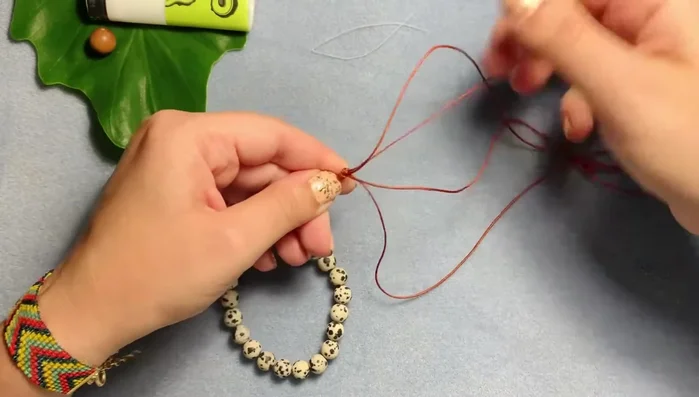
- Find the middle of the two-yard cord and tie a loose overhand knot to prevent beads from falling off.
Prepare the Cord String the Beads
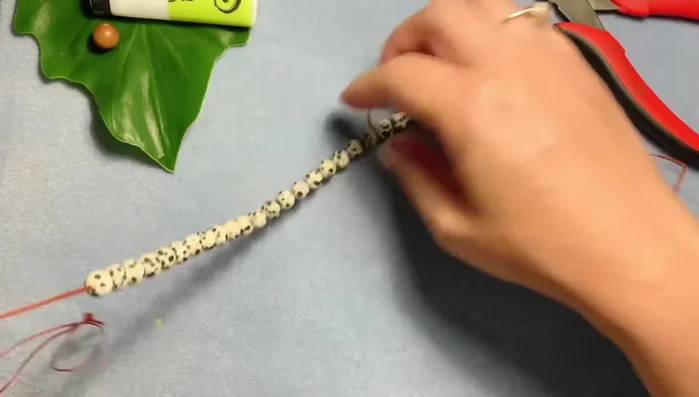
- Thread on the 23 beads using a piece of fishing line or wire as a needle.
- Pull the cord tightly so that all beads are flush against each other and no cording is caught in between.
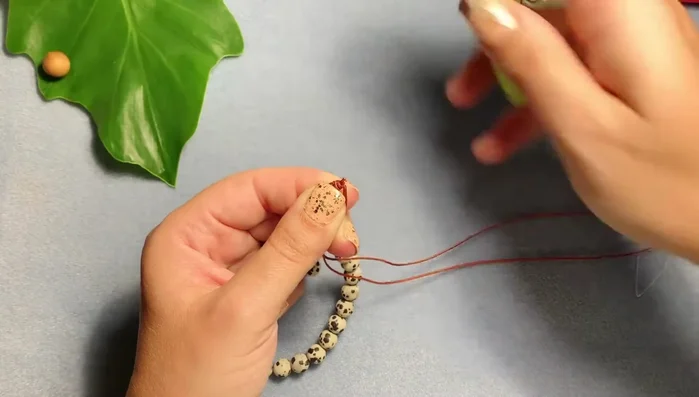
String the Beads Tie the Main Knots
- Find the middle of the beaded strand and tie an overhand knot approximately three fingers length from each end.
- Pull the knot tight, ensuring no bunching. Separate the strands and cut off two strands, leaving the looped strands for tassels.
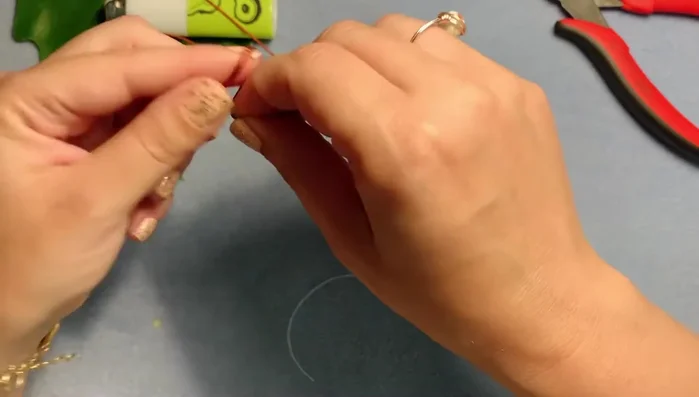
- Burn the cut ends of the cord with a lighter to seal them.
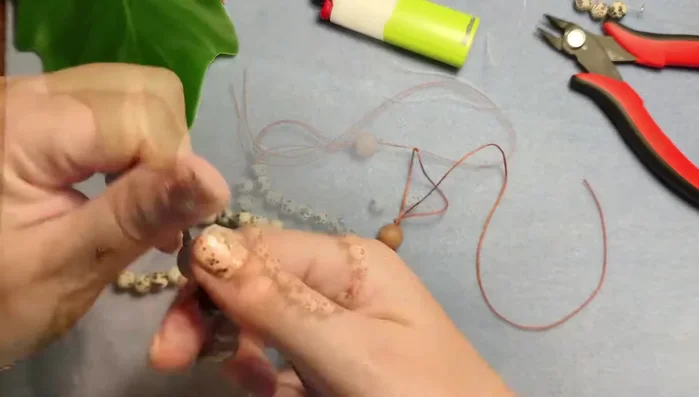
Tie the Main Knots Add Sandalwood Bead
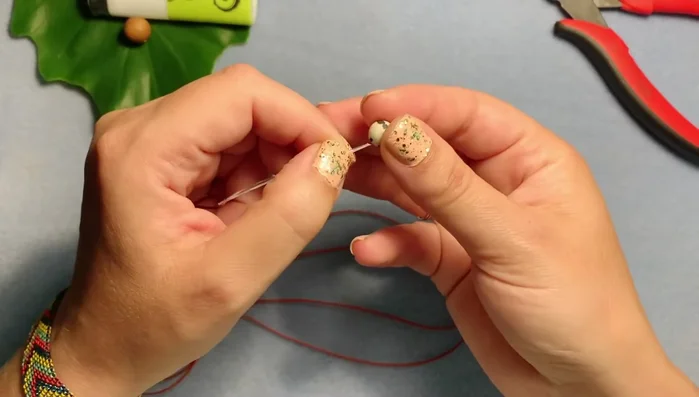
- Add a sandalwood bead (or any bead of your choice) and tie another overhand knot, pulling it tight against the bead.
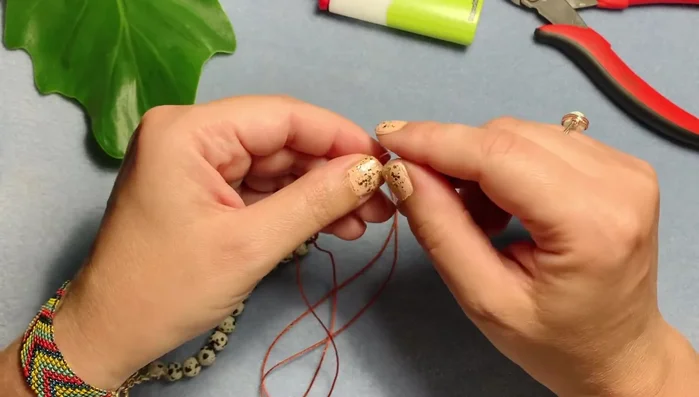
Add Sandalwood Bead Create and Finish Tassels
- Create tassels by tying double overhand knots about two fingers down on each of the two remaining strands, then add a bead.
- Tie a double overhand knot on each tassel, pull tight, and burn the ends.
Create and Finish Tassels

Read more: DIY Tiered Tassel Earrings: A Quick & Easy Jewelry Tutorial
Tips
- Use tweezers to help pull tight knots.
- Adjust measurements to your liking. The design is entirely up to you!