Clutter in the kitchen drawers? Tired of endlessly searching for the right fork or spoon amidst a jumbled mess of silverware? A beautifully crafted, custom silverware organizer can transform your kitchen from chaotic to calm, and it's surprisingly easy to create yourself! This project offers a fantastic opportunity to add a touch of personalized style while significantly improving kitchen functionality. Forget expensive, mass-produced organizers – you can build a superior, aesthetically pleasing solution using readily available materials and simple tools.
This DIY project provides a step-by-step guide to constructing a stylish wooden silverware organizer that will perfectly fit your drawers and lifestyle. From choosing the right wood and cutting precise dimensions to assembly and finishing, we'll walk you through each stage of the process, empowering you to create a functional and beautiful addition to your kitchen. Let’s get started!
Preparation and Safety Guidelines
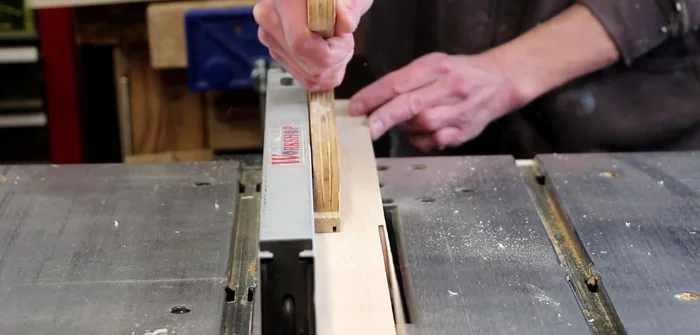
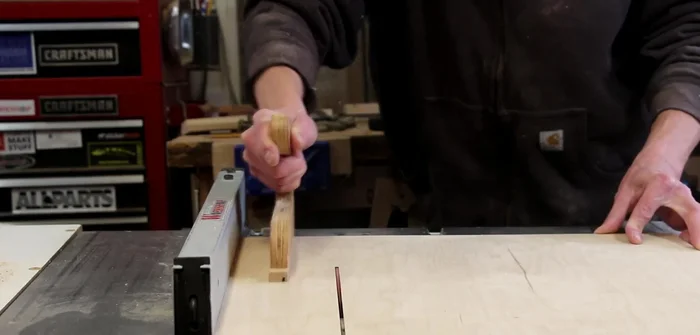
- Table saw
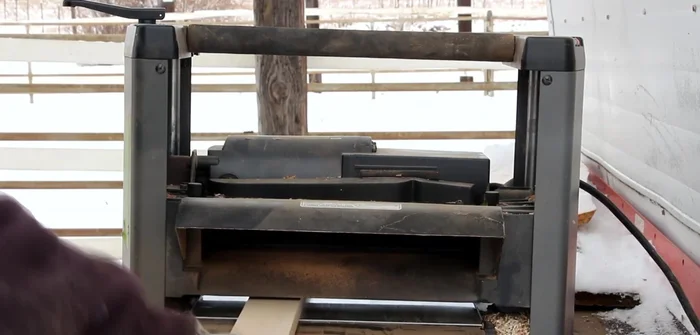
- Planer
- Router table
- Straight cutting bit
- Auxiliary fence
- Miter sled
- Drum sander
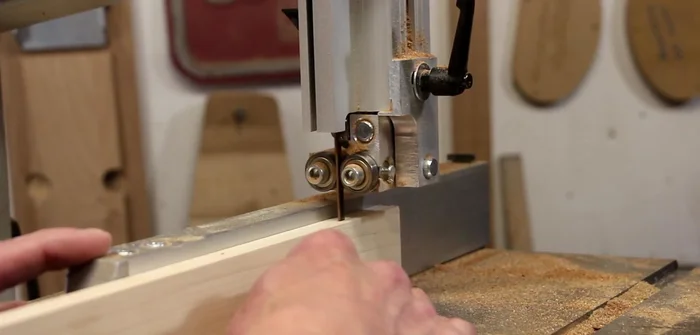
- Bandsaw
- Wood glue
- Spray lacquer
- Always use appropriate safety glasses and a dust mask when cutting, sanding, and staining wood. Wood dust is harmful if inhaled.
- Ensure proper ventilation when using wood stains, paints, and finishes. These products often contain volatile organic compounds (VOCs) that can be harmful if inhaled.
- Use caution when handling sharp tools like saws, chisels, and drills. Always cut away from yourself and keep your fingers clear of blades.
Step-by-Step Instructions
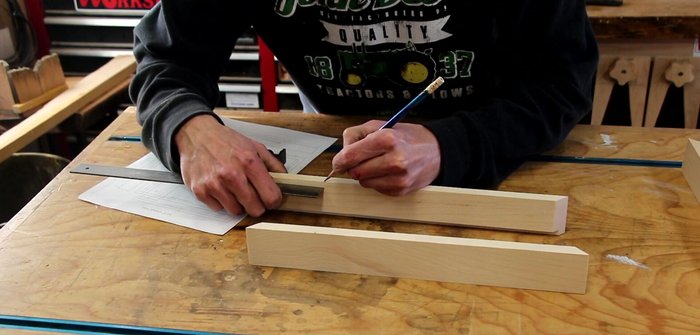
Prepare the Wood
- Plan down maple wood to around a half an inch thick.
- Rip the maple wood down to the desired width for your kitchen drawer.
- Cut the quarter-inch Baltic birch plywood to size for the bottom panel.
- Resaw maple wood for thinner dividers.

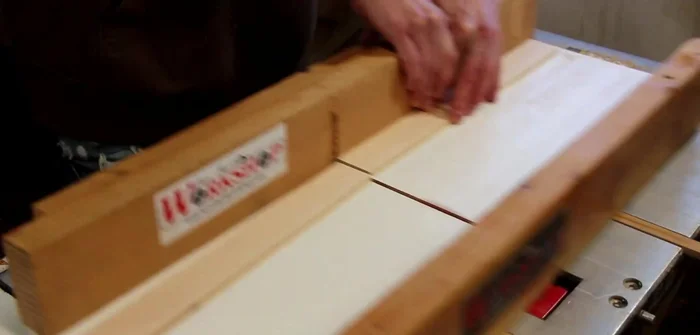
Prepare the Wood Cut and Shape the Sides
- Cut a rabbet in the bottom of the side pieces to accommodate the bottom panel.
- Cut 45-degree miters on the ends of the side pieces.
Cut and Shape the Sides Prepare Dividers
- Layout and cut the dadoes (grooves) for the dividers.
- Cut all dividers to the same size using a stop block and spacer for consistent thickness.
- Cut the dividers to final length and cut grooves.
- Cut relief grooves in the dividers to allow for easy utensil access.
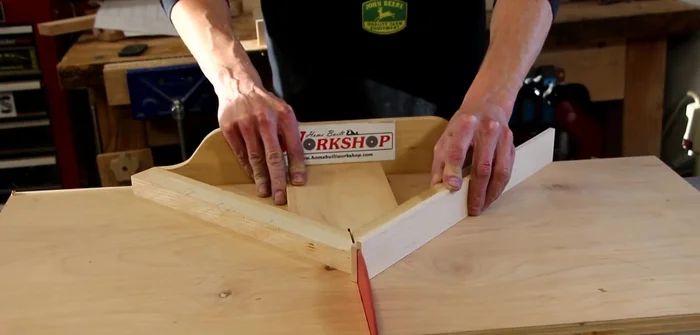
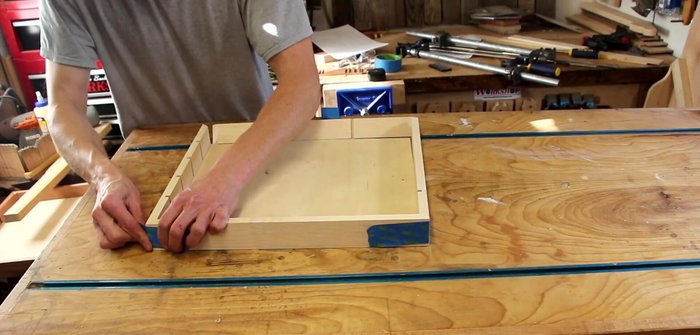
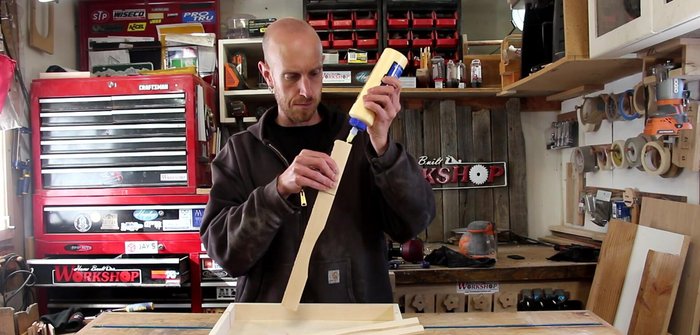
Prepare Dividers Assemble the Box
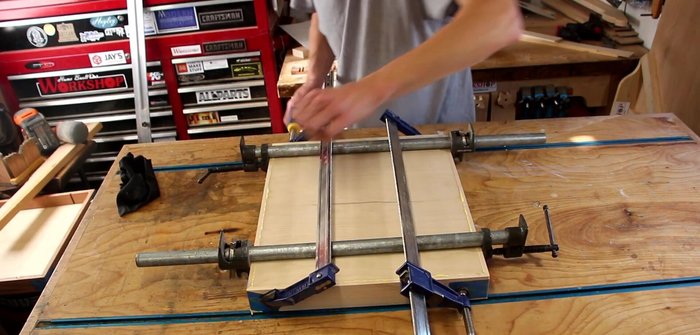
- Glue up the outer box, using tape to hold corners while glue dries.
- Glue and clamp the bottom panel into place.
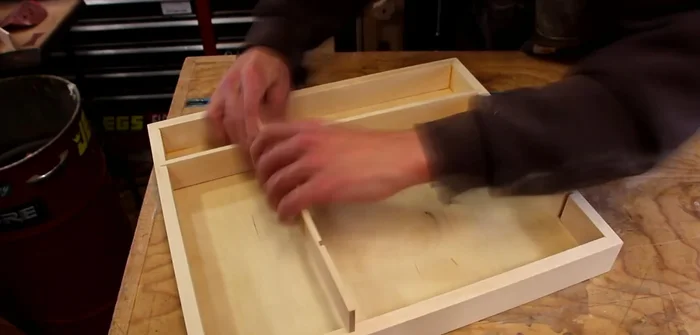
- Dry-fit all pieces to ensure proper fit before gluing.
Assemble the Box Install Dividers
- Glue the dividers into place, using minimal glue to avoid squeeze-out.
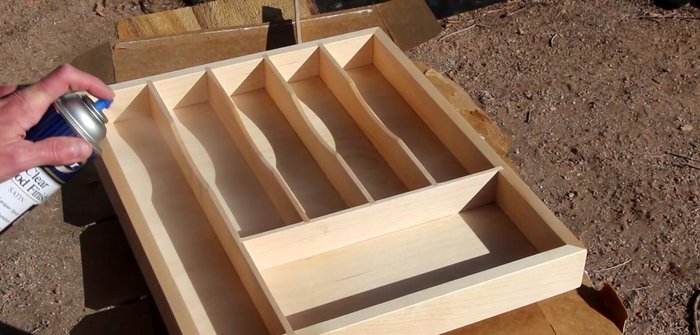
Install Dividers Finish
- Sand and apply several coats of spray lacquer.
Finish

Read more: Build a Stunning Black Walnut Coaster Set: The Ultimate Furniture Protector
Tips
- Measure your kitchen drawer carefully to ensure a proper fit.
- Use a miter sled for precise 45-degree cuts.
- Make test pieces to determine the correct spacer thickness for consistent divider sizes.
- Use minimal wood glue to avoid excess squeeze-out.
- Almost every finish is food-safe once completely dry and cured.