Professional-looking photoshoots don't always require a hefty budget or professional studio. Creating a stunning backdrop for your photography projects can be surprisingly simple and affordable with a DIY approach. This guide focuses on constructing a robust and visually appealing wooden photo backdrop, perfect for capturing high-quality images at home, whether you're a seasoned photographer or just starting out. Forget flimsy, easily-damaged alternatives; this sturdy design offers longevity and stability, ensuring your backdrop remains a reliable asset for years to come.
We'll guide you through a straightforward construction process using readily available materials, minimizing costs and maximizing impact. From choosing the right wood to assembling the frame and adding a finishing touch, every step is meticulously explained. Ready to transform your photography game with a custom-built backdrop? Let's dive into the step-by-step instructions to build your own easy and sturdy wooden masterpiece.
Preparation and Safety Guidelines
- Pine boards (8ft long)
- Countersink drill bit
- Screws
- Wood filler (optional)
- Sandpaper
- Stain
- Paint (optional, for dry brushing)
- Dry paint brush
- Cloth
- Protective Mask & Gloves
- Always wear safety glasses when using power tools like saws and drills. Wood splinters and flying debris can cause serious eye injuries.
- Ensure proper ventilation when working with paints, stains, or sealants. Use in a well-ventilated area or wear a respirator.
- Handle wooden planks with care to avoid cuts and splinters. Wear gloves if necessary and be mindful of sharp edges.
Step-by-Step Instructions
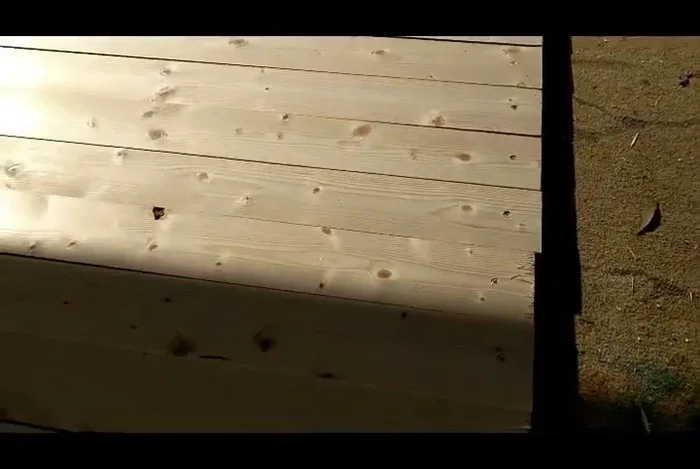
Prepare the Wood
- 11 boards to 60 inches and 17 boards to 43 inches.
- Use a countersink drill bit to create indentations on each board end for screws. This will make the surface smooth.
- Sand any rough edges for a smooth finish.

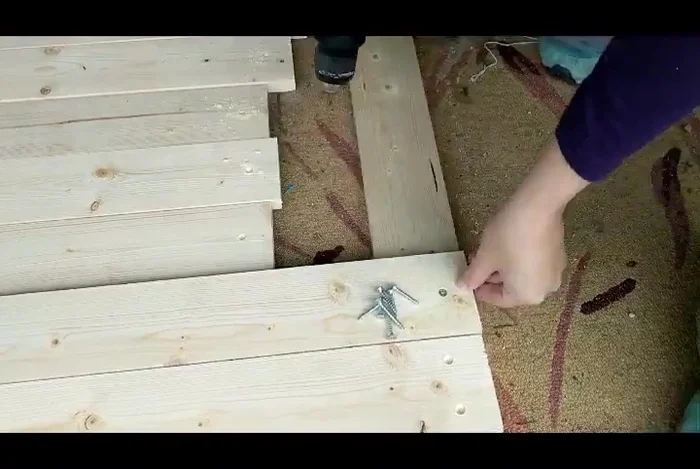
Prepare the Wood Assemble the Backdrop
- Attach the 43-inch boards to either side of the 60-inch boards using screws and the pre-drilled holes.
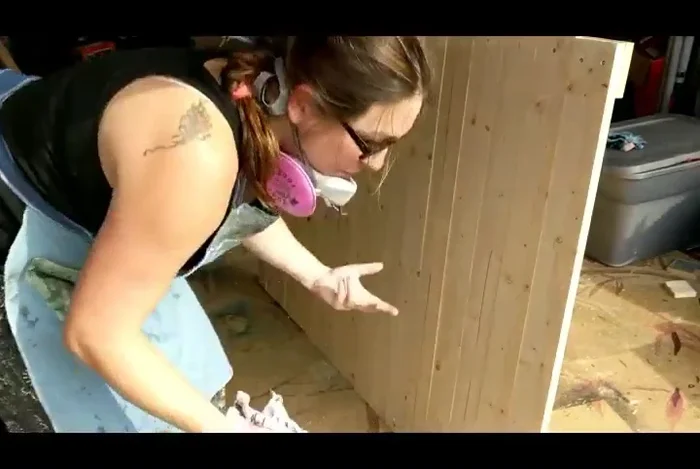
Assemble the Backdrop Finish the Backdrop
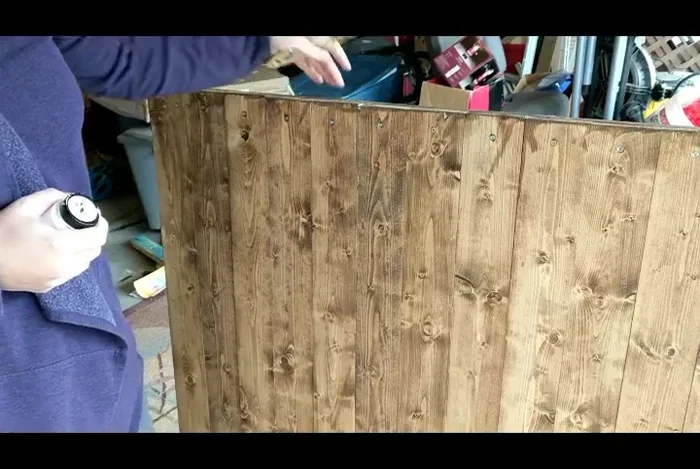
- Brush stain onto both sides, wiping off excess. Ideally, let each side dry completely before staining the other side.
- This adds protection and enhances the look.
- Lightly apply white paint with a dry brush for a distressed look.
Finish the Backdrop
Read more: Build a Stunning Black Walnut Coaster Set: The Ultimate Furniture Protector
Tips
- Using a countersink creates a seamless surface, avoiding screw heads sticking out.
- Ensure even spacing and alignment when screwing the boards together for a neat finish.
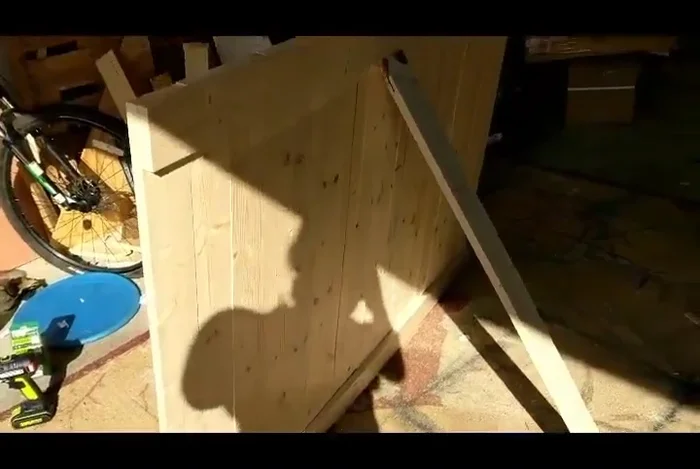
- For extra support, consider adding a central support board before staining and painting.
- When staining, apply a thin layer and wipe off excess for an even finish. Ideally, let one side dry completely before staining the other.
- For dry brushing, use minimal paint and a light hand. If you apply too much paint, wipe off the excess immediately before it dries.