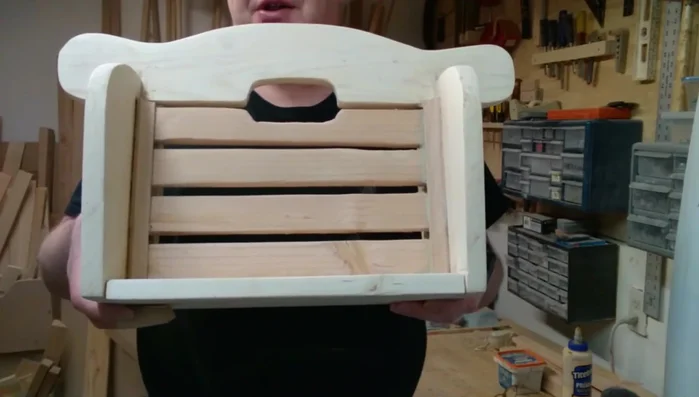
Tired of stacks of magazines cluttering your coffee table or overflowing from baskets? A stylish and functional magazine rack can be the perfect solution, and you don't need to spend a fortune to get one. This DIY project offers a simple, cost-effective way to organize your reading material while adding a touch of rustic charm to your home. Using readily available materials and basic woodworking skills, you can craft a beautiful, personalized magazine rack in just a few hours. This project is ideal for both beginners and experienced DIY enthusiasts alike, offering a satisfying sense of accomplishment once complete.
Forget overpriced store-bought options and embrace the satisfying world of crafting your own! This easy step-by-step tutorial will guide you through the process of building a sturdy and attractive wooden magazine rack, from selecting your materials to the final sanding and finishing touches. Let's get started and transform those unruly magazine piles into a beautifully organized display.
Preparation and Safety Guidelines
- Poster board
- Chop saw
- Sandpaper
- Wood (3/4 inch thick)
- Table saw
- Wood glue
- Painter's tape
- Brad nailer (optional)
- Scrap wood
- Always wear safety glasses to protect your eyes from flying wood chips or debris during cutting and sanding.
- Use clamps to secure the wood pieces firmly while gluing and screwing to prevent injury and ensure a strong, stable rack.
- Ensure proper ventilation when using wood stains, paints, or sealants. Work in a well-ventilated area or wear a respirator.
Step-by-Step Instructions
Create the Template
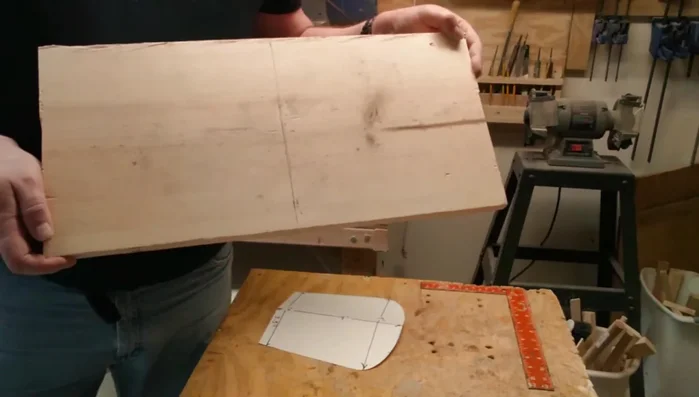
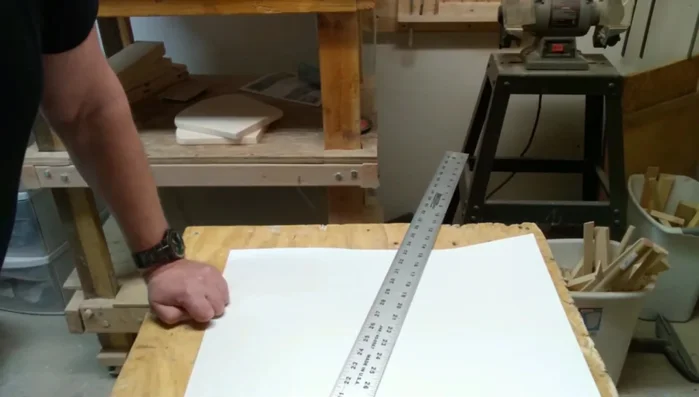
- Cut a 9x9 inch piece of poster board to determine the general shape of the magazine rack.

Create the Template Cut the Side Pieces
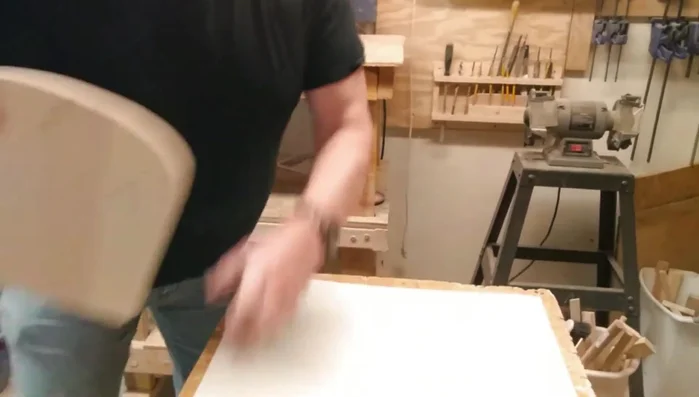
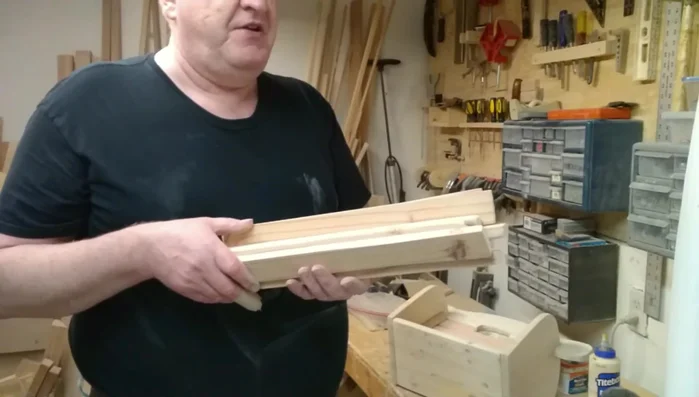
- Cut two identical pieces of 3/4 inch thick wood based on the template. Ensure they are perfectly symmetrical.
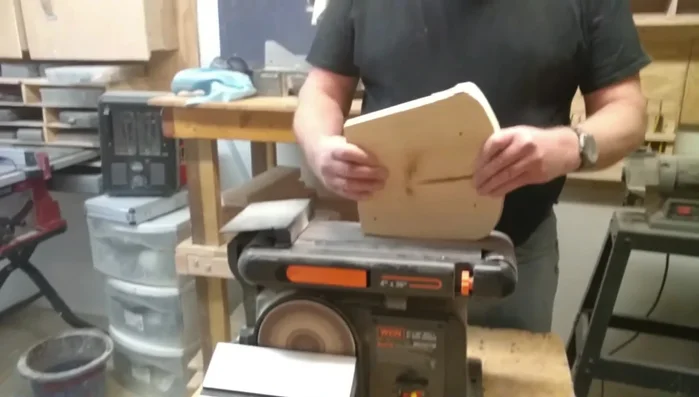
Cut the Side Pieces Sand the Side Pieces
- Smooth down the edges of the side pieces.
Sand the Side Pieces Create the Handle
- Design and cut a 19-inch long by 3.5-inch wide handle. Make sure it is symmetrical.
Create the Handle Cut the Rack Floor
- Cut a 12x7 inch piece of wood for the base of the magazine rack.
Cut the Rack Floor Prepare the Divider Rails
- Rip a 2x4 into five 5/8 inch strips. These will serve as the rails for the divider.
Assemble the Divider
- Glue and clamp the divider strips together, using spacers to ensure even spacing. Add inside corner trim.
Sand and Stain (Optional)
- Sand the interior section of the divider and apply a coat of stain before attaching front rails.
Sand and Stain (Optional) Attach the Front Rails
- Glue and clamp additional strips to the front of the divider, using spacers for even spacing. Allow to dry.
Attach the Front Rails Attach the Feet
- Glue and clamp two 7-inch long, 1/2x1/2 inch strips of wood to the bottom of the rack as feet. Ensure they are square and evenly spaced.
Attach the Feet


Read more: Build a Stunning Black Walnut Coaster Set: The Ultimate Furniture Protector
Tips
- Use a 3/4 inch thick wood for the stand to ensure sturdiness.
- Sand all pieces thoroughly for a smooth finish.
- When ripping boards, sand to remove curvature and indentations from the table saw blade.
- Use spacers when gluing to ensure even spacing between parts.
- Consider using a brad nailer to fasten the rails, though this could potentially split the wood.