Fresh herbs, bursting with flavour and fragrance, are the cornerstone of any vibrant kitchen garden. But keeping track of your basil from your chives can become a surprisingly tricky task, especially as your little seedlings grow. Forget those flimsy, easily-lost plastic labels! This article will show you how to craft adorable and durable plant markers using simple materials, transforming your herb garden into a charming, organized haven. These wooden heart markers are not only functional but also add a touch of rustic elegance to your planting beds, making tending to your herbs even more enjoyable.
Creating these delightful little plant markers is easier than you might think, requiring only a few basic craft supplies and a dash of creativity. We'll guide you through each step, from preparing the wood to personalizing your hearts with charming handwritten labels. Ready to get started and add some rustic charm to your herb garden? Let's dive into the step-by-step instructions!
Preparation and Safety Guidelines
- Wooden hearts
- Wooden sticks (shashliks)
- Pencil
- Eraser
- Artist pen (fine point)
- Hot glue gun
- Practice sheet (downloadable)
- Always supervise children when using sharp tools like scissors or knives, and ensure they understand the importance of handling them carefully.
- Use waterproof paint or sealant on your wooden hearts to protect them from the elements and ensure longevity. Regularly check markers for signs of damage or decay.
- When using natural materials like wood, be aware of potential splinters. Sand the edges of your hearts smoothly before painting or writing on them to avoid injury.
Step-by-Step Instructions
Prepare the Template
- Download and print the free practice sheet from craftyfinemylove.com/freebie.
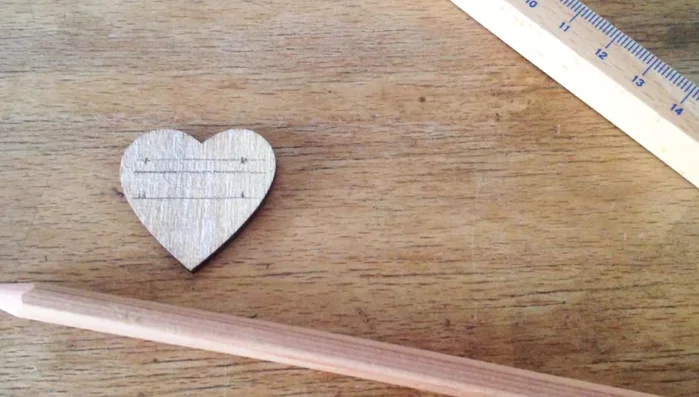
Sketch Herb Names
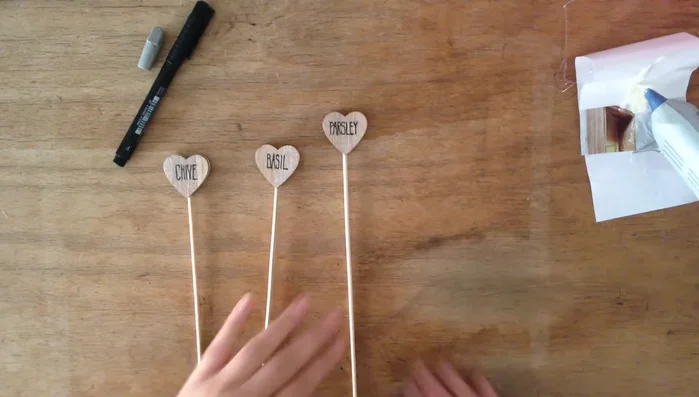
- Prepare the wooden hearts by sketching the herb names with a pencil.

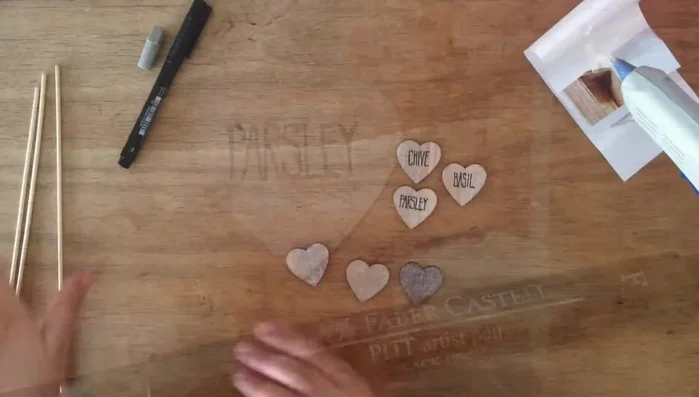
Sketch Herb Names Write Herb Names
- Write the herb names neatly on the hearts using your artist pen.
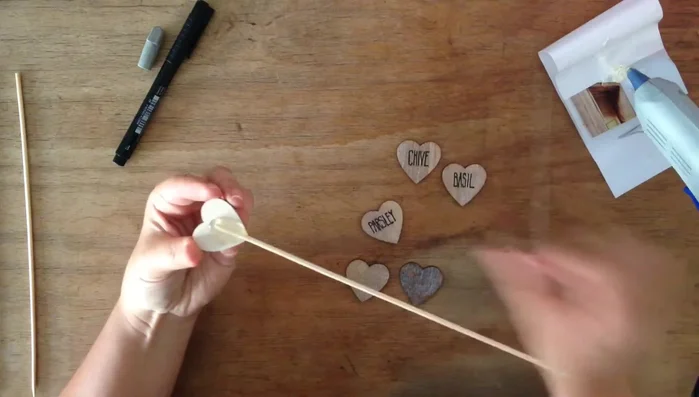
Write Herb Names Attach Sticks to Hearts
- Apply a small amount of hot glue to the back of a wooden heart.
- Press a wooden stick firmly into the center of the glued heart.
- Hold the stick in place until the glue dries to ensure proper adhesion.
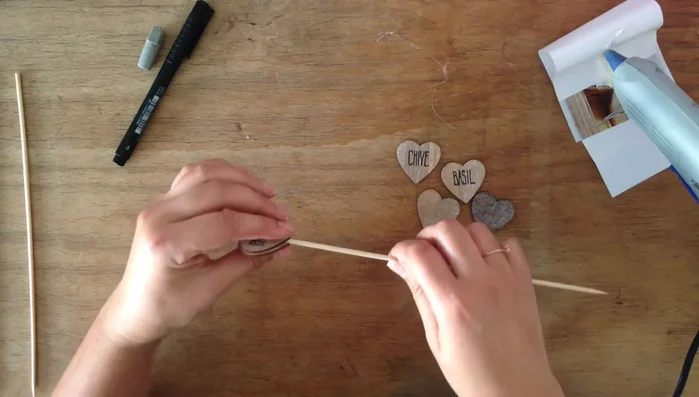
Attach Sticks to Hearts Repeat for Remaining Hearts
- Repeat steps 4-6 for each wooden heart and herb name.
Repeat for Remaining Hearts
Read more: Build a Stunning Black Walnut Coaster Set: The Ultimate Furniture Protector
Tips
- Use a practice sheet to plan your herb names and layouts before applying them to the wooden hearts.
- Ensure even glue distribution on the back of the heart for optimal stick placement and adhesion.
- Hold the stick firmly in place until the glue is completely dry to avoid misalignment.