Tired of laundry piling up and cluttering your living space? Do you yearn for a stylish and practical solution to drying your clothes, one that doesn't cost a fortune? Then building your own DIY wooden clothing drying rack is the perfect project for you! This simple guide will walk you through creating a sturdy and attractive rack using readily available materials, saving you money and allowing you to personalize your design to perfectly match your home décor. Forget flimsy plastic racks and embrace the charm and durability of natural wood.
This project is ideal for beginners with basic woodworking skills, requiring only a few essential tools and minimal expertise. We’ll cover everything from choosing the right wood and cutting the pieces to assembling the rack and adding a final touch of varnish or stain. Ready to get started? Let's dive into the step-by-step instructions and build your very own custom wooden clothing drying rack.
Preparation and Safety Guidelines
- Plain doll Ram pine strip (1.2 meters long, 80 x 21 mm)
- 22 mm beech dowels (800 mm)
- 12 mm beech dowels (760 mm)
- 6 cm bolts with butterfly nuts
- Washers
- 16 mm wood screws
- 2.5 mm lacing cord
- Cordless drill with 4 mm & 22 mm drill bits
- Spade bit
- Tape measure
- Pencil
- Wood glue
- Jigsaw
- Sander
- Soft wax or wood sealant
- Always use appropriate safety glasses and a dust mask when cutting and sanding wood to protect your eyes and lungs from debris.
- Ensure all screws and nails are securely fastened to prevent the rack from collapsing under the weight of wet clothing.
- Handle sharp tools with care and ensure proper ventilation when using wood finishes or paints to avoid fumes and injury.
Step-by-Step Instructions
Prepare the Pine Strips
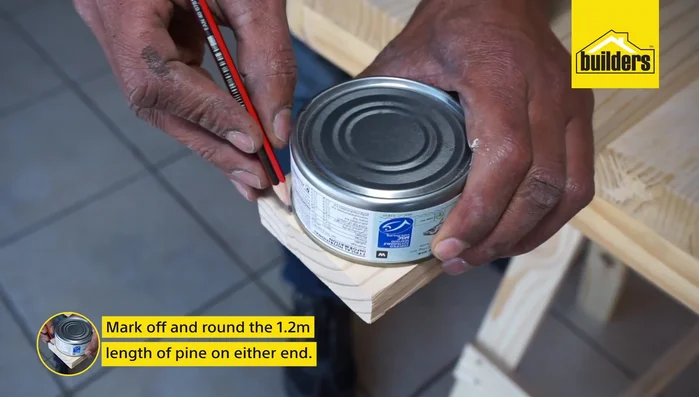
- Round off the ends of the 1.2-meter pine strips using a jigsaw.
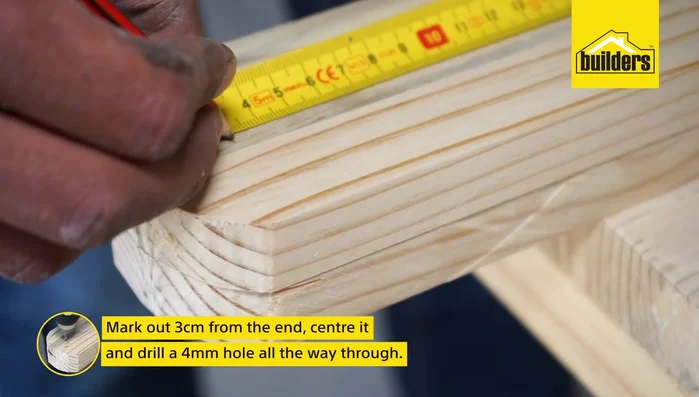
- Mark 3 centimeters from the end of each 1.2-meter pine piece and drill a 4mm hole.
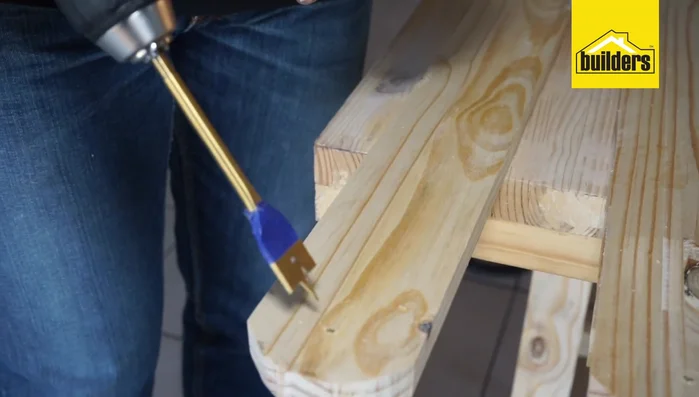
- Using a spade bit, mark off 1 cm from the bottom and drill dowel holes into the ends of the 1.2-meter pine pieces.
- Sand down all the wooden pieces.

Prepare the Pine Strips Prepare the Dowels
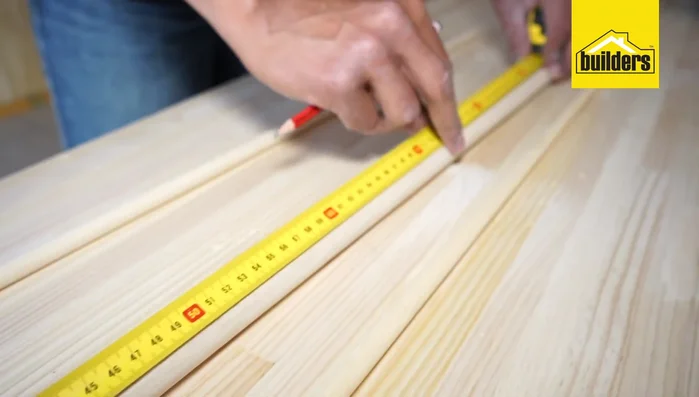
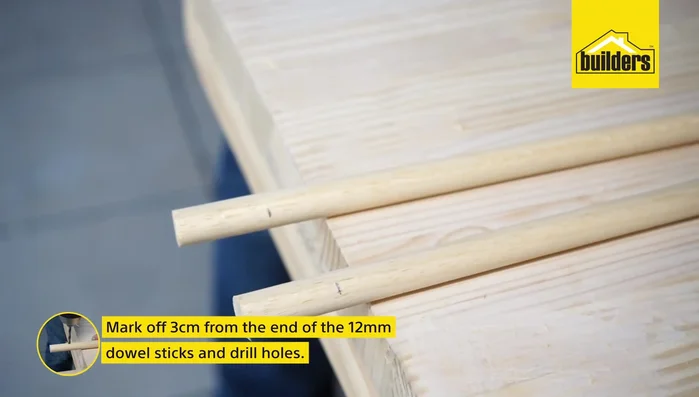
- Cut the 22mm dowels to 80cm and the 12mm dowels to 760mm.
- Mark and drill holes 3cm from the ends of the 12mm dowels.
Prepare the Dowels Assemble the Frame
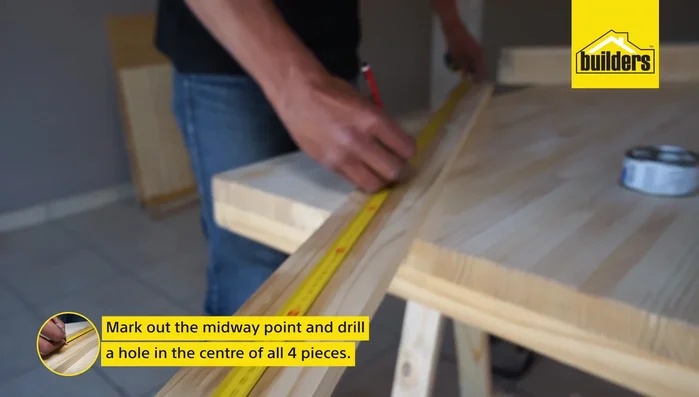
- Drill a hole in the center of all four rounded pine pieces.
- Assemble the sides using one 6cm bolt, three washers per side, and one butterfly nut per side.
Assemble the Frame Attach the Crossbars
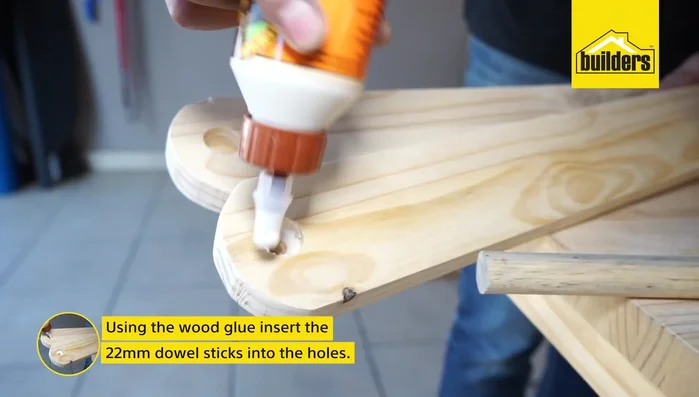
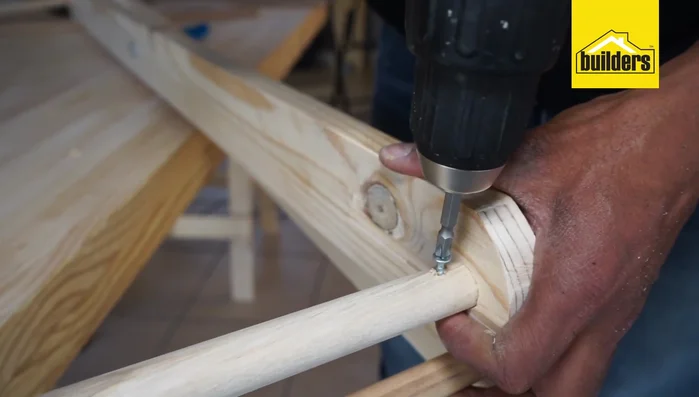
- Using wood glue, insert the 12mm dowels into the 22mm holes and secure with wood screws.
Attach the Crossbars Add the Hanging Cord
- Attach the lacing cord, making knots every 10cm, through the holes in the 12mm dowels.
Add the Hanging Cord Finishing Touches
- Tighten the bolts and seal the wood.

Read more: Build a Stunning Black Walnut Coaster Set: The Ultimate Furniture Protector
Tips
- Sanding the wood before assembly makes a significant difference in the final look.
- Make sure to seal the wood to protect it from warping due to wet clothing.