Have you ever dreamed of owning a unique, handcrafted timepiece that reflects your personal style? Forget mass-produced clocks; the satisfying process of building your own wooden clock offers a rewarding blend of creativity and craftsmanship. This isn't a project reserved for experienced woodworkers; with a little patience and the right guidance, you can craft a beautiful, functional clock that will be a source of pride for years to come. The charm of a DIY wooden clock lies not just in its aesthetic appeal, but also in the personal connection forged through the creation process.
This detailed guide provides a comprehensive step-by-step approach, leading you through each stage of construction from selecting the wood and preparing the components to assembling the clock mechanism and finishing the piece. Whether you’re a seasoned DIY enthusiast or a complete beginner, get ready to embark on this fulfilling project, and let's begin building your very own personalized wooden clock!
Preparation and Safety Guidelines
- Scroll saw
- Spray adhesive
- Sanding strip
- Drill
- Chisel
- Table saw
- Dado stack
- Dial caliper
- Sandpaper
- Rotary tool
- Arbor press
- Dead blow hammer
- Clamps
- Shellac
- Disc sander
- General finishes and dur
- Always wear safety glasses to protect your eyes from flying wood chips and debris.
- Use caution when operating power tools. Ensure the workpiece is securely clamped before cutting or sanding.
- Handle sharp tools with care. Keep them out of reach of children and store them properly after use.
Step-by-Step Instructions
Gear Preparation
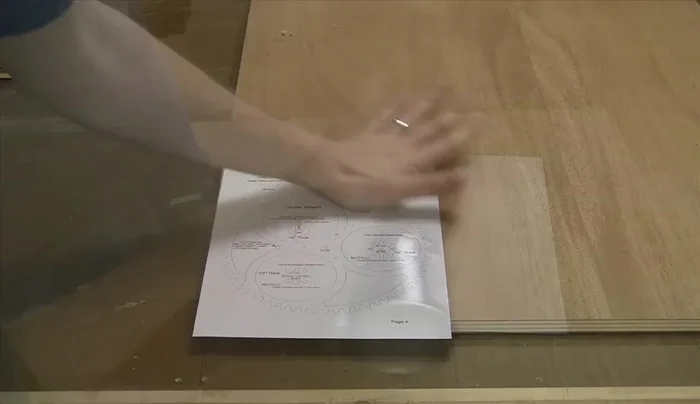
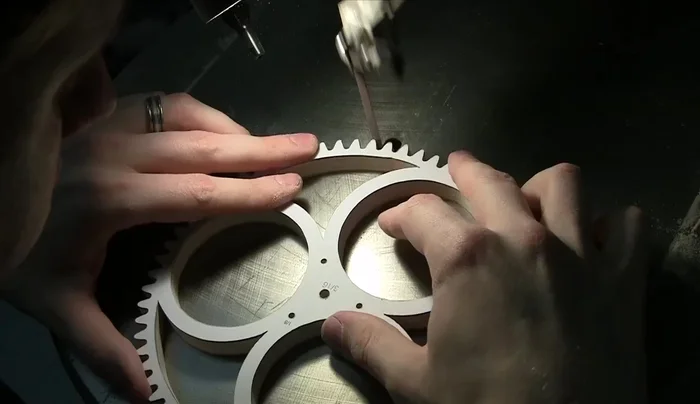
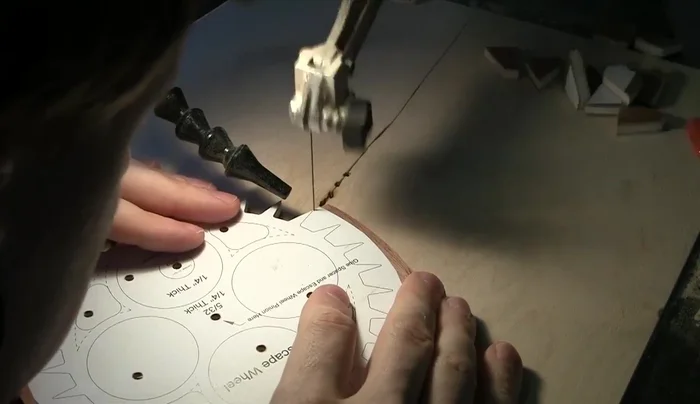
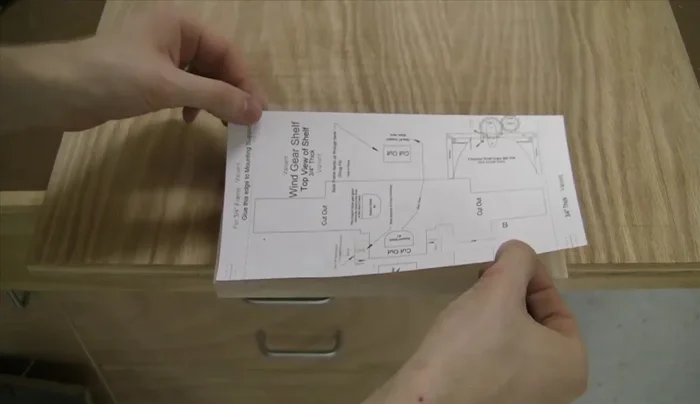
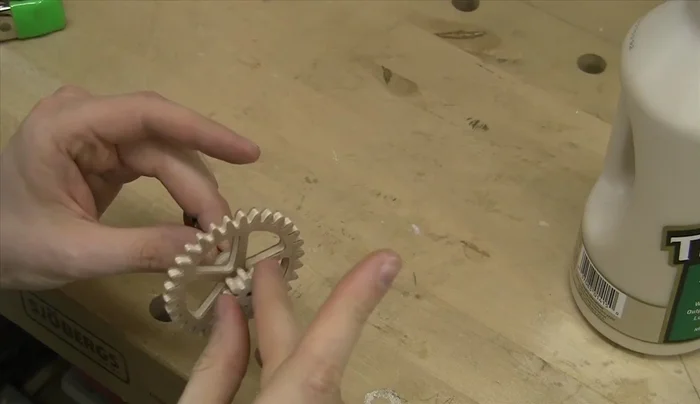
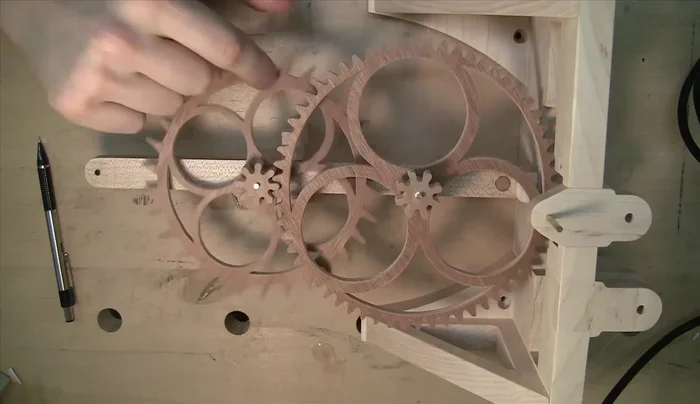
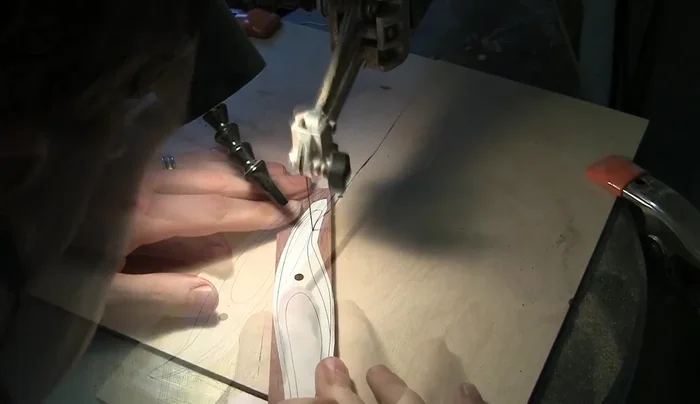
- Cut the gears from high-quality plywood using a scroll saw with a fine blade. A pre-drilled hole helps with starting the cut.
- Clean up the gear teeth using a sanding strip in the scroll saw. Remove the paper template.
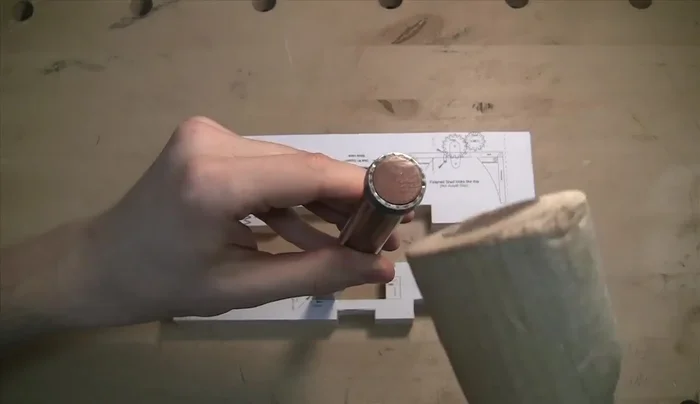
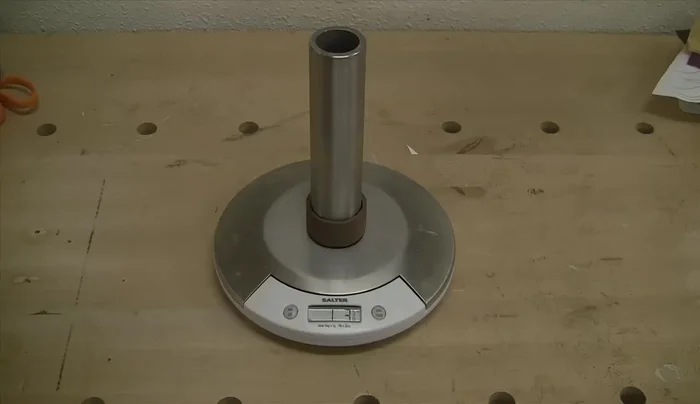
- Sand the escape wheel tips to ensure they are crisp and concentric by mounting the wheel on a shaft.
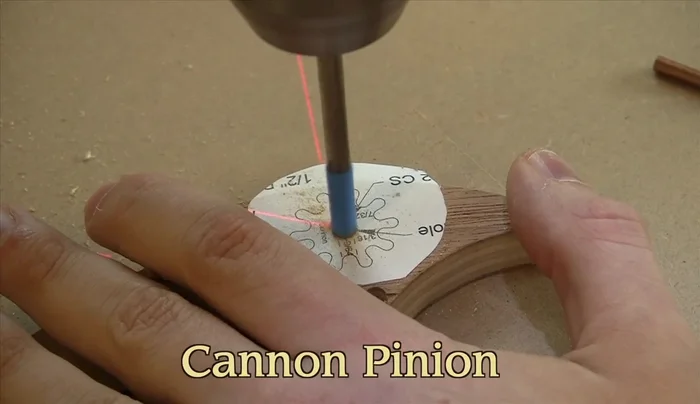
- Drill holes and countersinks for the cannon pinion, ensuring concentricity.

Gear Preparation Frame Construction
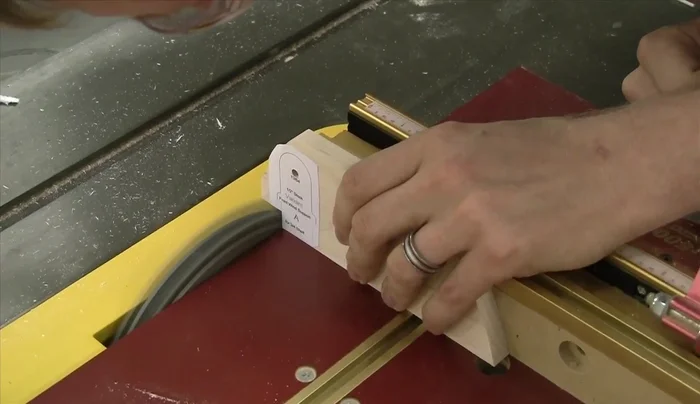
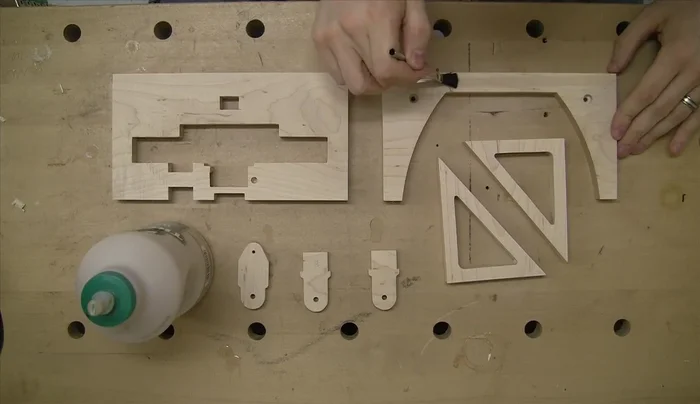
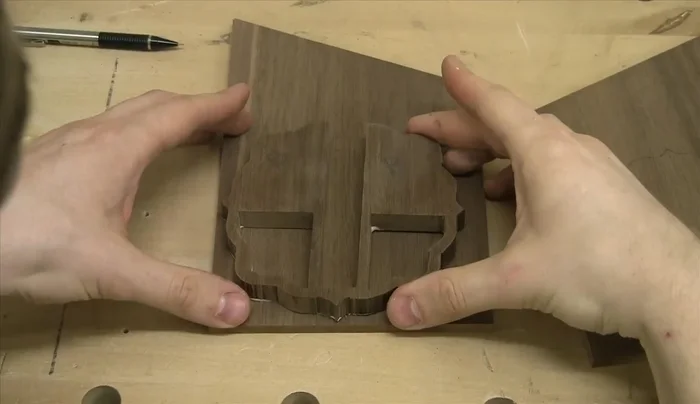
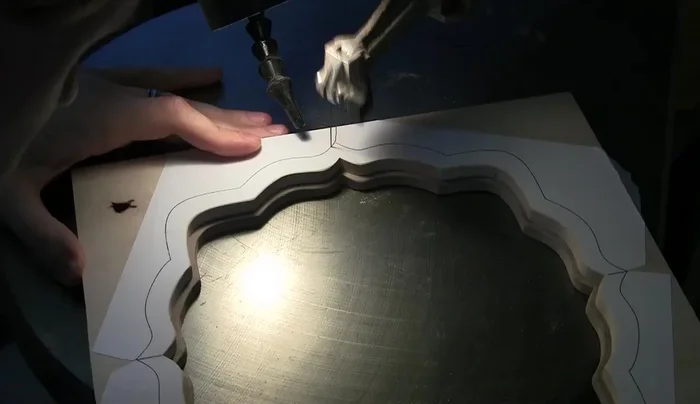
- Cut the frame pieces from solid maple using the scroll saw and templates.
- Create notches for the drive gear using a chisel.
- Use a dado stack at the table saw to create the wine shaft support.
Frame Construction Sub-Assembly Construction
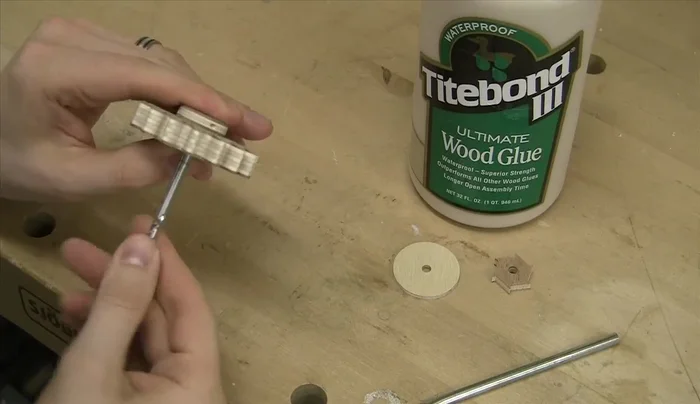
- Glue and assemble the drive gear, pulley, and click gear assembly. Use a drill bit to hold the parts in position while the glue dries.
- Assemble the intermediate wheel, spacer, and pinion; the third wheel, spacer, and pinion; and the escape wheel, spacer, and pinion assemblies. Insert brass tubes using an arbor press.
Sub-Assembly Construction Frame Assembly
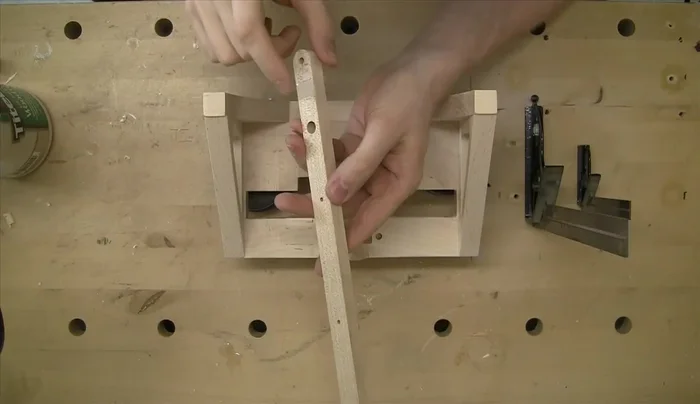
- Glue and clamp the frame pieces together. Add screws for extra support.
- Glue the rear vertical frame to the main frame.
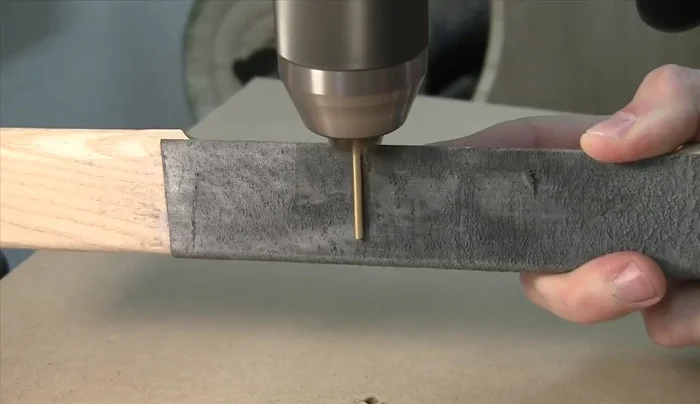
- Polish the brass shafts before pressing them into the rear vertical frame using an arbor press and dead blow hammer.
Frame Assembly Gear Fine-Tuning
- Fine-tune the gears by manually spinning them and using a rotary tool to relieve material where the gears bind.
Gear Fine-Tuning Pendulum Bob Creation
- Make the pendulum bob from three pieces of walnut, adding lead shot for weight.
Pendulum Bob Creation Finishing and Assembly
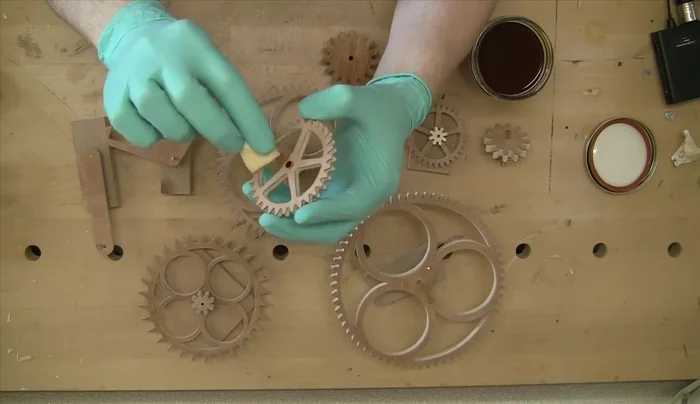
- Apply shellac to the gears, avoiding the teeth.
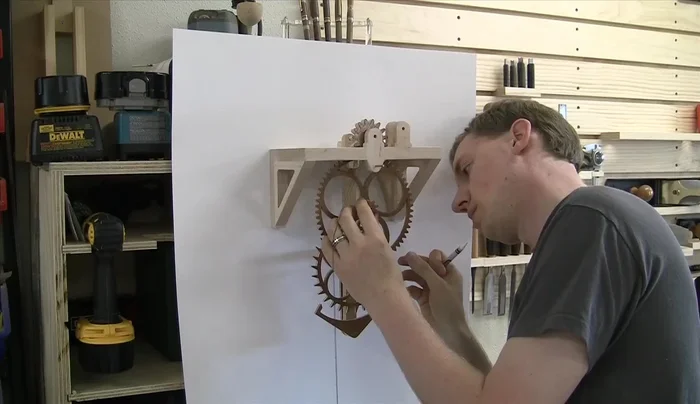
- Assemble the clock, add a weight, and adjust the pendulum for optimal performance.
Finishing and Assembly Hand and Face Creation
- Make the clock hands from purple heart and canary wood, shaping them with a disc sander and rotary tool.
- Cut the clock face from a maple and walnut sandwich.
Hand and Face Creation Weight Creation
- Make the clock weight from a steel tube filled with lead shot and capped with walnut.
Weight Creation Final Finishing and Hanging
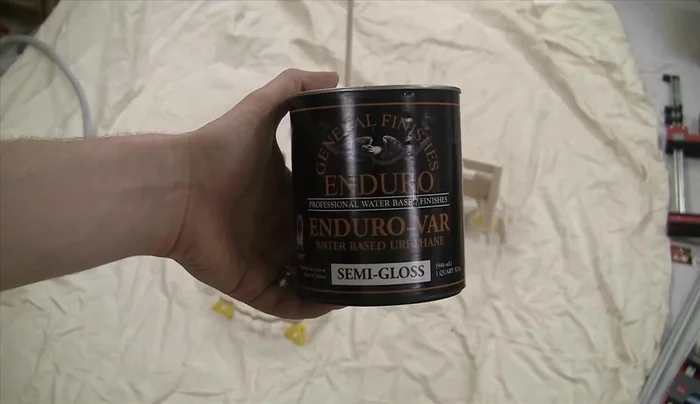
- Finish the remaining clock parts with a high-quality water-based finish.
- Hang the clock.
Final Finishing and Hanging
Read more: Build a Stunning Black Walnut Coaster Set: The Ultimate Furniture Protector
Tips
- Use high-quality plywood for stability.
- Ensure good glue contact when assembling the frame.
- Adjust the pendulum for optimal performance after assembly.