Tired of the same old store-bought lamps? Yearning for a unique and personalized touch in your home décor? Then why not craft your own stunning lamp base from a simple wood block? This project is surprisingly easy, requiring minimal tools and materials, and the result is a handcrafted piece that reflects your individual style and adds a touch of rustic charm or modern elegance, depending on your chosen finish. This DIY project is perfect for beginners and seasoned crafters alike, offering a rewarding experience from start to finish.
This step-by-step guide will walk you through the entire process of transforming a plain wood block into a functional and beautiful lamp base. From selecting the right wood and preparing your materials to wiring the electrical components safely and securely, we'll cover every detail to ensure your success in creating a lamp you'll be proud to display. Let's get started!
Preparation and Safety Guidelines
- Band saw
- Wood glue
- Clamps
- Random orbital sander
- Measuring tools
- Pencil
- Cherry stain (optional)
- Always unplug the lamp cord before handling the base or making any modifications. Electricity is dangerous!
- Use appropriate safety glasses when working with wood, especially during sanding and drilling. Wood dust can also be irritating; consider wearing a dust mask.
- Ensure the lamp cord is securely attached to the lamp base and properly insulated to prevent electrical shocks. Use appropriate wiring techniques if you're unsure; consult an electrician if necessary.
Step-by-Step Instructions
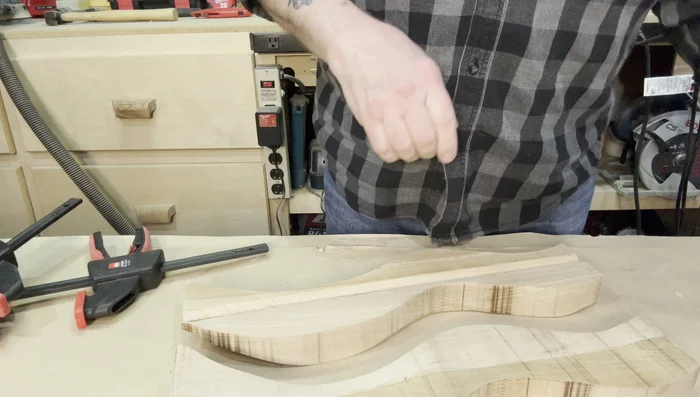
Prepare the Wood Blocks
- Cut the wood block into sections using a band saw (refer to the previous video for details).
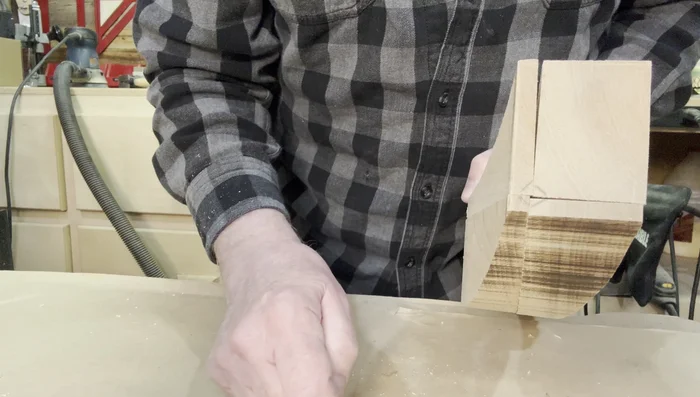
Mark and Chamfer Corners
- Mark the inside corners where the sections meet at the top.
- Create a chamfer on each of the four corners. The chamfer width should be calculated by multiplying the diameter of the lamp rod (3/8 inch in this case) by 0.707 (approximately 5/16 inch).

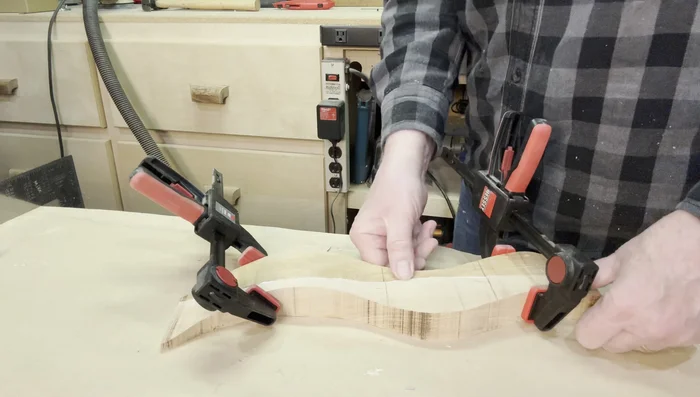
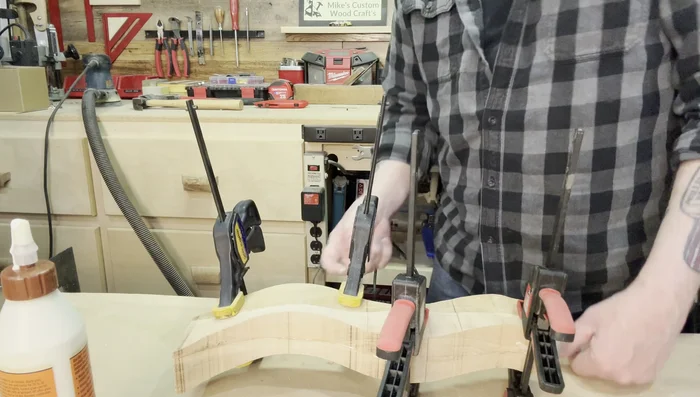
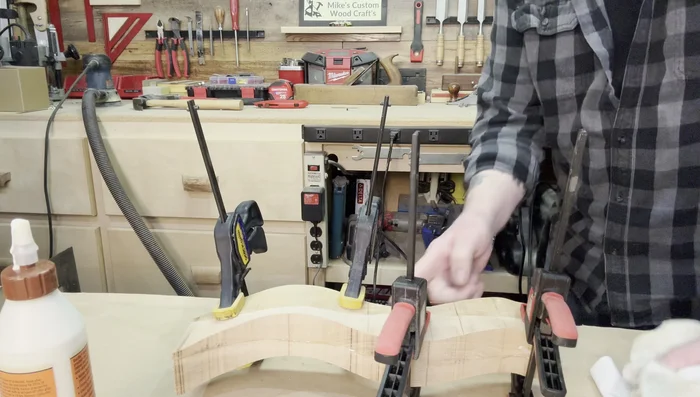
Mark and Chamfer Corners Glue and Clamp First Half
- Glue the sections together, ensuring the correct orientation to avoid design errors.
- Clamp the glued sections firmly, paying attention to alignment to prevent slippage.
- Let the glue dry completely.
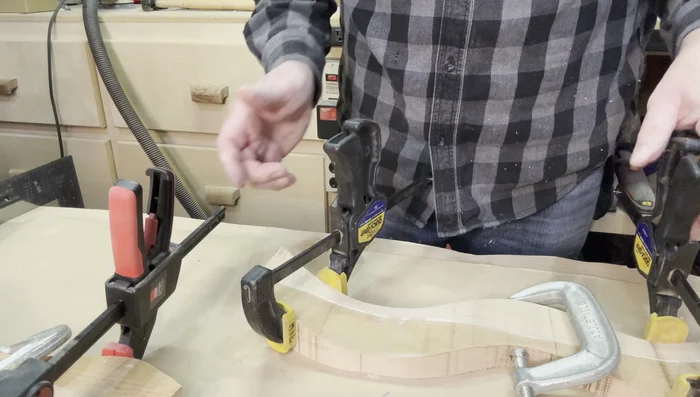
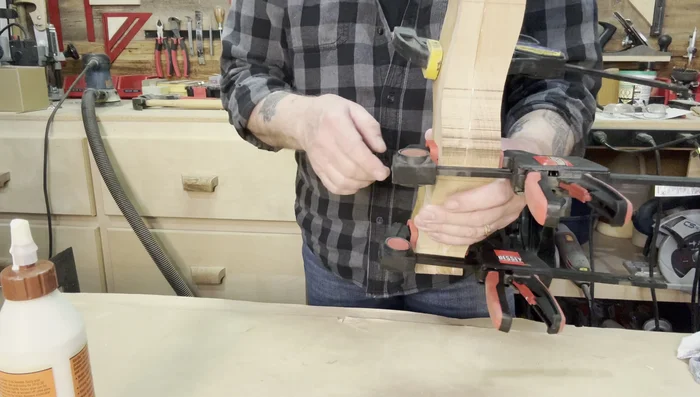
Glue and Clamp First Half Glue and Clamp Two Halves
- Glue the two halves together, ensuring accurate alignment.
- Clamp the two halves firmly, ensuring proper alignment.
- Let the glue dry completely.
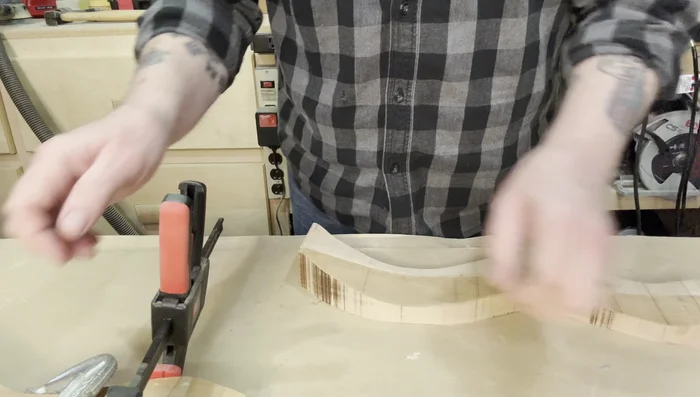
Glue and Clamp Two Halves Sanding
- Sand all surfaces smooth using a random orbital sander.
Sanding Finishing
- Apply cherry stain (optional) for a desired finish.
- Create and attach a base (details not shown in this video).
Finishing


Read more: Build a Stunning Black Walnut Coaster Set: The Ultimate Furniture Protector
Tips
- Double-check the orientation of the glued pieces to prevent mistakes.
- Use sufficient clamps to keep the pieces securely in place during gluing.
- Take your time with alignment during gluing to achieve a clean finish.
- Avoid using excessive wood putty to maintain a smooth surface.