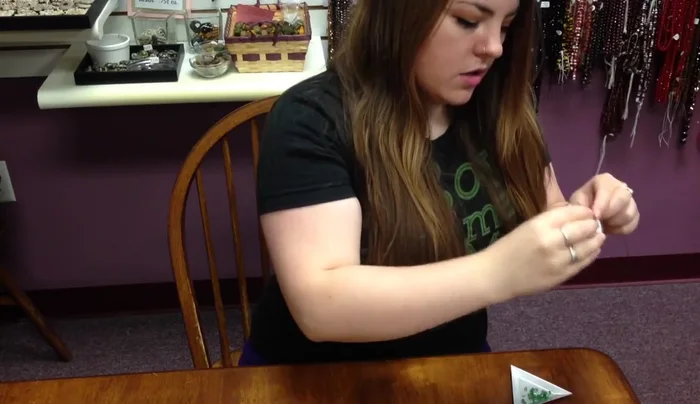
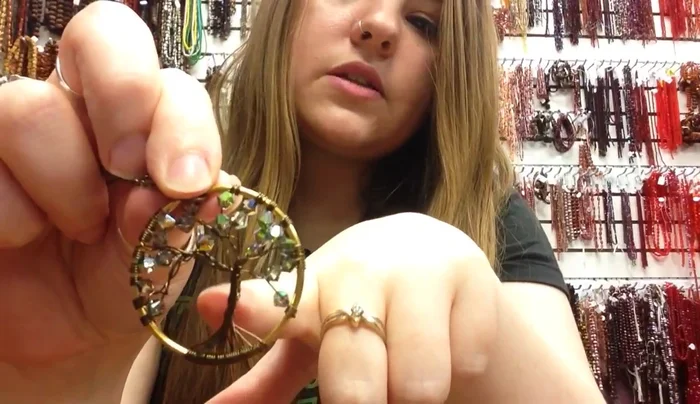
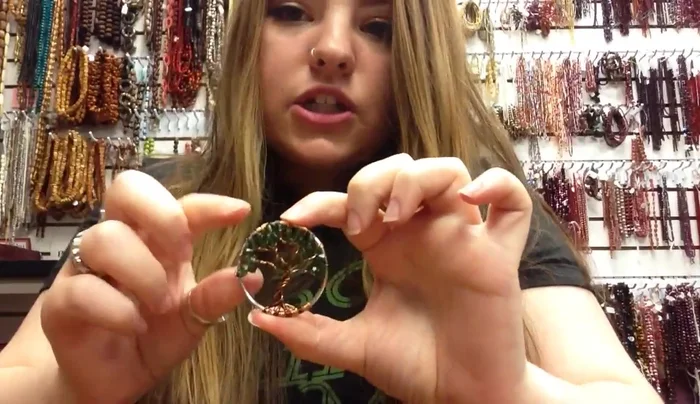
Add a touch of rustic elegance to your home décor with this stunning DIY wire tree pendant! This simple yet captivating project is perfect for crafters of all skill levels, requiring only a few readily available materials and a bit of patience. Imagine the soft glow emanating from this unique piece, casting delicate shadows on your walls and creating a warm, inviting ambiance. Whether you're looking for a personalized gift or a beautiful addition to your own space, this wire tree pendant offers a rewarding creative outlet with impressive results.
This guide will walk you through each step of creating your own mesmerizing wire tree pendant, from gathering supplies to achieving that perfect, handcrafted finish. Let's delve into the detailed, step-by-step instructions to bring your vision to life and illuminate your home with this charming handmade masterpiece.
Preparation and Safety Guidelines
- Peer links
- 26 gauge wire
- 24 4mm bone crystals
- Flush cutter
- Chain nose pliers (or chain nose and flat nose pliers)
- Jump ring
- Always use insulated wire to prevent electric shock. Never work with bare wires connected to a power source.
- Exercise caution when using sharp tools like wire cutters or pliers. Always cut away from yourself and keep your fingers clear.
- Ensure the pendant's final construction is sturdy and secure to prevent the wires from loosening or becoming a hazard.
Step-by-Step Instructions
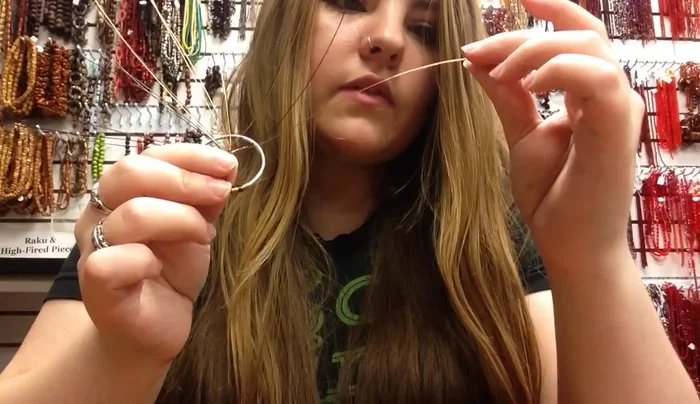
Prepare the Wires
- Cut a long wire (arm's length or slightly shorter), fold it in half, cut it in half. Repeat with another long wire.

Prepare the Wires Create the Roots
- Fold one wire in half, insert the link, and coil one side around the link four times. Repeat with seven remaining wires.
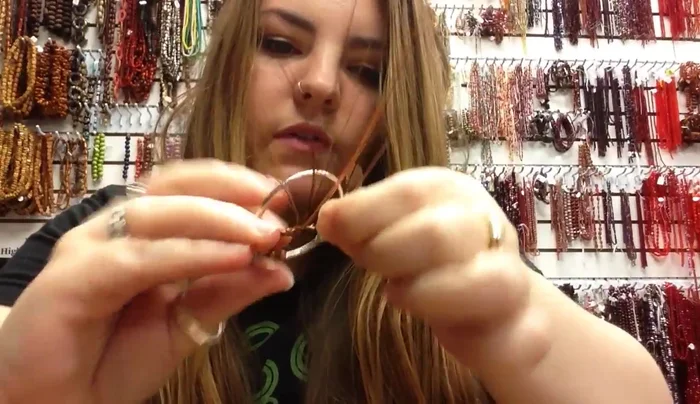
Form the Trunk
- Flip the wire roots upwards, and twist the wires together to create the tree's trunk, keeping your fingers low to control the twist.
Form the Trunk Shape the Branches
- Fan out the wires to create the branches. You can coil some branches together at the base and then spread them further towards the ring for visual interest.
Add the Beads
- Place crystals onto the branches, coiling the wire around the base of each bead to secure them. Maintain uniform coil direction on each side of the tree for neatness.
Add the Beads Refine the Design
- Twist more wires together, separate them, and add more beads. Keep wire ends uncut for flexibility and to create a thicker trunk by slightly untwisting coiled sections.
Refine the Design Finish and Attach Jump Ring
- Angle the excess wires towards the center back of the tree, cut them with a flush cutter, and press down any remaining wire ends to prevent snagging. Attach a jump ring for hanging.
Finish and Attach Jump Ring
Read more: DIY Tiered Tassel Earrings: A Quick & Easy Jewelry Tutorial
Tips
- For a more organic, less perfect look, you can loosen coils by uncoiling and recoiling sections of the wire.
- To create a thicker trunk, slightly untwist the coiled wires near the base, then re-twist near the tip.
- When opening a jump ring, use pliers to open it side to side, not by pulling it apart, to prevent warping.