Unleash your inner craftsman and create a truly breathtaking checkerboard chest board, crafted from the rich, warm tones of walnut and the elegant, lighter hues of maple. This comprehensive guide will walk you through each stage of building this stunning piece, from selecting and preparing the wood to the final finishing touches. Imagine the satisfying weight of the meticulously crafted board in your hands, the beautiful contrast of the woods creating a visually captivating playing surface. This project is perfect for intermediate woodworkers looking to challenge their skills and create a unique, heirloom-quality game piece.
This DIY project offers a rewarding experience that blends artistic vision with practical woodworking techniques. We’ll cover everything from precise cutting and gluing techniques to ensuring a perfectly flat and smooth playing surface, all while highlighting tips and tricks for achieving professional results. Ready to transform your woodworking skills and create a masterpiece? Let's dive into the step-by-step instructions.
Preparation and Safety Guidelines
- band saw (or table saw)
- jointer
- planer
- sled
- stop block
- clamps
- drum sander (or belt sander)
- router
- orbital sander
- brush-on poly
- Always wear safety glasses and a dust mask when working with wood, especially when sanding or using power tools. Wood dust is a respiratory irritant.
- Use clamps to secure your wood pieces firmly during gluing and ensure even pressure for a strong bond. Improper clamping can lead to uneven surfaces or weak joints.
- Sharp tools are essential for clean cuts and precise work, but they are also dangerous. Handle knives, chisels, and saws with extreme care. If unsure of a technique, consult a tutorial or seek help from an experienced woodworker.
Step-by-Step Instructions
Prepare Wood
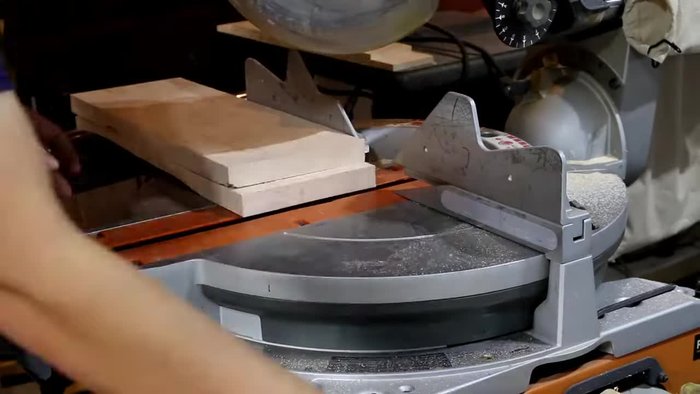
- Cut maple and walnut boards to 18 inches.
- Joint one edge of all boards for a straight edge.
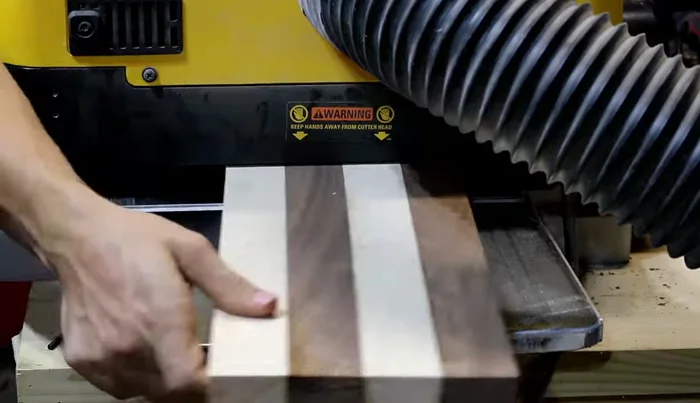
- Rip the boards into strips slightly over 1 3/4 inches wide (using a band saw or table saw).

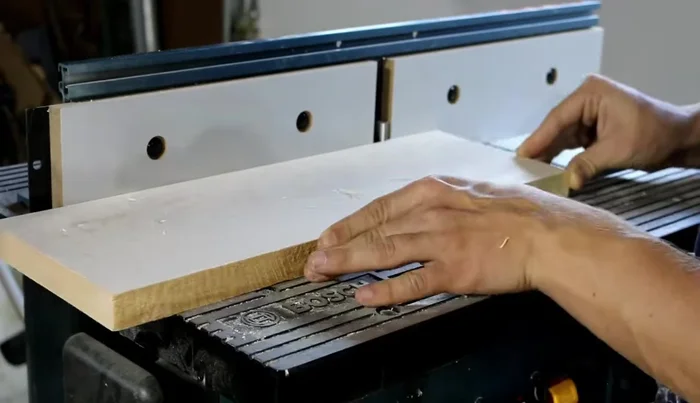
Prepare Wood Glue and Plane Checkerboard Sections
- Glue the strips together in two sections, alternating walnut and maple.
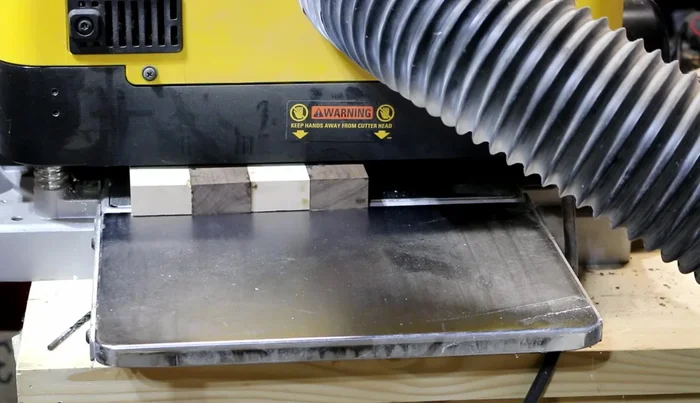
- Plane the glued sections to create a smooth surface.
- Glue the two sections together.
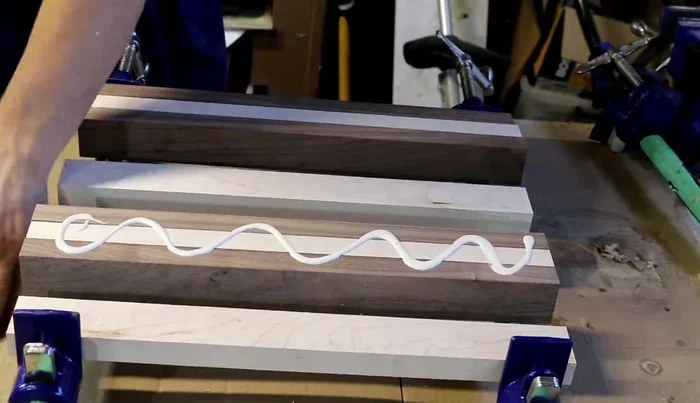
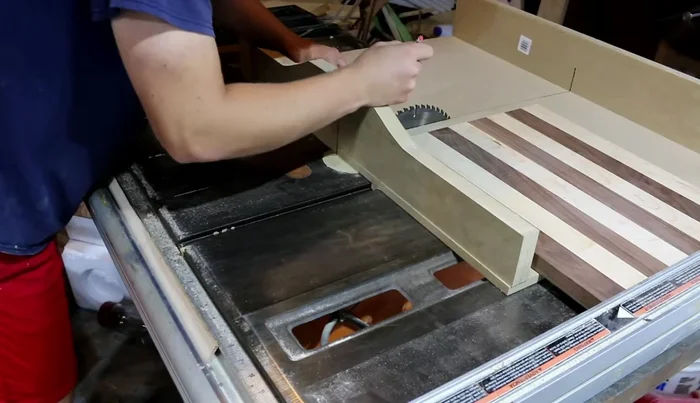
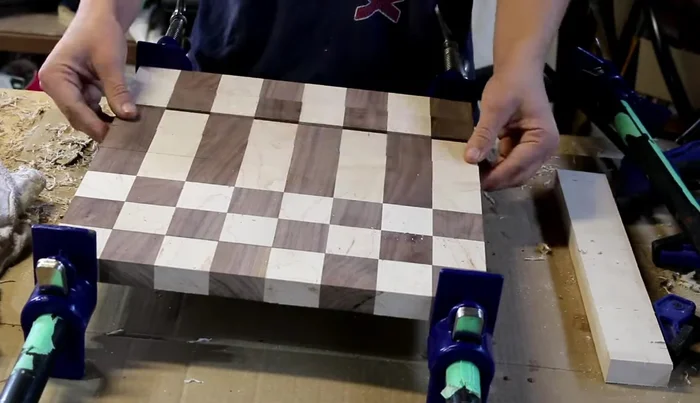
Glue and Plane Checkerboard Sections Cut and Assemble Checkerboard
- Square up one end using a sled and set a stop block at 1 3/4 inches to cut the strips to size.
- Glue up the strips, rotating every other strip 180° for the checkered pattern. Carefully align the edges during clamping.
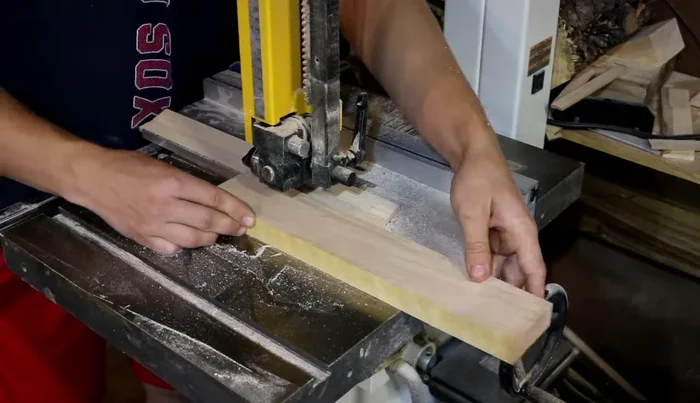
Cut and Assemble Checkerboard Prepare Maple Border
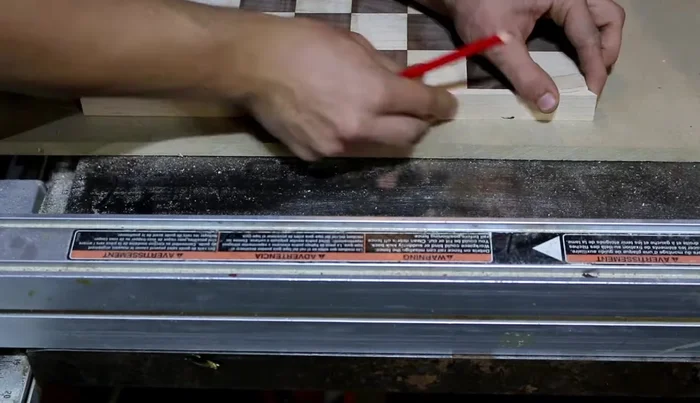
- Cut four strips slightly over 1/4 inch thick and 15 inches long. Plane them down to 1/4 inch. Cut a 45° angle on one side.
Prepare Maple Border Apply Maple Border
- Mark and cut the other side of the maple strips to fit the chest board. Glue them on in two stages for easier alignment.
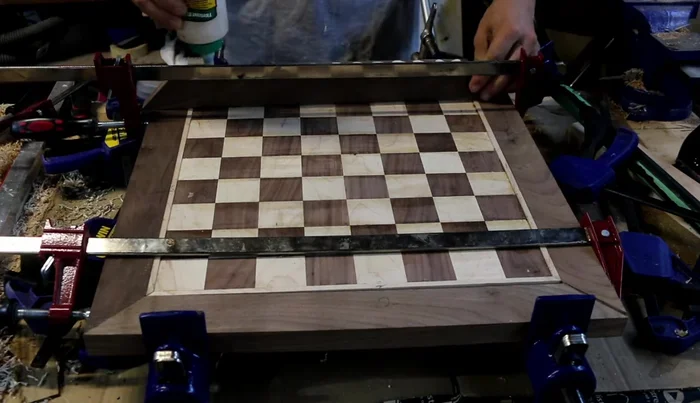
Apply Maple Border Prepare Walnut Border
- Cut strips at 19 inches long and rip them to slightly over 1 3/4 inches. Plane to final width. Repeat the same steps as for the maple border pieces.
Prepare Walnut Border Apply Walnut Border
- Glue on walnut border pieces, doing a dry fit first for proper alignment.
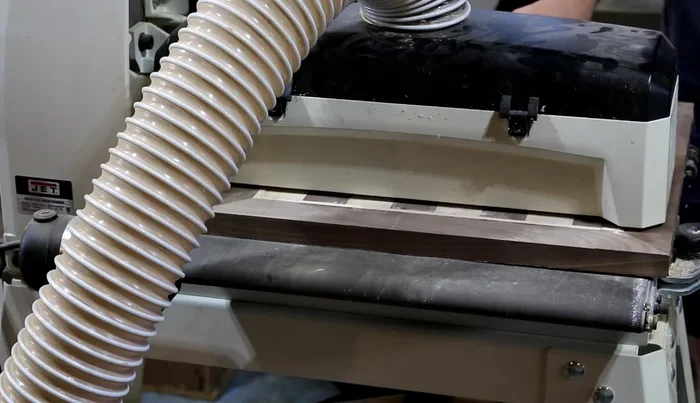
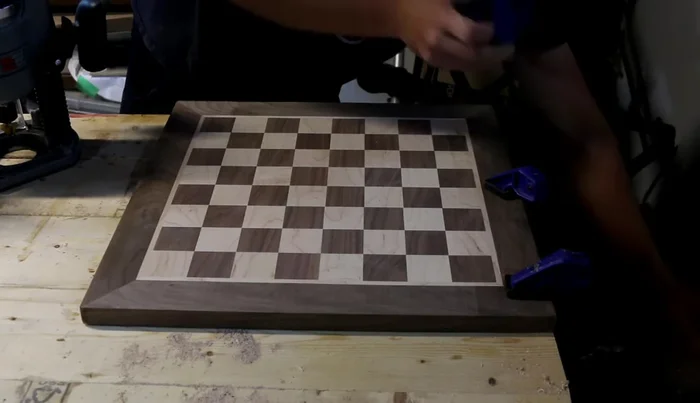
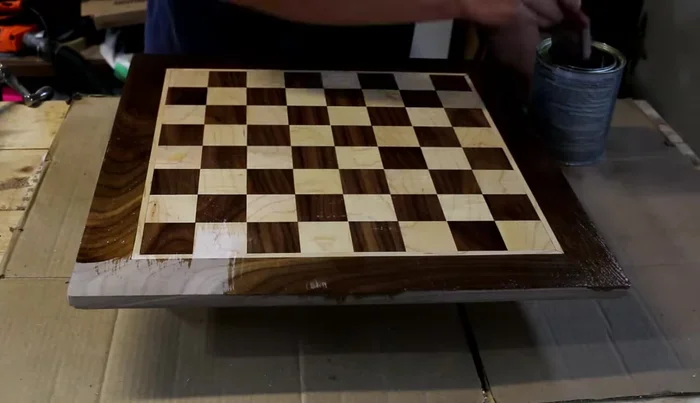
Apply Walnut Border Sand and Finish
- Sand the entire board using a drum sander (or belt sander) and orbital sander for a smooth finish.
- Route the edges for an improved look.
- Apply multiple coats of brush-on poly.
Sand and Finish


Read more: Build a Stunning Black Walnut Coaster Set: The Ultimate Furniture Protector
Tips
- Double-check strip width before placing the stop block for precise cuts.
- Test fit border pieces before gluing to ensure a perfect fit and make adjustments if necessary.
- Consider planing border strips to the same thickness as the board before gluing for easier alignment.
- Always clamp down workpieces when using a router to prevent movement.