First impressions matter, and nothing says "professional" quite like a beautifully crafted business card holder. Tired of flimsy, mass-produced holders that fail to reflect your brand's sophistication? This project offers a solution: a stunning DIY business card holder constructed from elegant walnut and hickory wood. The rich tones and natural grain of these hardwoods create a truly unique and impressive piece, far exceeding the aesthetic appeal of anything you'll find in a store. This design is surprisingly simple to replicate, offering a rewarding project for woodworkers of all skill levels.
This guide will walk you through every step of the process, from selecting and preparing your materials to the final sanding and finishing touches. With detailed instructions and clear images, you'll soon be proudly displaying your business cards in a custom-made holder that speaks volumes about your attention to detail and personal style. Let's dive in and create a business card holder that’s as impressive as the connections you make.
Preparation and Safety Guidelines
- Wood scraps (Walnut and Hickory recommended)
- Measuring tools
- Saw (hand saw or table saw with miter sled)
- Exacto knife
- Drill press
- Cordless drill
- Sandpaper
- Superglue
- Belt sander
- Danish oil
- Copper wire (optional)
- Always wear safety glasses when using power tools like saws and sanders. Wood dust can also irritate eyes.
- Use clamps to secure the wood pieces firmly during gluing and ensure proper alignment to prevent warping or shifting.
- Handle sharp tools like chisels and knives with extreme caution. Cut away from yourself and keep your fingers clear of the blade.
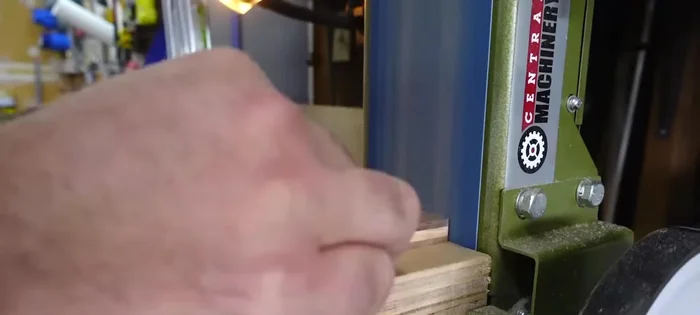
Step-by-Step Instructions
Prepare the Wood
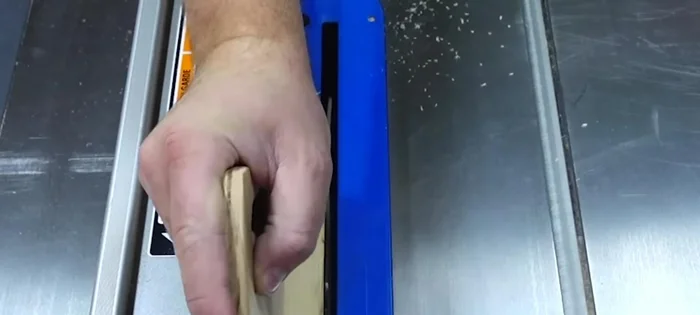
- Clean up the edges of the walnut and hickory boards. Cut the hickory to about a quarter of an inch for the width. Cut two strips to ensure enough material.

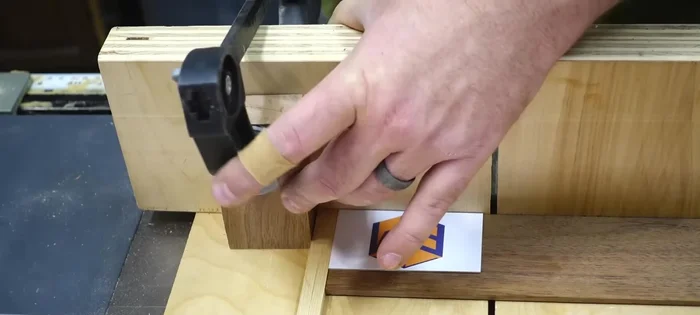
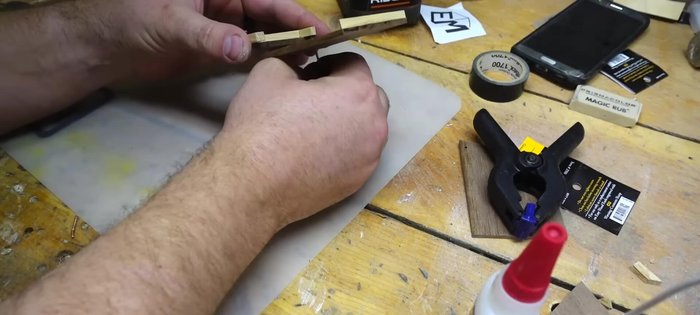
Prepare the Wood Cut Face Pieces
- Use the hickory as spacers and a business card to set up a stop block, leaving extra length. Cut the walnut face pieces for the body and lid.
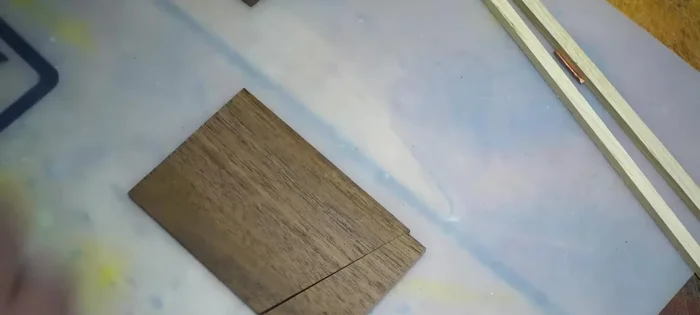
Cut Face Pieces Flatten the Faces
- Use a flat board and sandpaper to flatten the cut faces completely.
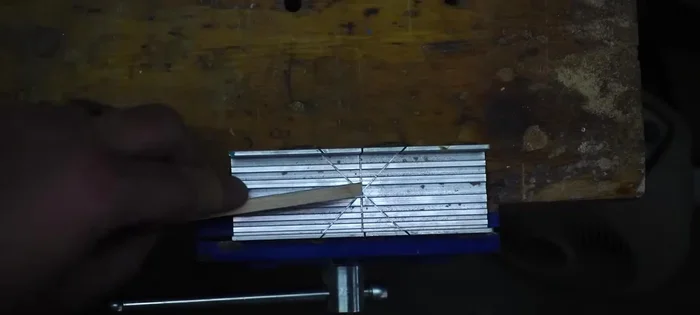
Flatten the Faces Miter Hickory Corners
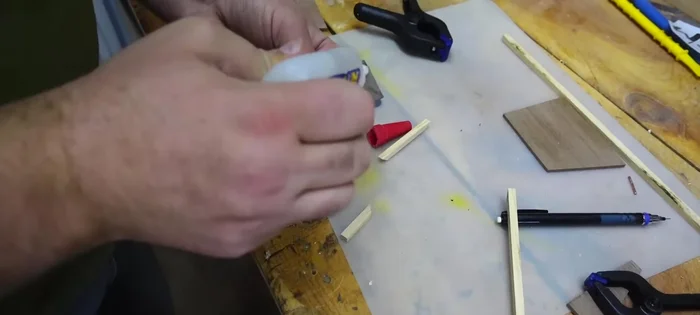
- Use a miter box and exacto knife saw to cut the hickory pieces at 45-degree angles, ensuring a clean edge grain.
Miter Hickory Corners Glue Body Pieces
- Glue the mitered hickory pieces to the walnut faces using superglue. Ensure quick drying for efficient assembly.
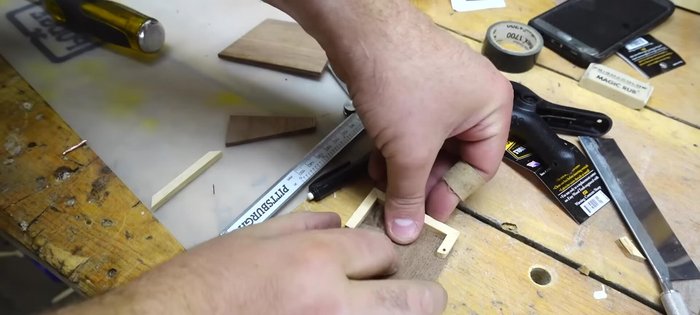
Glue Body Pieces Drill Hinge Holes
- Drill a small hole through the hinge on the lid using a drill press, and transfer these holes to the face pieces using a cordless drill.
Drill Hinge Holes Cut Side Pieces
- Using the miter sled, cut the side pieces for the body, leaving extra length for the hinge and latch.
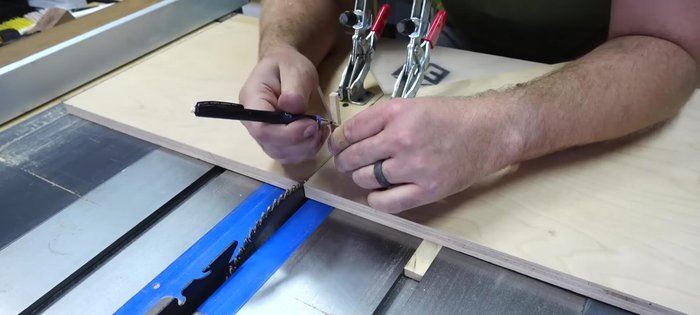
Cut Side Pieces Glue and Mark Side Pieces
- Glue the bottom piece into place, then temporarily attach the lid with a nail to mark hinge and latch placement. Cut the sides to the final length.
Glue and Mark Side Pieces Glue and Sand the Body
- Glue the remaining side piece, ensuring proper alignment. After gluing, sand the base and lid flush, making sure they are the same height.
Glue and Sand the Body Add the Hinge
- Use copper wire (or similar material) for the hinge, drilling holes slightly smaller than the wire for a friction fit. Cut the wire flush and sand.
Add the Hinge Sand and Finish
- Sand the entire business card holder, rounding over the corners. Apply several coats of Danish oil for a protective finish.
Sand and Finish


Read more: Build a Stunning Black Walnut Coaster Set: The Ultimate Furniture Protector
Tips
- For batching, cut an entire stack of boards for the faces simultaneously.
- When trimming small amounts, press the piece against the blade (while off), clamp with another piece of wood, and carefully run it through the saw.