Tired of clutter cluttering your kitchen, bathroom, or workshop? Yearning for a stylish and practical storage solution that doesn't break the bank? Then building your own DIY hot rack is the perfect project for you! A hot rack, typically used for displaying and storing pots and pans, can be adapted for a multitude of uses, from holding towels to showcasing your favorite mugs. With a little creativity and some readily available materials, you can create a bespoke storage solution that perfectly complements your existing decor.
This guide provides a comprehensive, step-by-step approach to building a stunning and functional wall rack, tailored to your specific needs and aesthetic preferences. Whether you're a seasoned DIY enthusiast or a complete beginner, follow along as we guide you through each stage of the process, from selecting the right materials to installing your finished masterpiece. Let’s get started!
Preparation and Safety Guidelines
- Drill press
- 1 1/2 inch forstner bit
- Table saw
- Speed square
- Sled
- Dremel
- Router
- Sandpaper (180 grit)
- Beeswax
- Paper towel
- Always ensure the wall you are attaching the rack to can support the weight. Use appropriate wall anchors based on your wall type (drywall, brick, etc.) and the weight of the items you plan to store. Improper anchoring can lead to serious injury or property damage.
- Wear safety glasses and gloves when using power tools and working with sharp objects like screws or nails. Follow all manufacturer's instructions for tools and materials.
- Allow ample cooling space around any electrical components or appliances you place on the rack. Never obstruct ventilation, which could cause overheating and create a fire hazard.
Step-by-Step Instructions
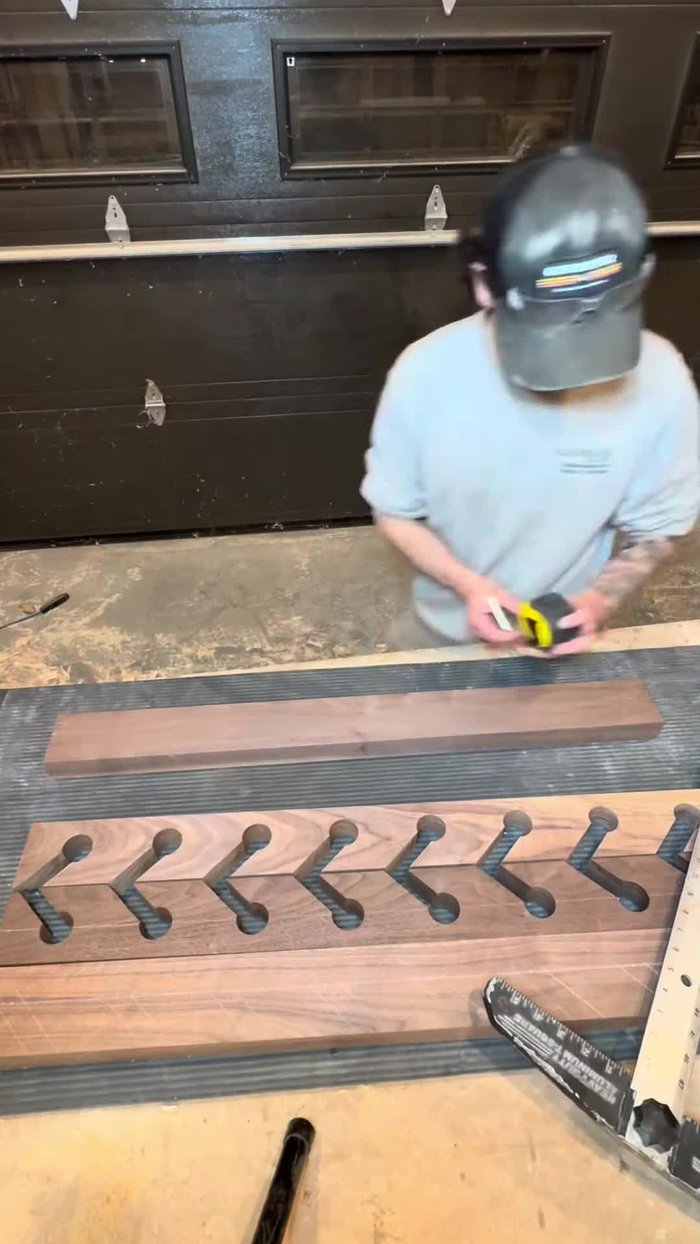
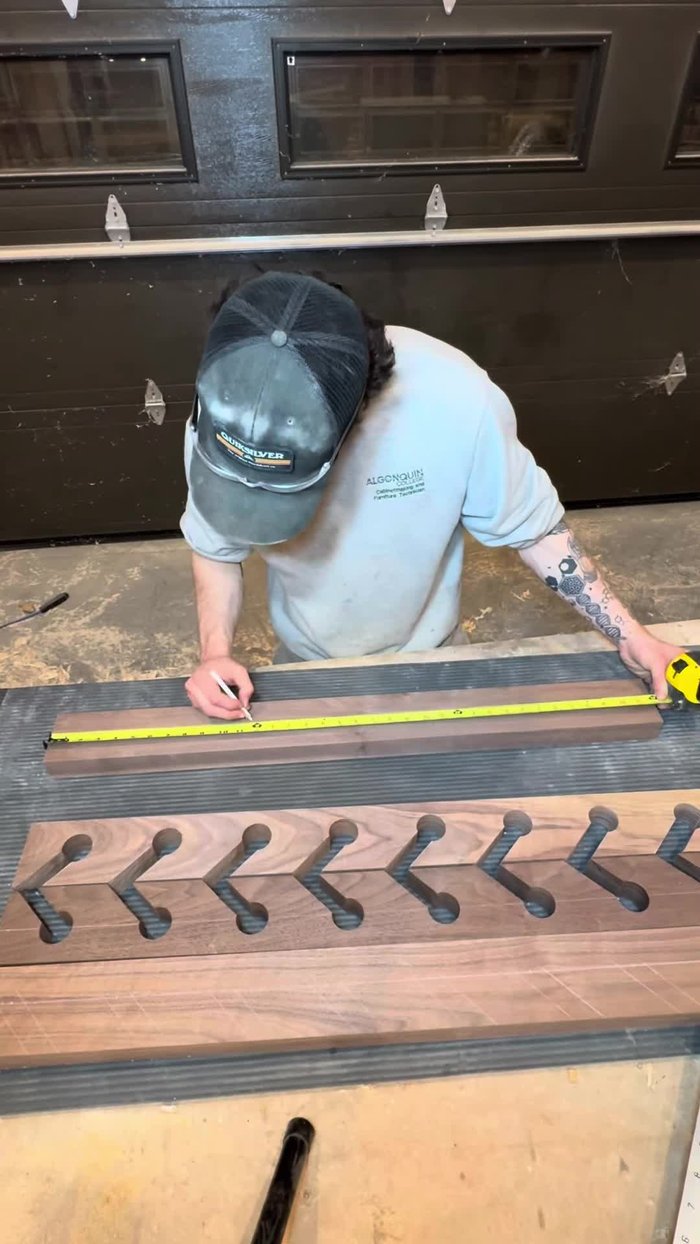
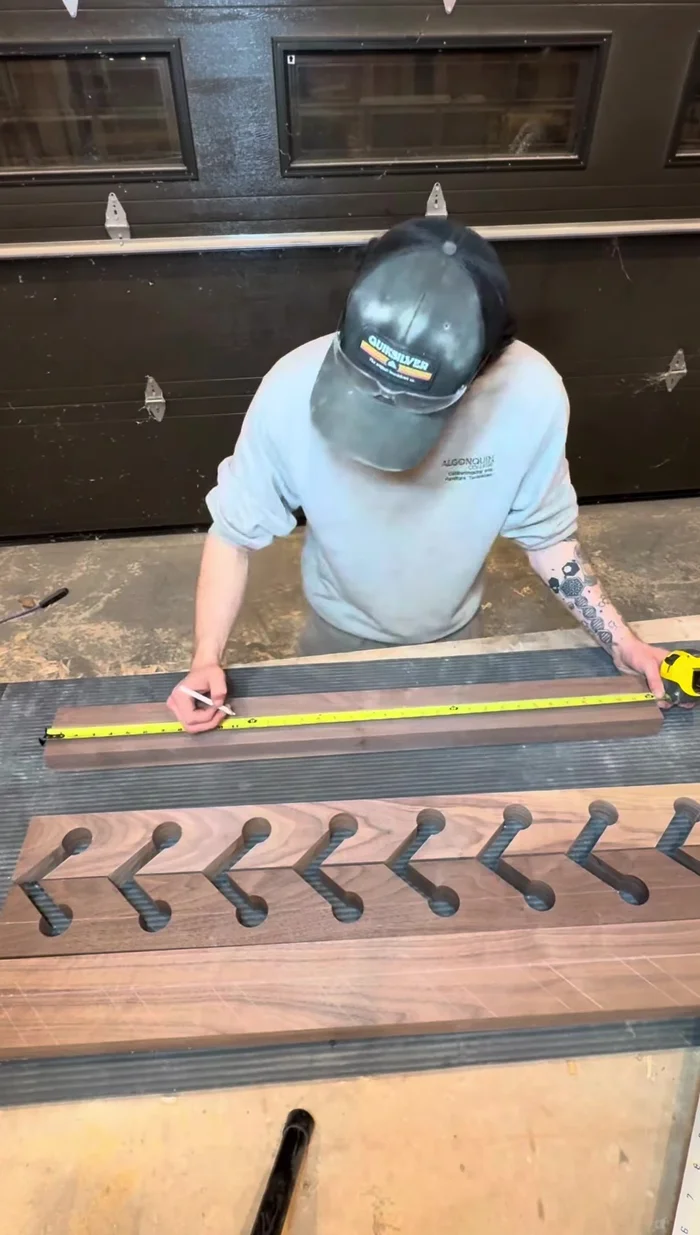
Marking and Planning
- Mark the center of the circles to be cut and mark 2 3/4" from the center.
- Mark the centers of the 4 1/2" apart circles.
- Mark 5/8" on either side of each circle center.
- Use a speed square to mark 45° lines on each side of the circles.

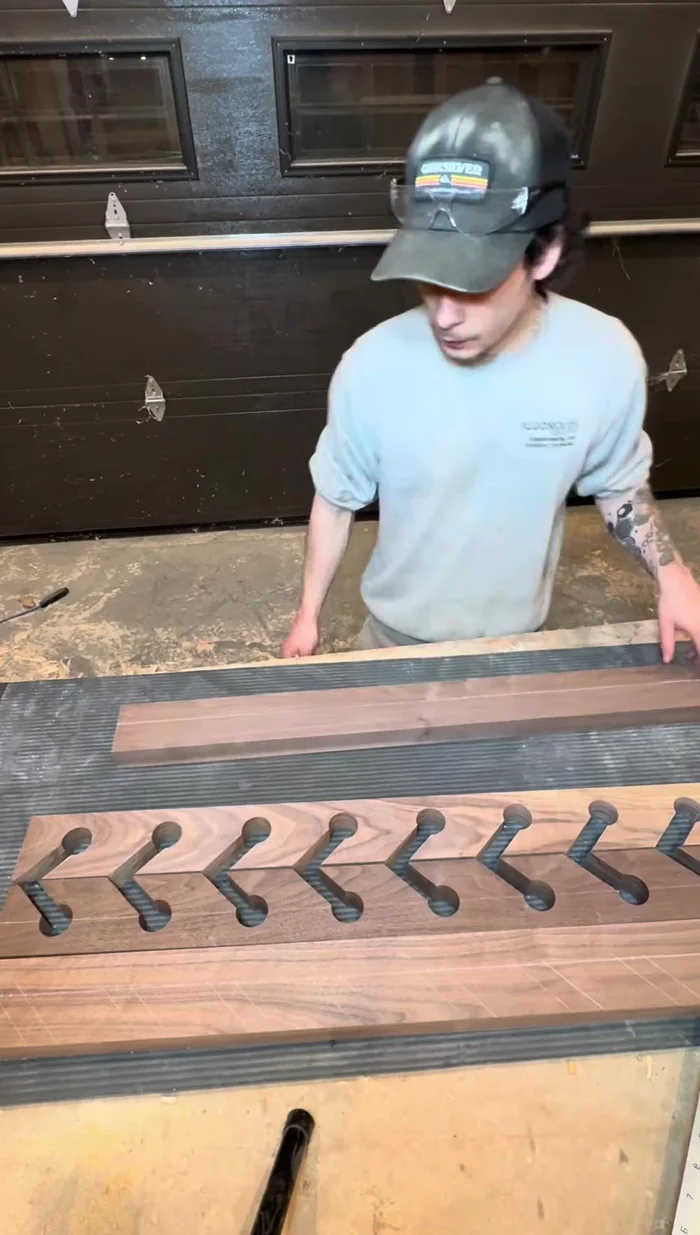
Marking and Planning Cutting the Wood
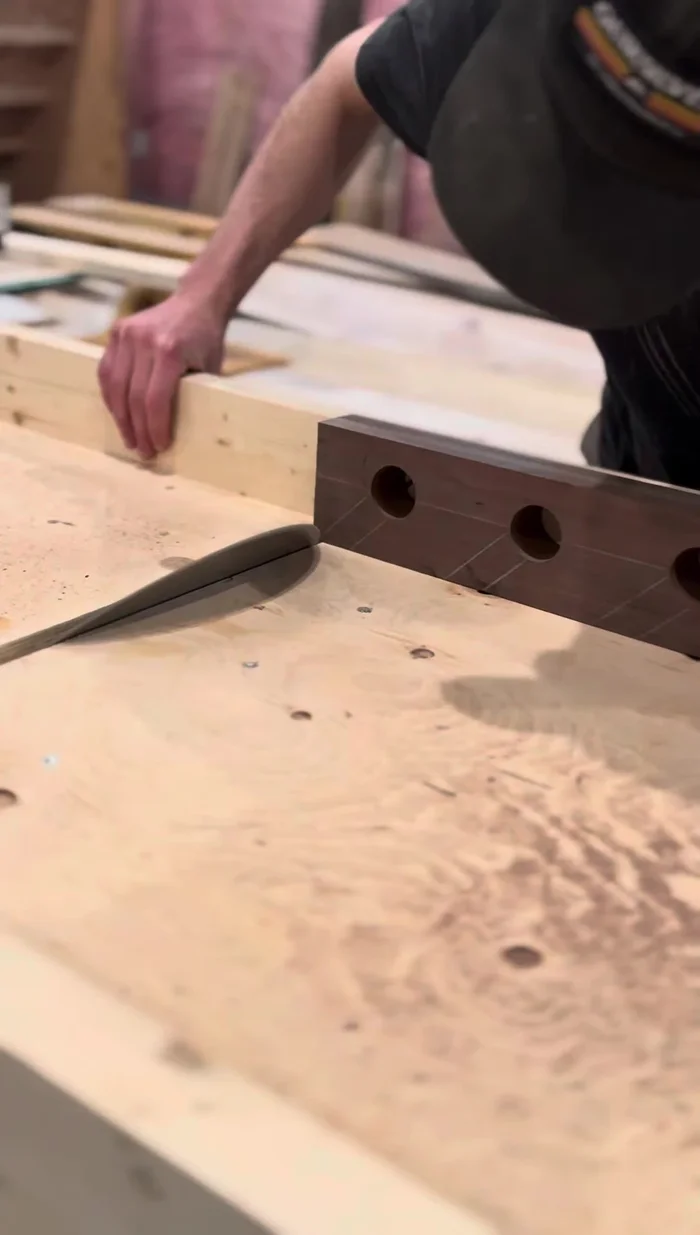
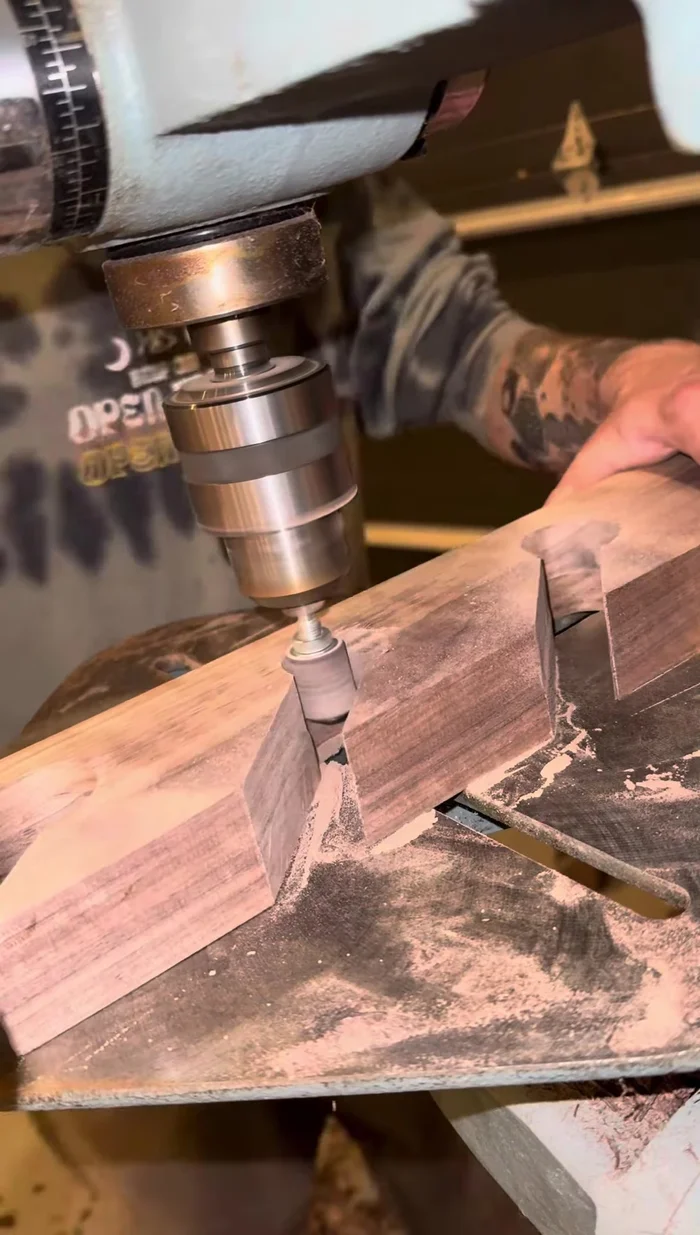
- Cut out the holes using a drill press with a 1 1/2 inch forstner bit.
- Set the table saw to 45° and use a sled to make the cross cuts.
Cutting the Wood Creating Hanging Mechanism
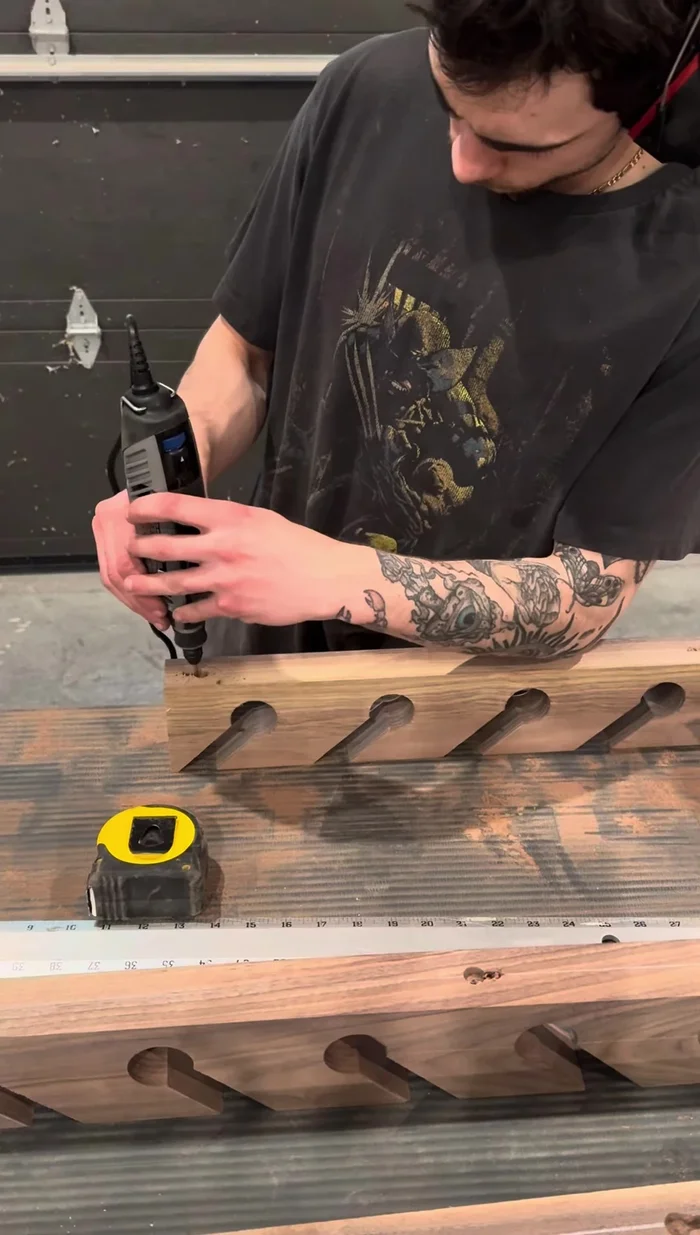
- Create keyholes (or use a Dremel as a substitute).
Creating Hanging Mechanism Sanding and Shaping
- Rough sand all edges.
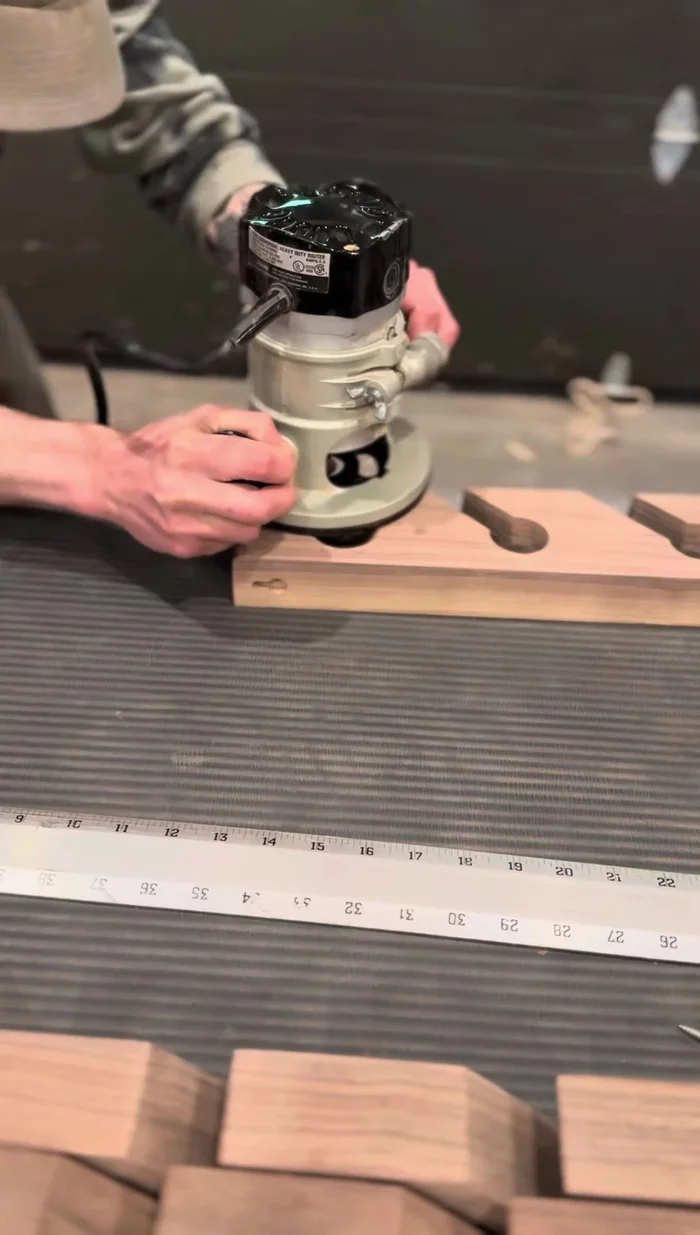
- Use a router to round over all edges except the back.
- Sand to 180 grit (this is the longest part).
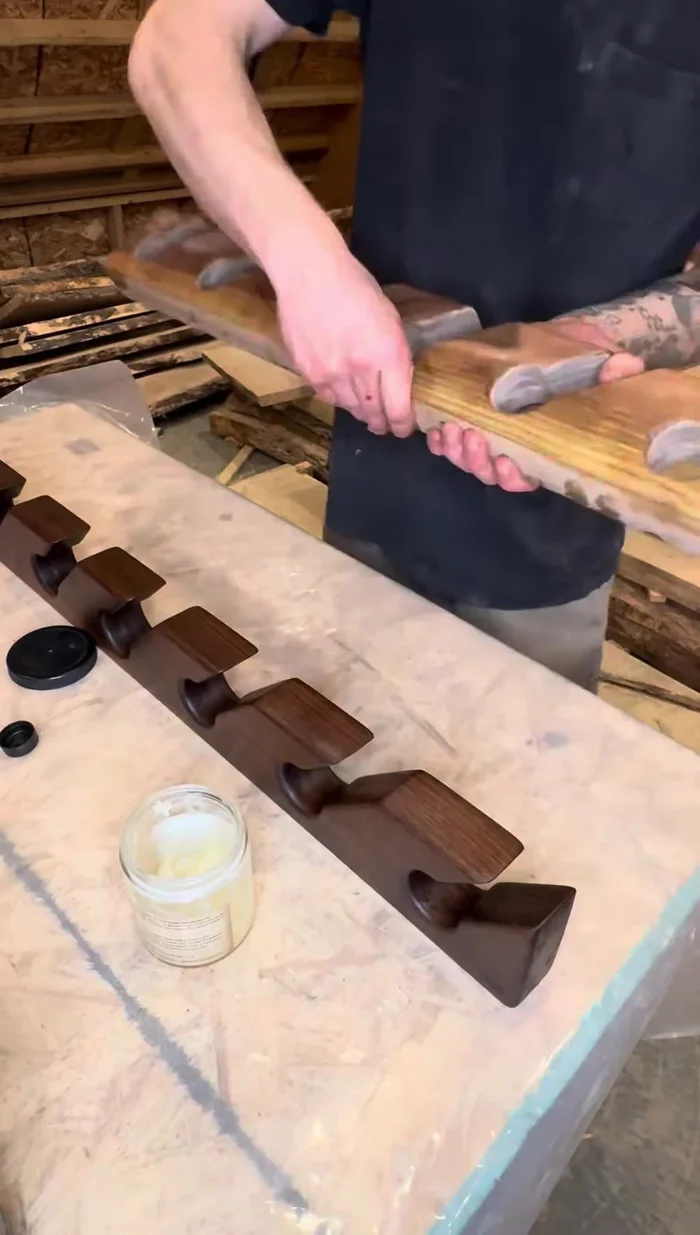
Sanding and Shaping Finishing
- Apply beeswax finish by hand and buff with paper.
Finishing
Read more: Build a Stunning Black Walnut Coaster Set: The Ultimate Furniture Protector
Tips
- Careful measurements and marking are crucial for accurate cuts and a professional finish.
- Using a sled on the table saw ensures clean and precise 45° cuts.
- Thorough sanding is key to achieving a smooth and even surface for the finish.
- Beeswax is an excellent choice for a natural and easy-to-apply finish. A paper towel is ideal for buffing.