Transform your living space with the timeless elegance of wainscoting, without the hefty price tag of professional installation! Adding an accent wall featuring this classic design element is surprisingly achievable, even for the novice DIY enthusiast. Wainscoting offers a sophisticated touch that elevates any room, from a cozy bedroom to a formal dining area, adding depth, texture, and a touch of architectural interest. This versatile style can be adapted to complement a variety of décor styles, making it a perfect project for personalizing your home.
Forget expensive contractors and lengthy renovation periods – this simple and fast tutorial will guide you through creating a stunning wainscoting accent wall in just a few easy steps. We'll cover everything from choosing the right materials to achieving a professional finish, ensuring a successful outcome even if you're new to DIY projects. Let's get started and discover how to create your dream accent wall!
Preparation and Safety Guidelines
- 1x3 wood
- 1x2 MDF
- construction adhesive
- paint
- miter saw (or hand saw/circular saw)
- carpenter square
- 6ft level (or laser level)
- brad nails
- liquid nails
- painter's tape
- paint roller
- paint brush
- caulk
- drywall anchors (for mirror)
- Always wear safety glasses to protect your eyes from flying debris during cutting and installation.
- Use appropriate safety gear, such as a dust mask, when working with saws and sanding materials to prevent inhaling harmful particles.
- Ensure proper ventilation in your workspace, especially when using paints, primers, or adhesives with strong fumes.
Step-by-Step Instructions
Prepare the Top Rail
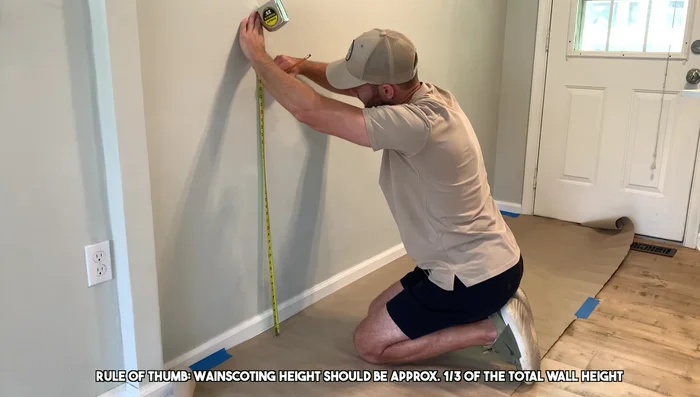
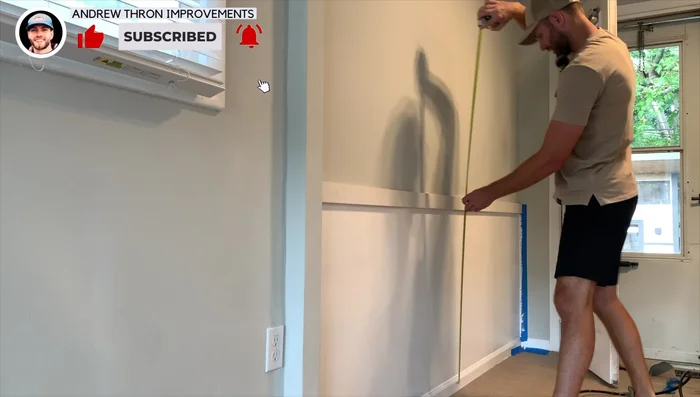
- Measure and cut the top rail (MDF) to the desired length.
- Mark the desired height (35 1/2 inches in this example) for the top rail on the wall using a level.

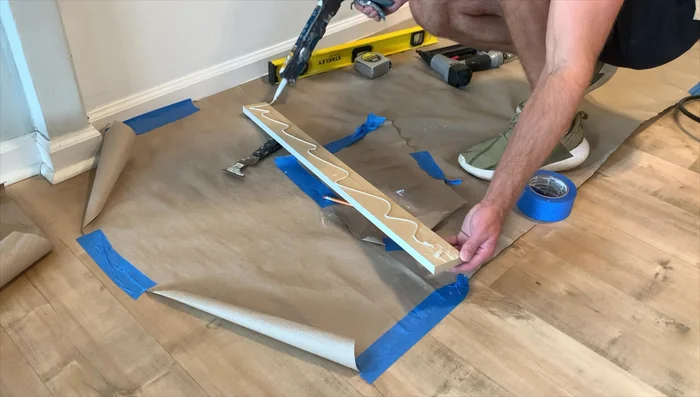
Prepare the Top Rail Paint the MDF Pieces
- Paint all the MDF pieces before installation.
Paint the MDF Pieces Install the Top Rail
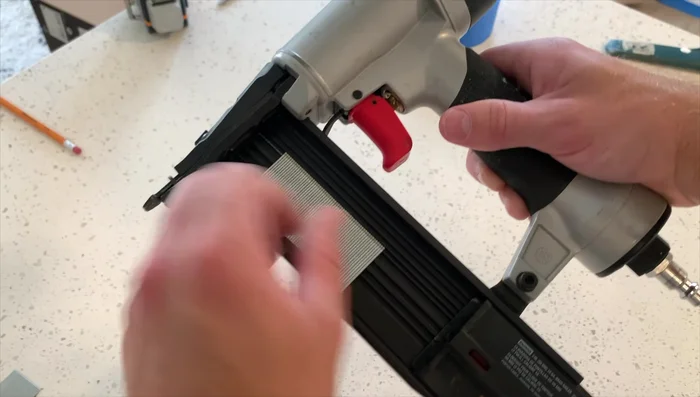
- Attach the top rail to the wall using construction adhesive and brad nails, securing it to wall studs where possible.
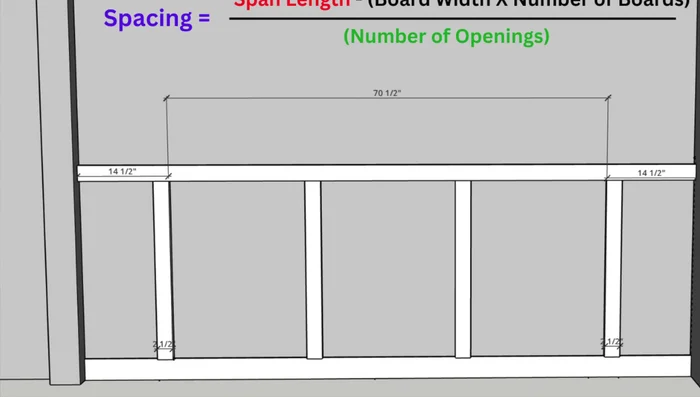
Install the Top Rail Calculate and Determine Board Spacing
- (Span length - (board width * number of boards)) / number of spaces.
Calculate and Determine Board Spacing Prepare Vertical Pieces
- Measure and cut vertical board and batten pieces, accounting for potential floor warping.
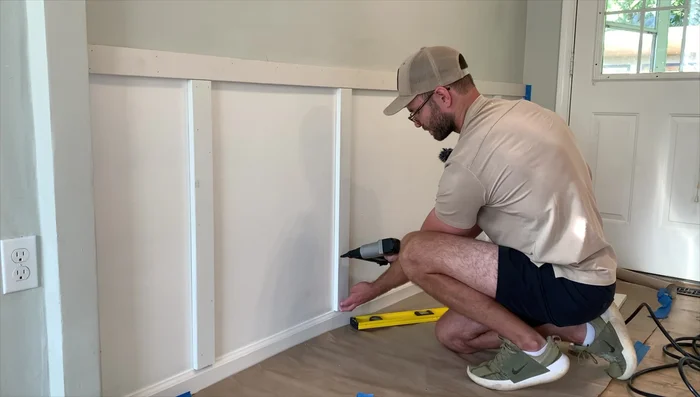
Prepare Vertical Pieces Install Vertical Boards
- Install vertical boards using construction adhesive and brad nails, ensuring they are plumb.
Install Vertical Boards Install Final Pieces
- Install the final pieces, including a thinner top rail piece.
Install Final Pieces Caulk and Seal
- Caulk all seams and nail holes.
Caulk and Seal Paint the Wainscoting
- Apply a second and third coat of paint as needed, using a brush for detail work.
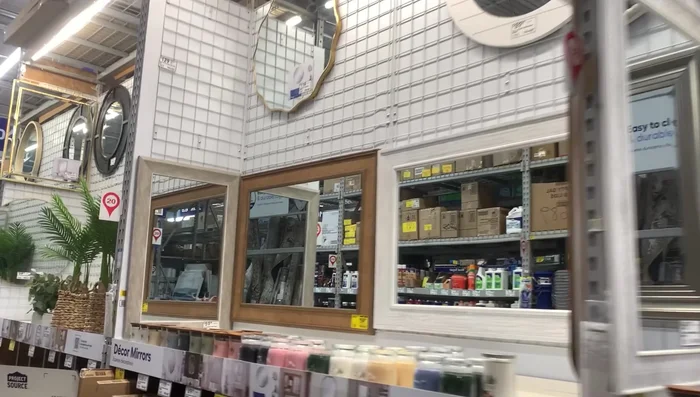
Paint the Wainscoting Add Finishing Touches
- Add finishing touches (e.g., mirror).
Add Finishing Touches


Read more: Build a Stunning Black Walnut Coaster Set: The Ultimate Furniture Protector
Tips
- Painting the MDF beforehand makes the installation process easier.
- Using both construction adhesive and brad nails provides the most secure installation.
- Measure each vertical board individually to account for floor imperfections.
- Carefully caulk and paint to achieve a professional finish.