Dive into the world of handcrafted jewelry with this captivating tutorial on creating a stunning triple strand seed bead bracelet featuring an adjustable sliding knot closure. This elegant design is surprisingly simple to make, perfect for both beginners and experienced crafters looking for a new project. The delicate layering of seed beads creates a beautiful and sophisticated effect, ideal for adding a touch of bohemian chic to any outfit. You'll be amazed at how quickly you can transform simple materials into a stylish accessory that reflects your personal style. The adjustable sliding knot allows for a customized fit, ensuring comfortable wear for any wrist size.
This step-by-step guide will walk you through each stage of the process, from gathering your materials to securing the final knot. With clear instructions and helpful images, you'll be crafting your own exquisite triple strand seed bead bracelet in no time. Let's begin!
Preparation and Safety Guidelines
- Seed beads
- 0.6 mm cotton knotting twine
- 15-inch lengths of cotton
- Beading clips
- 0.8 mm cotton twine
- lighter
- Always supervise children when working with small beads to prevent choking hazards.
- Use sharp scissors carefully to avoid cuts. Keep them away from children.
- If you experience any hand strain or discomfort during beading, stop and rest. Take breaks to avoid repetitive strain injuries.
Step-by-Step Instructions
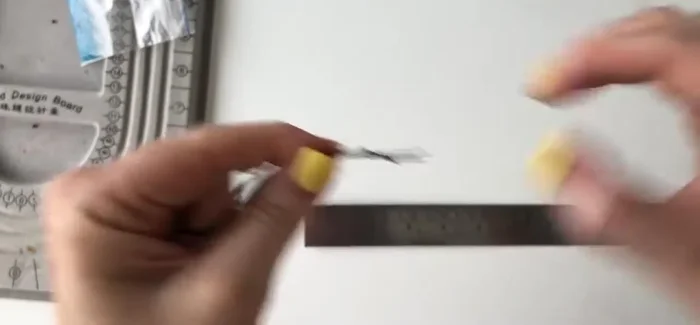
Prepare the Twine and Beads
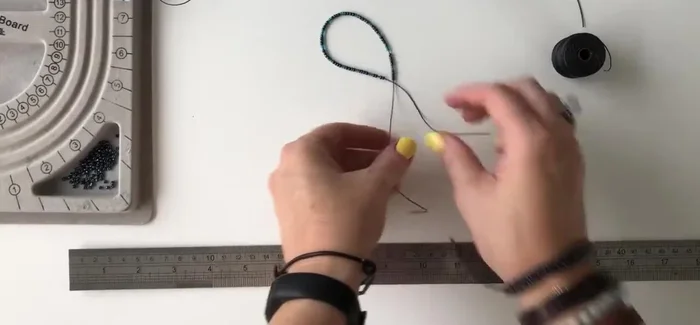
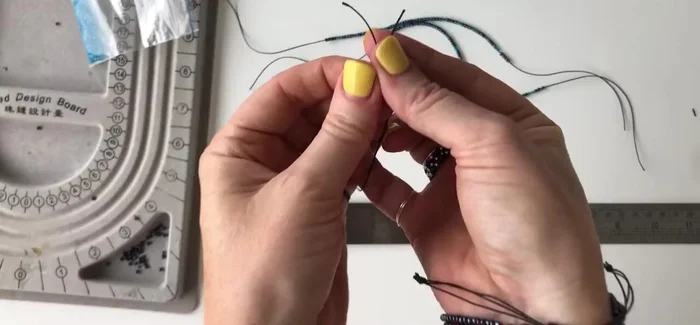
- Cut three 15-inch lengths of 0.6 mm cotton knotting twine.
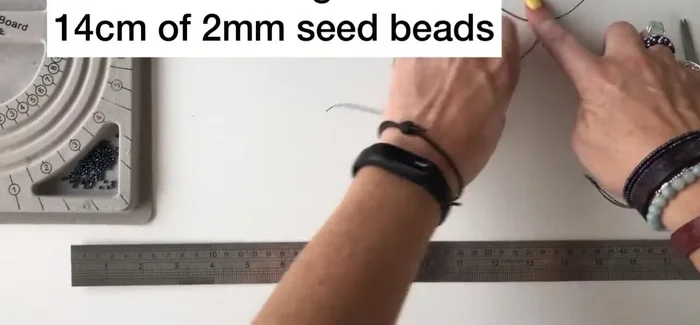
- Add approximately 14 cm of seed beads to each twine. Use a beading clip to prevent beads from falling off.

Prepare the Twine and Beads String the Beads
- one strand of dark silver, two strands of silver/blue mix).
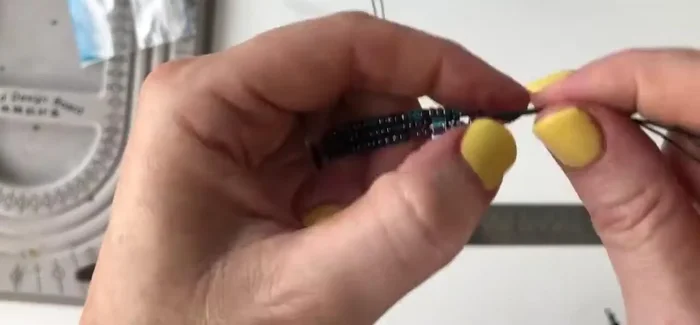
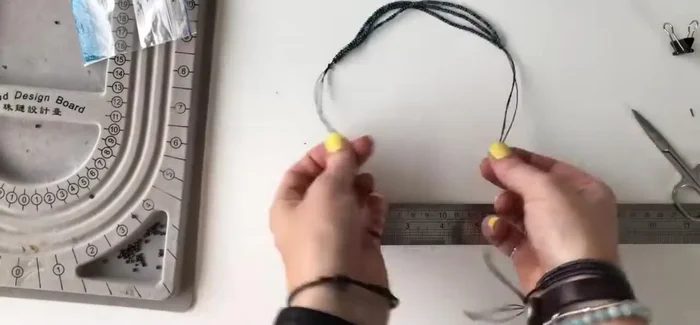
String the Beads Ensure Even Strand Lengths
- Ensure all three strands are exactly 14 cm long.
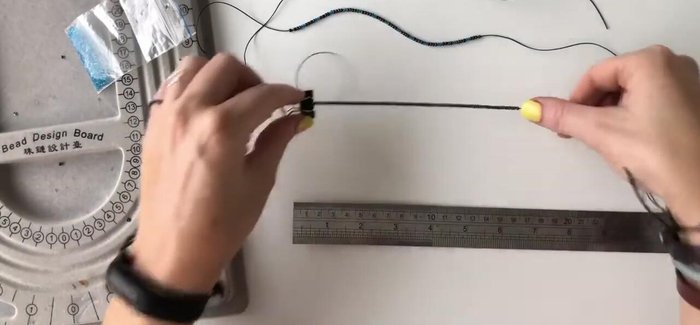
- Center the beads on each strand by pulling the ends of the twine to adjust bead placement.
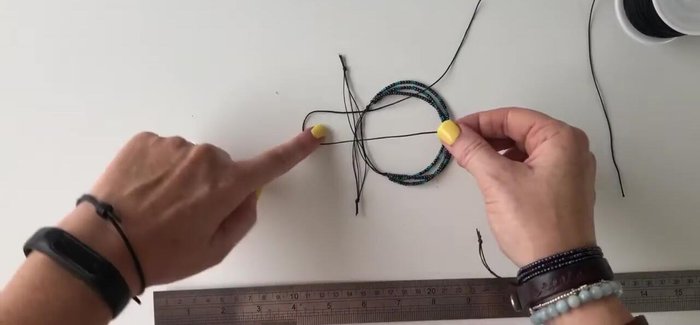
Ensure Even Strand Lengths Tie Off the Bracelet Ends
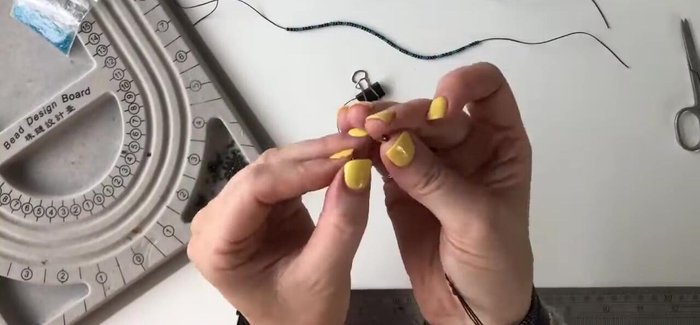
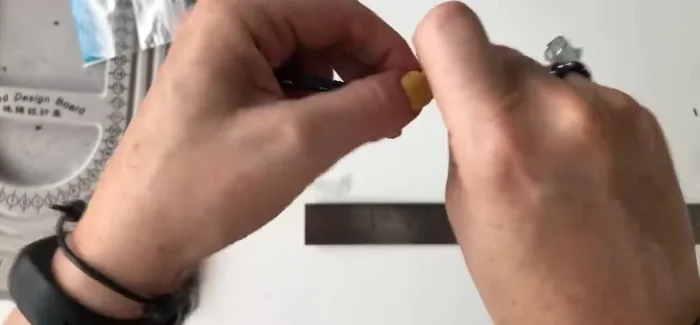
- Tie all three strands together in a knot at one end of the bracelet, leaving about 5mm of space between the knot and the beads.
- Securely tighten each thread under the knot.
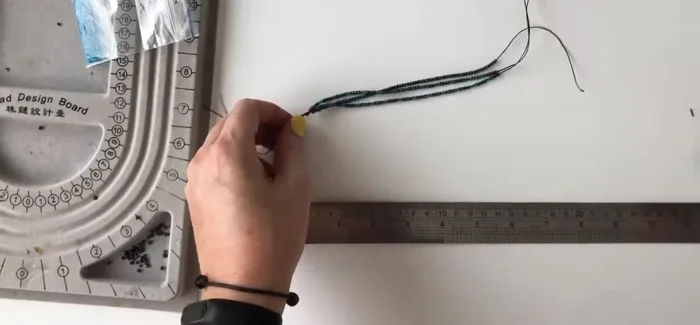
- Repeat the knotting process on the other end of the bracelet, ensuring even bead spacing.
- Tie a knot at the loose ends of the threads to create a secure finish.
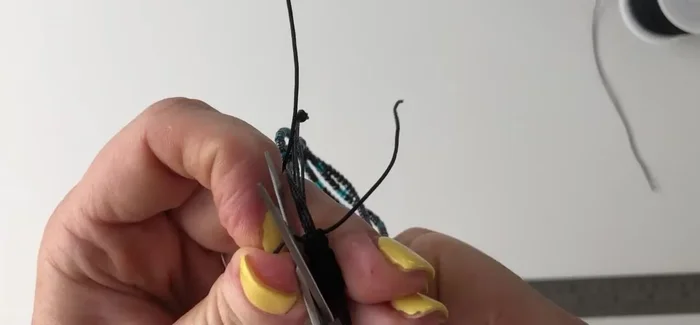
Tie Off the Bracelet Ends - Trim the excess thread ends and use a lighter to seal the ends and prevent fraying.
Tie Off the Bracelet Ends Create the Adjustable Sliding Knot
- Create an adjustable sliding knot using approximately 15 inches of 0.8 mm cotton twine. Place the twine under the overlapping sections of the bracelet.
- Alternating sides, create a series of about 10 sliding knots to secure the bracelet.
- Trim the excess sliding knot threads and seal with a lighter.
Create the Adjustable Sliding Knot

Read more: DIY Tiered Tassel Earrings: A Quick & Easy Jewelry Tutorial
Tips
- Take your time and be patient, especially during the beading process.
- Precisely centering the beads on each strand is crucial for a neat finish.
- The sliding knot technique can be tricky; practice alternating the over/under pattern carefully to avoid twists.