Transform a discarded tree stump into a breathtaking, rustic lamp – a unique addition to your home décor that speaks of both natural beauty and handcrafted charm. This project guides you through the process of repurposing a section of green wood, tackling the crucial steps of stabilization to prevent cracking and warping, and achieving a flawlessly smooth finish that highlights the wood's natural grain. Forget expensive, mass-produced lighting; this DIY project offers a rewarding experience and a stunning, personalized result.
Creating a lamp from a tree stump might seem daunting, but with careful planning and the right techniques, it's achievable for even moderately experienced DIY enthusiasts. This detailed guide will walk you through every stage, from selecting and preparing the perfect stump to the final wiring and assembly. Let's begin the step-by-step process of crafting your own stunning, one-of-a-kind tree stump lamp.
Preparation and Safety Guidelines
- 14-inch electric chainsaw
- hand planer
- belt sander
- random orbital sander
- auger bit
- spade bit
- black plastic bin
- Pentacryl wood stabilizer
- Duraclear varnish (or similar sealant)
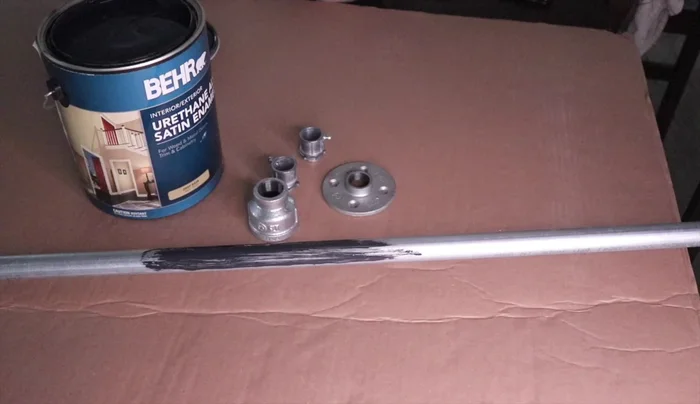
- steel piping (conduit)
- connectors
- flange
- reducer
- black urethane enamel alkyd paint
- IKEA HEMMA lamp cord (or similar)
- bulb clip
- pipe saw (or angle grinder)
- Always wear appropriate safety gear, including eye protection and a dust mask, when working with power tools and wood.
- Ensure the tree stump is completely dry before starting the project to prevent cracking and rot. Allow ample drying time (months, even years depending on size).
- Use caution when working with electricity. Ensure all wiring is properly insulated and conforms to electrical safety codes. If unsure, consult a qualified electrician.
Step-by-Step Instructions
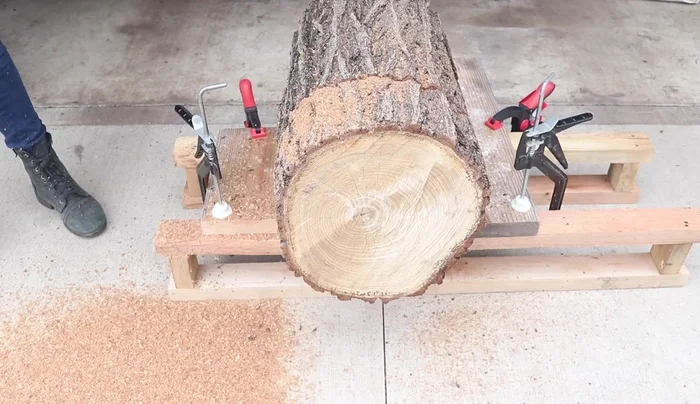
Prepare the Wood Cookie
- Cut the wood cookie:
- Remove bark with chainsaw

Prepare the Wood Cookie Stabilize the Wood
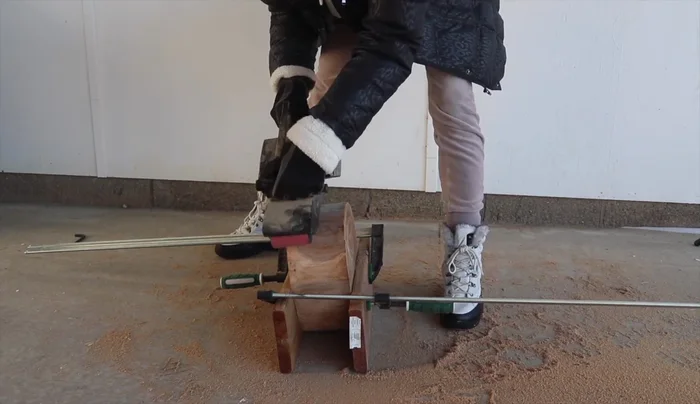
- Stabilize green wood with Pentacryl:
Stabilize the Wood Smooth the Wood Cookie
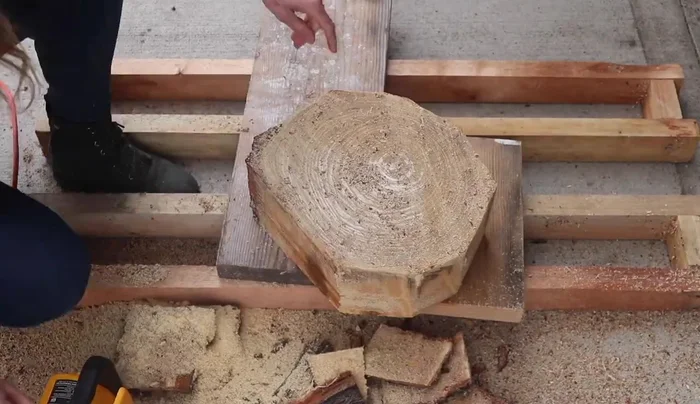
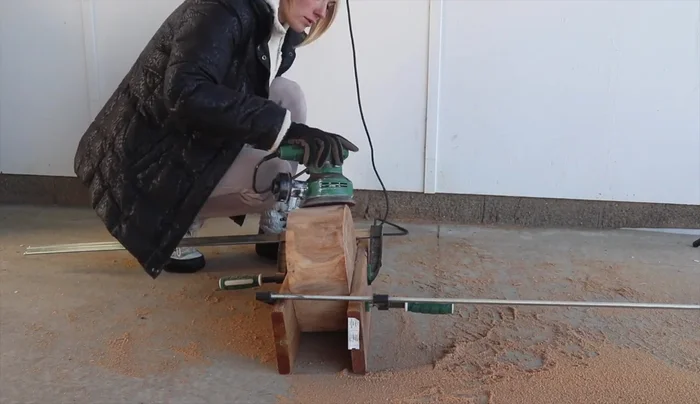
- Smooth the wood cookie:
- Hand planing (with the grain)
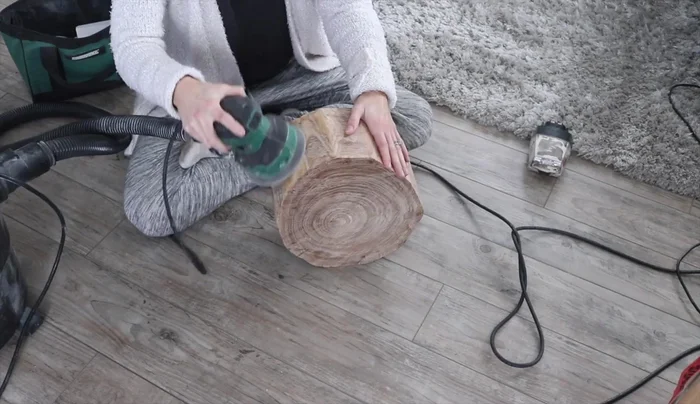
- Belt sanding (80 grit)
- Random orbital sanding (120 grit, then 220 grit)
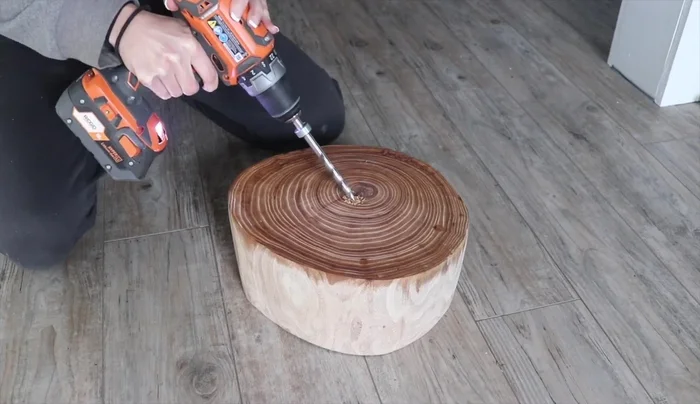
Smooth the Wood Cookie Drill Lamp Cord Hole
- Drill a hole for the lamp cord (auger bit then spade bit)
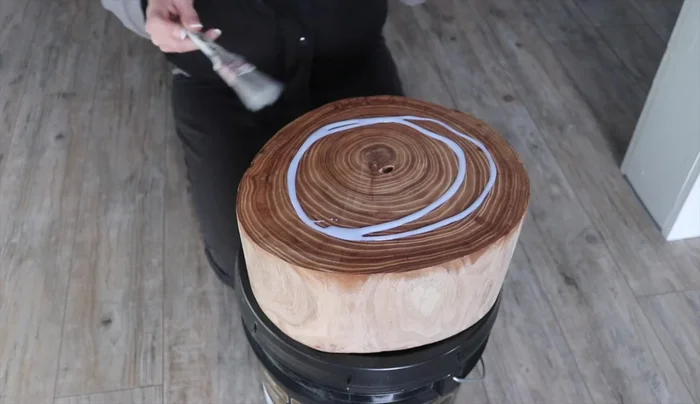
Drill Lamp Cord Hole Seal the Wood
- Seal the wood cookie with varnish
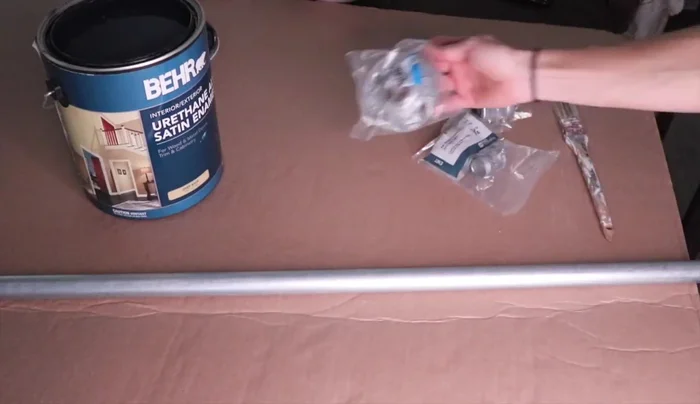
Seal the Wood Prepare the Metal Conduit
- Prepare the metal conduit:
- Paint the metal conduit (two coats)
Prepare the Metal Conduit Assemble the Lamp
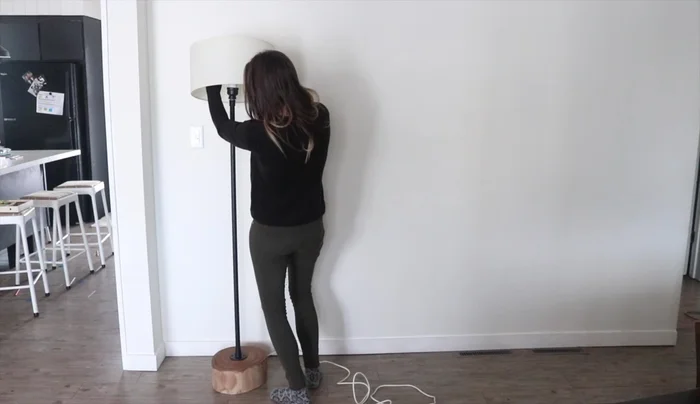
- Assemble the lamp:
Assemble the Lamp Adjust Lamp Height
- Adjust conduit length if necessary:
Adjust Lamp Height Attach Lamp Shade
- Attach the lamp shade (using a bulb clip)
Attach Lamp Shade


Read more: Build a Stunning Black Walnut Coaster Set: The Ultimate Furniture Protector
Tips
- Use Pentacryl to prevent cracking in green wood.
- Clamp the wood securely when planing to prevent movement.
- Planing with the grain yields the best results.
- Use multiple grits of sandpaper for a progressively smoother finish.
- Don't paint the ends of the conduit to ensure a secure connection.