Tassel necklaces are undeniably chic, adding a touch of bohemian flair to any outfit. Their seemingly intricate designs often deter aspiring crafters, leading many to believe they're beyond their DIY capabilities. But the truth is, creating a stunning tassel necklace is surprisingly simple and incredibly rewarding! With just a few basic materials and a little patience, you can craft a unique piece of jewelry perfectly tailored to your personal style, saving money and expressing your creativity in the process. Forget expensive boutique finds; you'll be amazed at how easy it is to elevate your accessory game.
This step-by-step guide will walk you through the entire process, from selecting your materials to securing the final knot. We'll cover everything you need to know to make your own beautiful, handcrafted tassel necklace, and soon you'll be boasting a stunning piece of jewelry you made yourself. Let's get started!
Preparation and Safety Guidelines
- Chain necklace
- Embroidery floss (at least two colors)
- Pendants (optional)
- Scissors
- Pins (for making tassels)
- Always supervise children if they are participating in any part of the crafting process. Small beads and wires pose a choking hazard.
- Use sharp scissors and other tools with caution. Cut away from yourself and your body to avoid injury.
- If using strong adhesives, ensure adequate ventilation and wear gloves if recommended by the adhesive manufacturer to protect your skin.
Step-by-Step Instructions
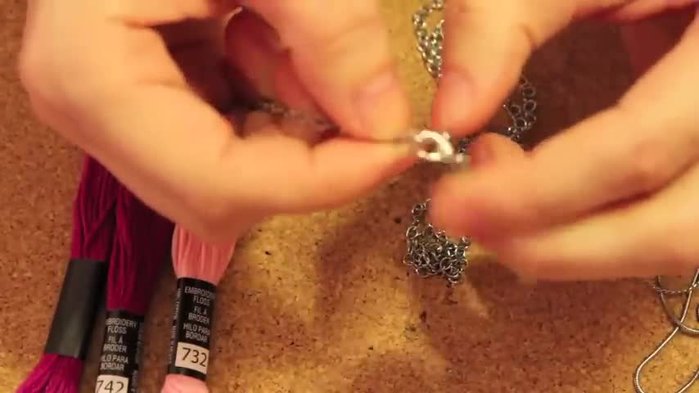
Prepare the Necklace
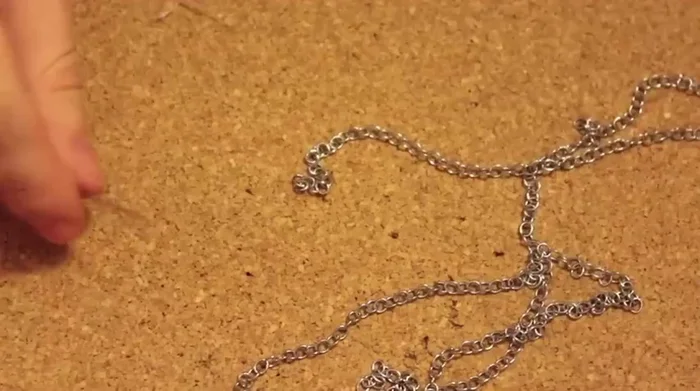
- Remove the clasp from the chain necklace.
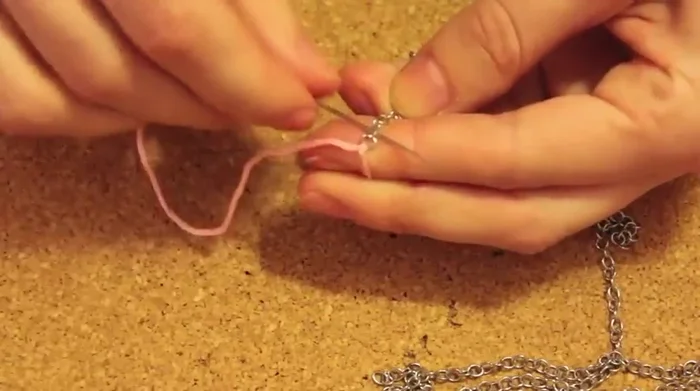
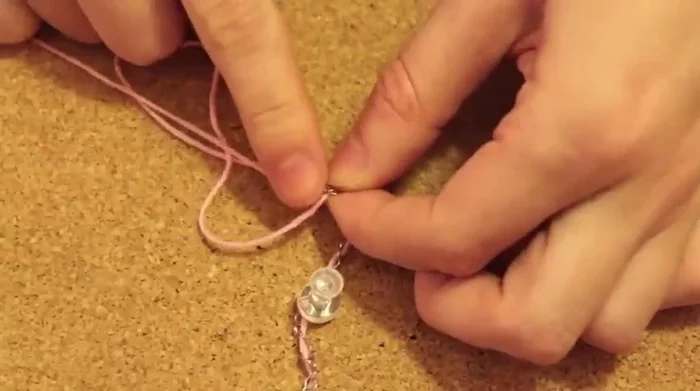
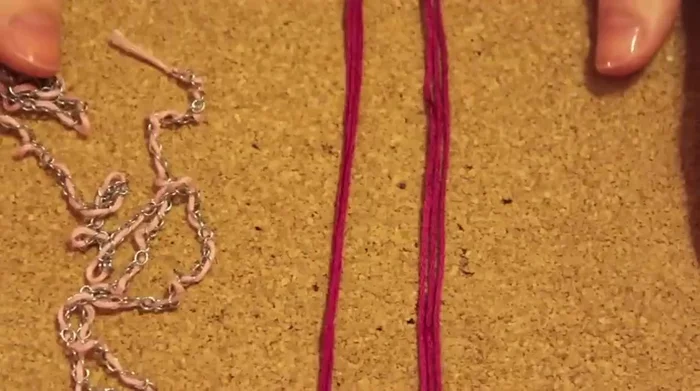
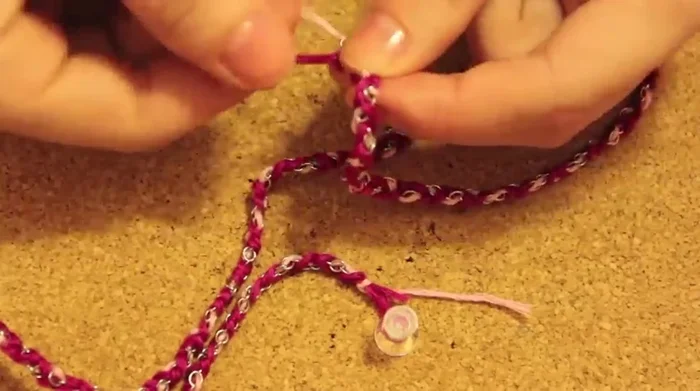
- Thread a length of embroidery floss through one end of the necklace and tie a knot.
- Pass the floss through every other loop of the chain.
- Tie another knot at the end to secure the floss.

Prepare the Necklace Make the Tassel Braids
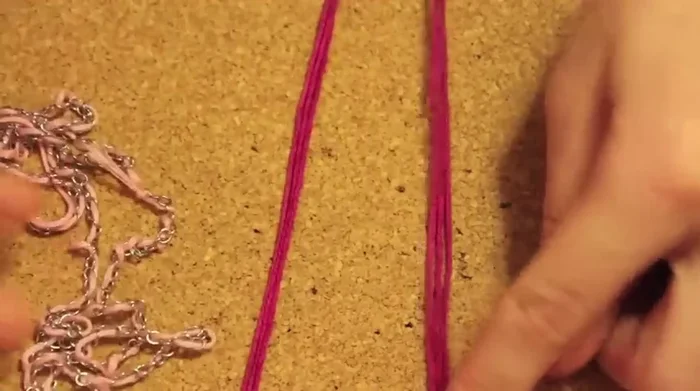
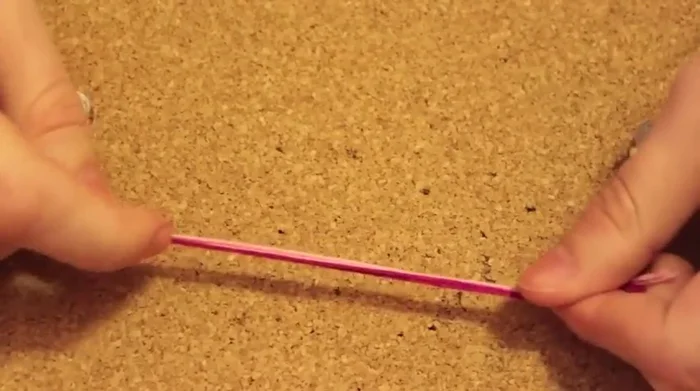
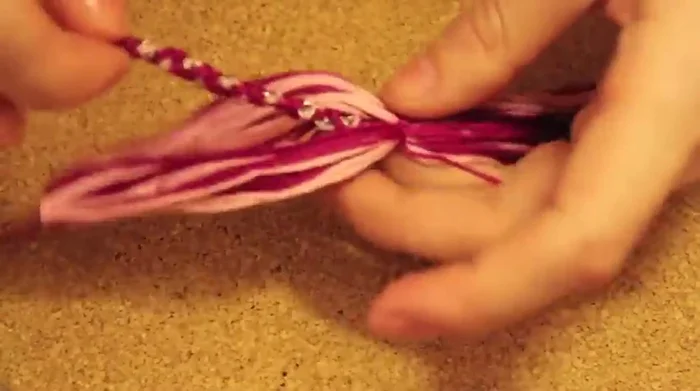
- Fold the embroidery floss to create three strands and repeat for the second tassel.
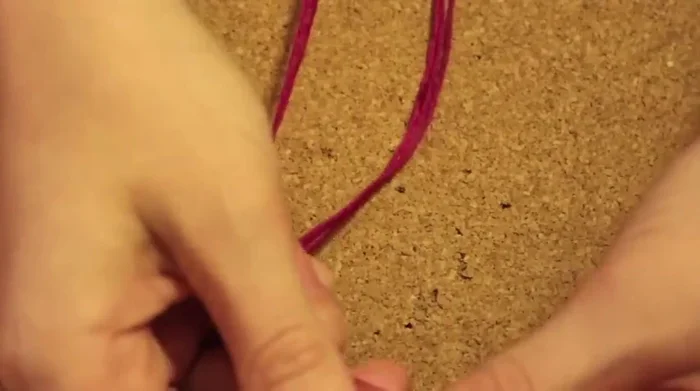
- Braid the three strands together.
- Tie a knot at the end of the braid.
- Pin the braids to keep them in place.
Make the Tassel Braids - Continue braiding until the desired length is reached, then tie another knot.
Make the Tassel Braids Create the Tassels
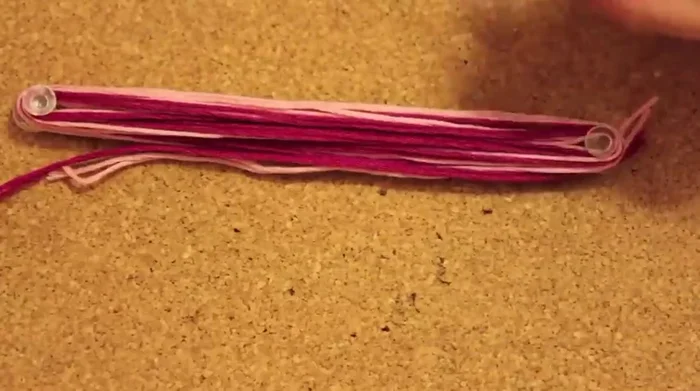
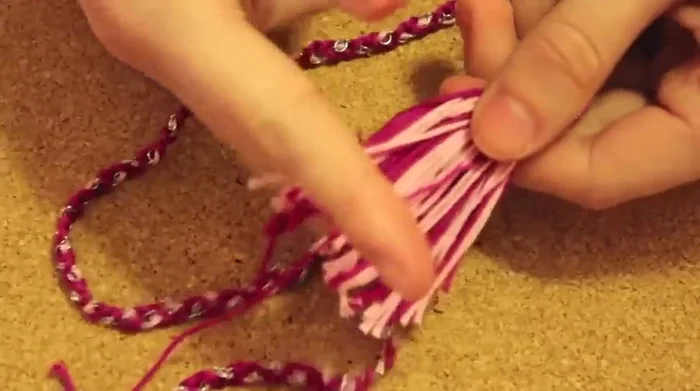
- Wrap embroidery floss around two pins, the more wraps, the thicker the tassel.
Create the Tassels Attach Tassels to Necklace
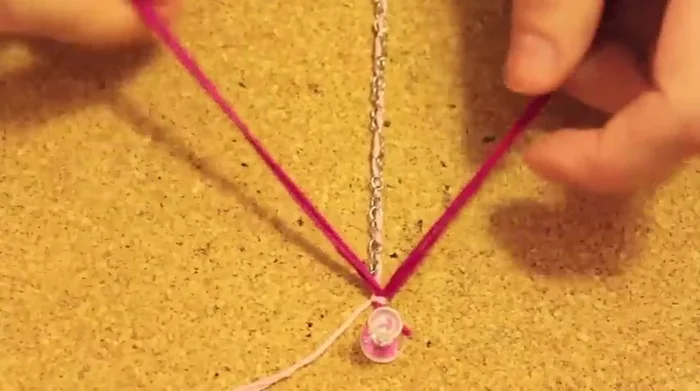
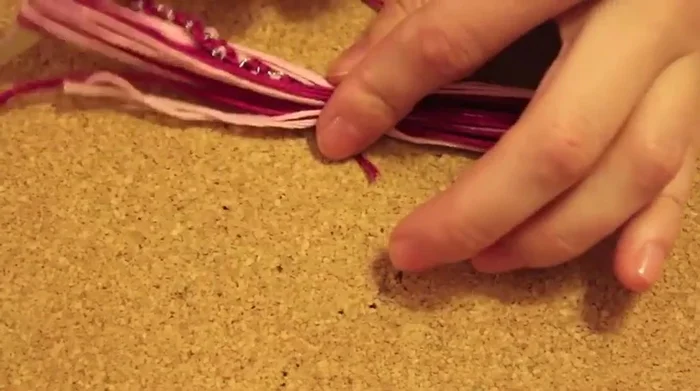
- Tie a piece of string around the center of the tassel, then place the necklace end in the center, and tie the string tightly.
- Remove the pins from the tassels and trim the excess floss.
- Tie a knot to secure the tassel to the necklace at the longer end, and repeat for the other end.
Attach Tassels to Necklace Finishing Touches
- Trim the tassel strings evenly.
Finishing Touches
Read more: DIY Tiered Tassel Earrings: A Quick & Easy Jewelry Tutorial
Tips
- Make sure to tie knots securely to prevent the floss from coming undone.
- The more you wrap the floss around the pins when making the tassels, the fuller and thicker they will be.
- Carefully align the necklace and tassel when tying them together for a neat finish.