Sparkle and shine with this effortlessly elegant DIY Swarovski crystal bracelet! Creating stunning jewelry can seem daunting, but this project proves otherwise. We'll guide you through a simple yet sophisticated design, perfect for beginners and experienced crafters alike. Using readily available materials, you'll learn how to transform basic chain and beads into a dazzling accessory that's sure to become a cherished piece. Imagine the compliments you'll receive wearing this beautiful bracelet, knowing you crafted it yourself with minimal effort and maximum impact.
This tutorial focuses on a straightforward technique, perfect for showcasing the brilliance of Swarovski crystals. Forget complicated knotting or intricate weaving; this method prioritizes ease and speed, allowing you to create a gorgeous bracelet in a short amount of time. Ready to transform simple supplies into a luxurious piece? Let's dive into the step-by-step instructions and begin crafting your own dazzling Swarovski crystal bracelet.
Preparation and Safety Guidelines
- 24 gauge wire
- round nose pliers
- needle nose pliers
- Swarovski crystals (4mm)
- chain (larger links and smaller jump rings)
- lobster clasp
- head pin
- beads for dangle
- Swarovski crystals can be delicate. Handle them gently to avoid chipping or scratching.
- Always use appropriate jewelry-making tools and materials. Avoid using tools that could scratch or damage the crystals.
- If you have any allergies to metals, ensure you use hypoallergenic findings (clasps, jump rings, etc.)
Step-by-Step Instructions
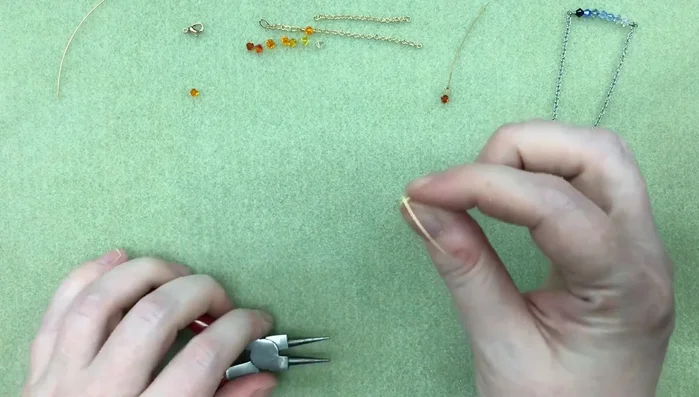
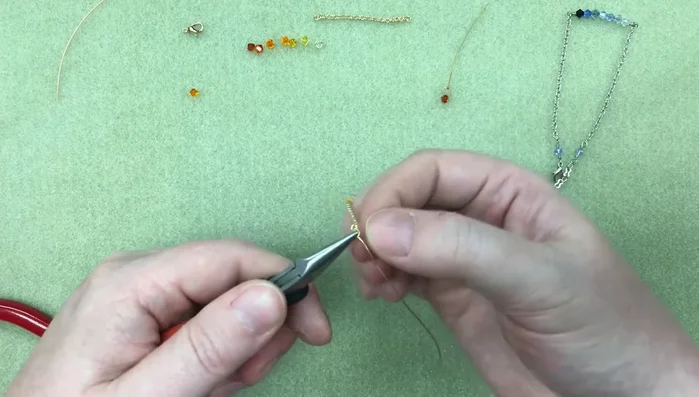
Prepare the Wire and Attach to Chain
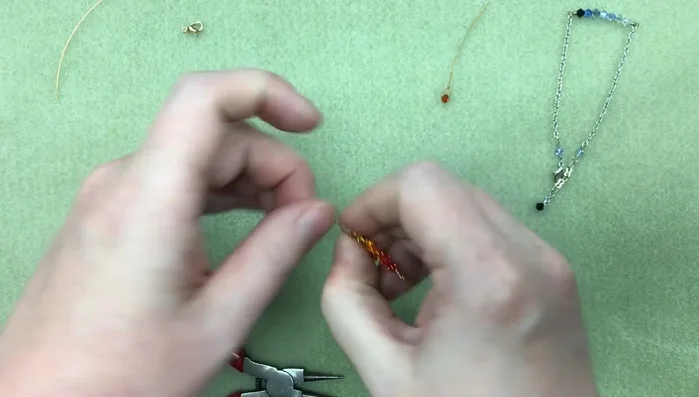
- Create a small loop on a 5-inch piece of 24 gauge wire using round nose pliers. This loop will attach to the chain.
- Attach the wire loop to the center of your chain using needle nose pliers for a neater finish. Secure with 3 wraps and trim the excess wire.

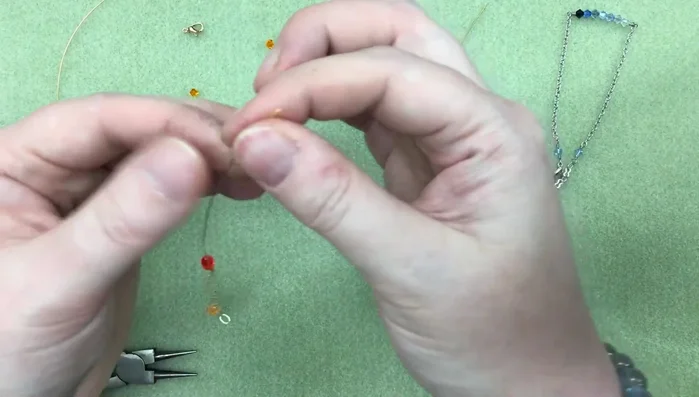
Prepare the Wire and Attach to Chain Add Swarovski Crystals
- Thread seven 4mm Swarovski crystals onto the wire.
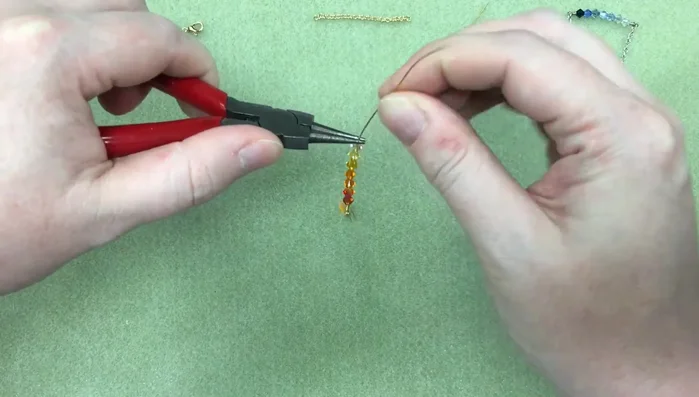
Add Swarovski Crystals Complete the Wire and Attach to Chain
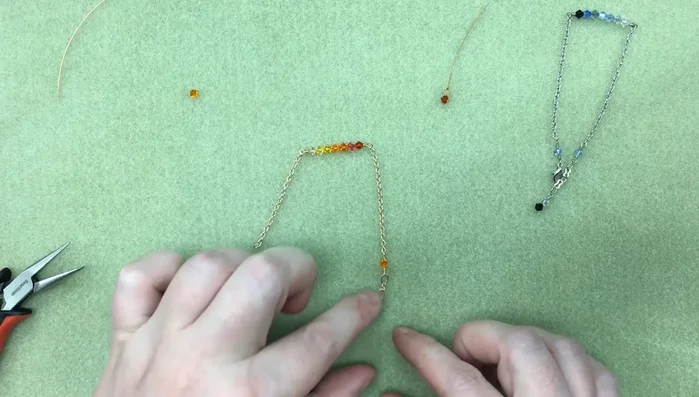
- Create another loop at the other end of the wire using round nose pliers to attach to the other side of the chain.
- Attach the second loop to the chain. Secure with 3 wraps and trim the excess wire.
Complete the Wire and Attach to Chain Attach Clasp
- Attach the clasp to one end of the bracelet by creating a loop in the wire and securing it with 3 wraps, ensuring some flexibility for movement.
Attach Clasp Create and Attach Dangle
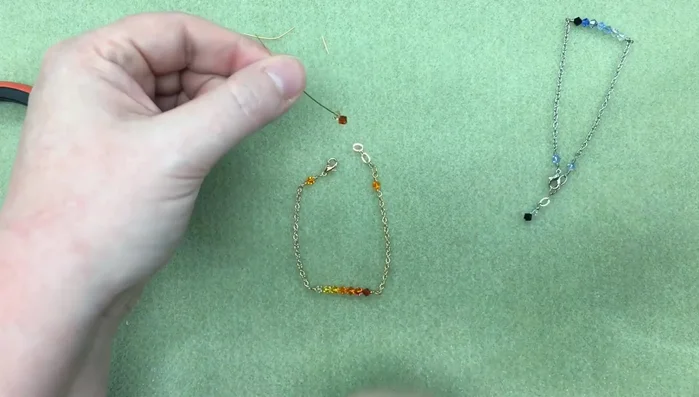
- Create a small loop with a headpin and two beads to use as a dangle on the other end.
Create and Attach Dangle
Read more: DIY Tiered Tassel Earrings: A Quick & Easy Jewelry Tutorial
Tips
- Use needle nose pliers to manipulate the wire to avoid marring the metal.
- Place the clasp near the end to keep the crystals centered on the wrist.
- Pull the tail end slightly while wrapping to create tighter, neater wraps.
- Using two pairs of pliers makes wrapping and securing the wire much easier and more precise.
- Practice making wrapped loops; it takes practice to get nice, neat wraps.