Ever dreamed of wearing the cosmos? Now you can, with this easy DIY tutorial on creating stunning stardust earrings! Forget expensive jewelry stores – we're bringing the galaxy down to earth with a simple, budget-friendly craft project perfect for beginners and seasoned crafters alike. Imagine shimmering, iridescent earrings catching the light, transforming your everyday look into something truly magical. These aren't just ordinary earrings; they're a wearable piece of art, reflecting the breathtaking beauty of a star-filled night.
Prepare to be amazed as we guide you through each step of the process, transforming humble materials into celestial masterpieces. Ready to unleash your inner artisan and create a pair of dazzling stardust earrings? Let's get started with our simple, step-by-step instructions, complete with photos and helpful tips. And don't forget – we're even giving away a set of ready-made stardust earrings to one lucky reader!
Preparation and Safety Guidelines
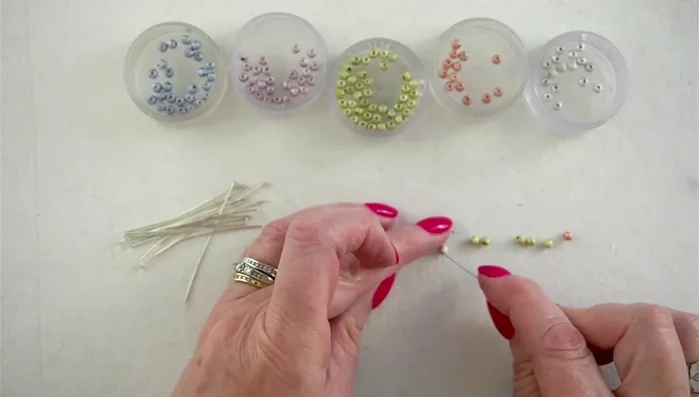
- 4mm Stardust Beads (132 total: 28 blue, 28 purple, 46 yellow-green-gold, 14 orange, 16 silver)
- 14 5cm Headpins
- 20 Gauge Wire (approx. 15cm)
- Twist Cable Chain (2 pieces, 6.5cm each)
- 19mm Twist Ear Wires
- Flush Cutters
- Round Nose Pliers OR One-Step Looper
- Chain Nose Pliers
- Always work in a well-ventilated area when using resin or other potentially strong-smelling crafting materials. Proper ventilation prevents inhalation of harmful fumes.
- Avoid contact with eyes and skin when handling crafting materials like glue, resin, or glitter. Wear safety glasses if necessary and wash hands thoroughly after completing the project.
- Use caution when handling small components like earring hooks and jump rings. These can be easily swallowed or inhaled, especially by children or pets. Keep them out of reach when not in use.
Step-by-Step Instructions
Prepare Dangle Pieces
- Blue, purple, yellow-green-gold, orange, following the specified quantities.
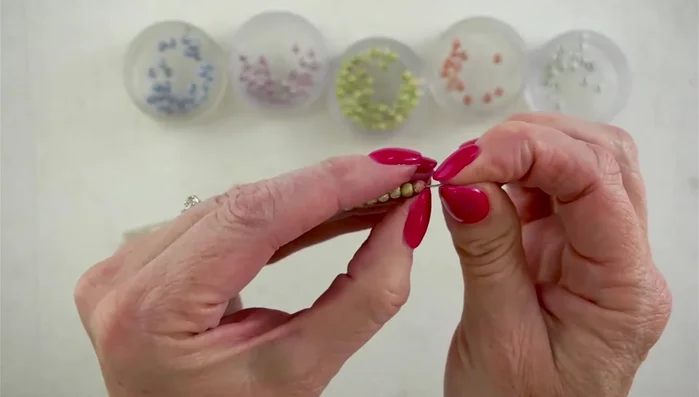
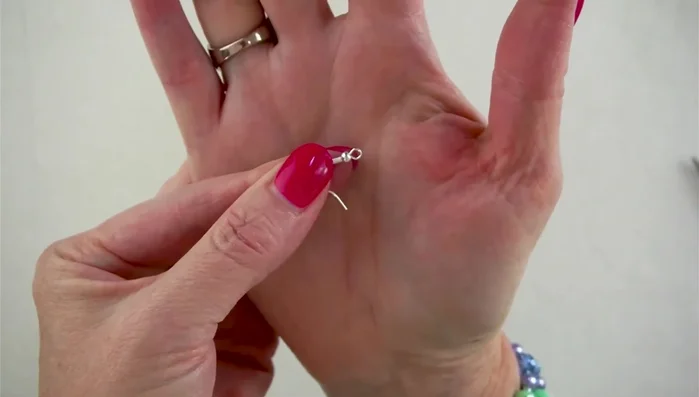
- Create a loop at the top of each beaded headpin using round nose pliers or a one-step looper. Trim excess wire and close the loop securely.
- Repeat steps 1 & 2 to create additional dangle pieces with varying bead combinations.

Prepare Dangle Pieces Assemble the First Earring Top
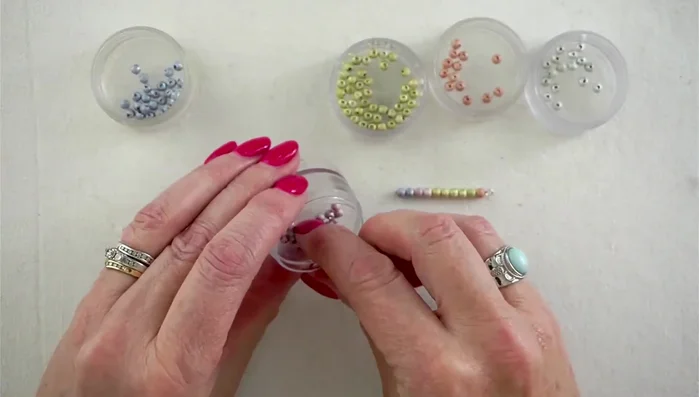
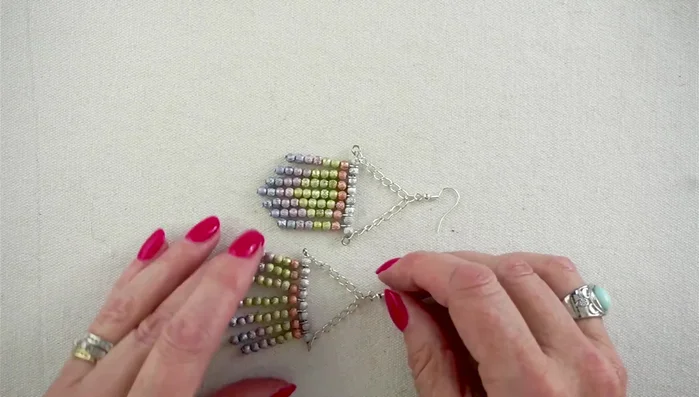
- Create the earring top using 20 gauge wire. Make a loop at one end, then thread on a silver bead, followed by the dangles, alternating sides. Make a loop at the other end with round nose pliers or a one-step looper and close it.
Assemble the First Earring Top Attach Earring Wire to the First Earring
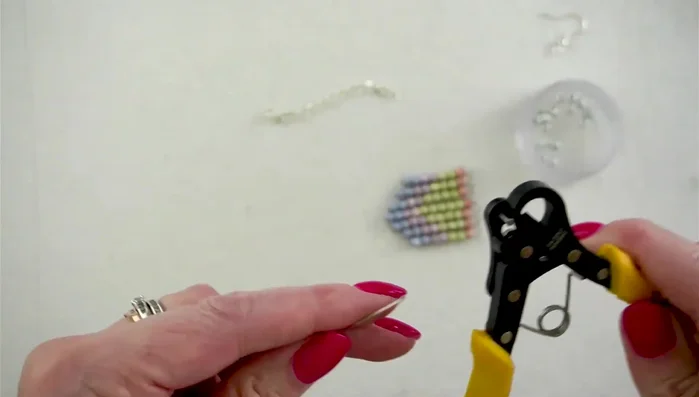
- Attach the ear wire to the earring top by opening the loop, adding the chain, and closing the loop again.
Attach Earring Wire to the First Earring Make the Second Earring
- Repeat steps 4 & 5 for the second earring.
Make the Second Earring
Read more: DIY Tiered Tassel Earrings: A Quick & Easy Jewelry Tutorial
Tips
- Ensure no gaps between beads on the headpins for a consistent look. Use flush cutters and hold both wire ends while cutting to prevent accidents.
- Use a one-step looper for efficient loop creation.
- Ensure loops are centered and tightly closed using chain nose pliers.
- Make sure that there is no space on the headpin before the loop to ensure dangles hang at the right level and are the same size.
- Count the links on the chain and ensure an odd number for proper centering before attaching to the earring.