Tired of rummaging through a jumbled drawer of silverware, desperately searching for the right fork or spoon? A chaotic utensil drawer can be a frustrating daily annoyance, stealing precious minutes from your morning routine. But what if we told you a simple, inexpensive solution could transform this kitchen chaos into organized bliss? This DIY silverware divider project will not only save you time and frustration but also add a touch of personalized style to your kitchen. Forget expensive, pre-made organizers – we'll show you how to craft your own custom divider using readily available materials and simple techniques.
This quick and easy project requires minimal tools and effort, making it perfect for even the most novice DIY enthusiast. From measuring and cutting to assembly and installation, the entire process is straightforward and incredibly satisfying. Ready to get started and finally conquer that messy silverware drawer? Let's dive into the step-by-step instructions below.
Preparation and Safety Guidelines
- Clamps
- File
- Speed Square
- Tape Measure
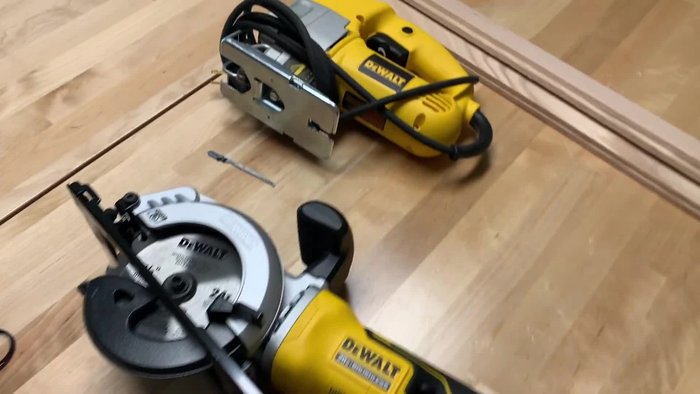
- Mini Circular Saw
- Jigsaw
- Wood Glue
- Red Oak Wood (1/4" x 2")
- Always use sharp scissors or a utility knife with caution when cutting materials. Adult supervision is recommended, especially when children are present.
- Ensure the chosen material for your divider is food-safe and won't leach chemicals into your silverware. Avoid using recycled materials unless you are certain of their cleanliness and safety.
- If using adhesive, make sure it's designed for the specific materials you're using and is food-safe. Allow adequate drying time before placing silverware in the drawer.
Step-by-Step Instructions
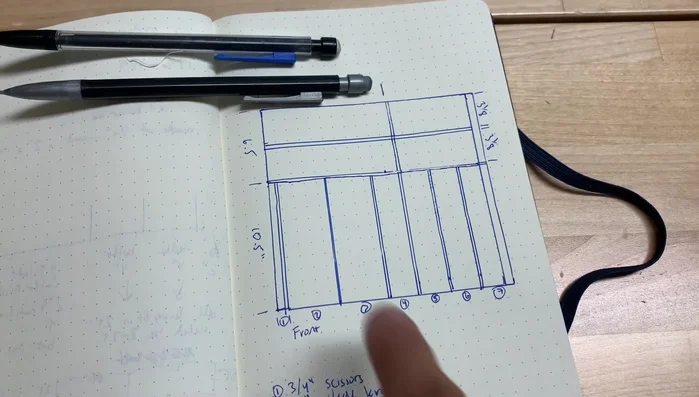
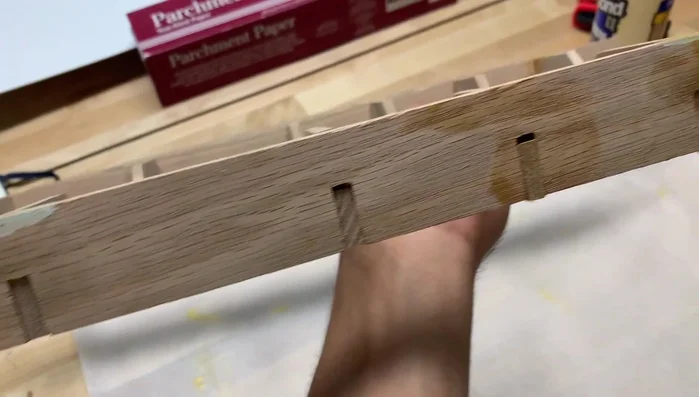
Cut Main Pieces
- Measure and cut the main pieces of red oak wood according to your drawer dimensions. Create slots using a jigsaw, ensuring to cut slightly inside the lines for a snug fit.

Cut Main Pieces Refine Slots
- File the cut slots to achieve a precise fit, ensuring the pieces interlock smoothly.
Refine Slots Cut Shorter Pieces
- Create the shorter divider pieces and cut the L-shaped notches using the jigsaw. Ensure these pieces are slightly smaller than the slots to allow for a snug fit and gluing.
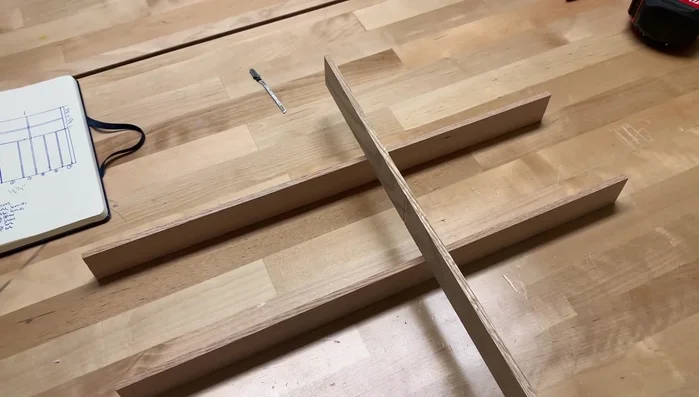
Cut Shorter Pieces Dry Assemble & Check Fit
- Assemble the main pieces by carefully fitting them together, checking for proper alignment and snugness before gluing.
Dry Assemble & Check Fit Glue & Clamp
- Apply wood glue to the joints and firmly clamp the pieces together until the glue dries completely (overnight).
Glue & Clamp Sand & Finish
- Sand down any rough edges or excess glue after the glue has dried completely.
Sand & Finish

Read more: Build a Stunning Black Walnut Coaster Set: The Ultimate Furniture Protector
Tips
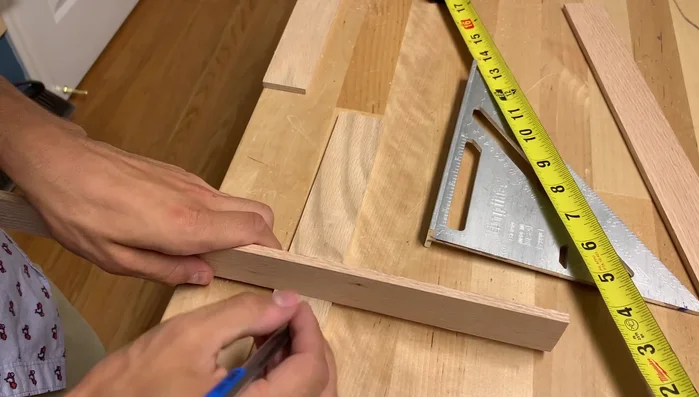
- Cut slightly inside your marked lines when using the jigsaw to avoid cutting too much wood. You can always file it down later.
- Double-check measurements before cutting to ensure all pieces fit perfectly. Accurate measurements are crucial for a neat and functional divider.
- If a piece is slightly too small, carefully file it down to the required size to ensure a tight and secure fit.
- Add extra support pieces if needed, especially for longer dividers or to reinforce weak points.