Adding a personalized touch to your home is easy and rewarding, and what better way to do so than crafting a unique nameplate? This project marries the precision of scroll saw work with the satisfying feel of sanding, resulting in a beautiful, handcrafted piece that reflects your individual style. Forget generic, mass-produced signs; this guide empowers you to create a truly bespoke nameplate, showcasing your craftsmanship and adding a touch of elegance to your front door, mailbox, or even a workspace. We'll explore the techniques needed to transform a simple piece of wood into a polished, professional-looking nameplate.
This tutorial will walk you through each stage of the process, from choosing the right wood and transferring your design to the precise cutting with a scroll saw and the crucial sanding techniques for a flawless finish. Get ready to unlock the satisfying experience of bringing your creative vision to life, one careful cut and smooth stroke at a time. Let's dive into the step-by-step instructions and begin crafting your personalized masterpiece.
Preparation and Safety Guidelines
- Scroll Saw
- Drill
- Orbital Sander
- Belt Sander (Optional)
- Router (Optional)
- Carving Tools (Optional)
- Plane (Optional)
- Thickness Planer (Optional)
- Inkscape (or similar SVG program)
- Wood Glue/Epoxy
- Dowels
- Shellac
- Stain
- Sandpaper
- Always wear eye protection when operating the scroll saw. Wood dust and flying debris can cause serious eye injuries.
- Keep your fingers clear of the blade at all times. Use push sticks and hold-downs to manipulate the wood, especially during intricate cuts.
- Sanding generates dust. Wear a dust mask and work in a well-ventilated area. Consider using a vacuum attachment to your sander to minimize dust.
Step-by-Step Instructions
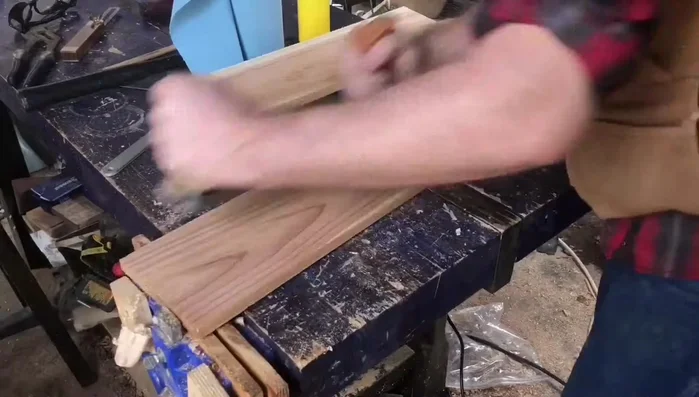
Prepare the Wood
- Flatten the board using a plane or thickness planer. If you don't have these tools, buy a pre-flattened board and sand it smooth.

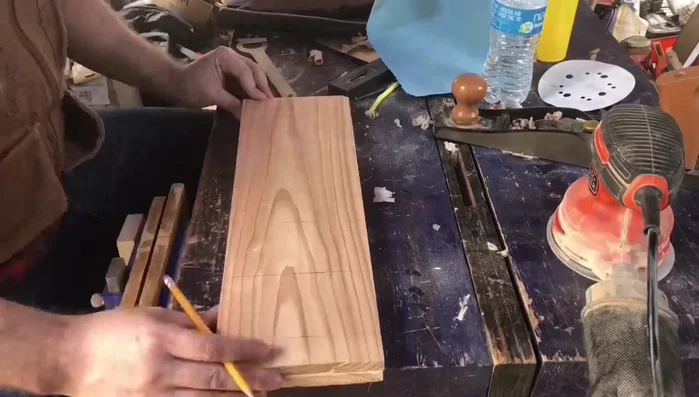
Prepare the Wood Design and Print
- Design the nameplate using Inkscape (or a similar program) to create an SVG file. Print out the design, including overlapping letters, and glue it to the wood.
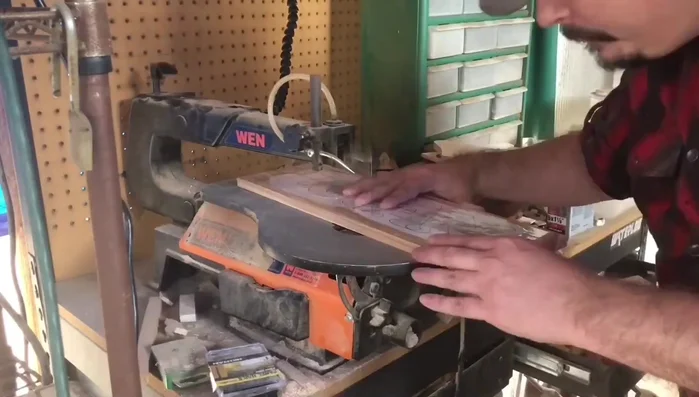
Design and Print Cut the Nameplate
- Cut out the nameplate design using a scroll saw. Don't worry about perfectly following the lines; it's okay to stray slightly. Smooth cuts are more important than precise accuracy.
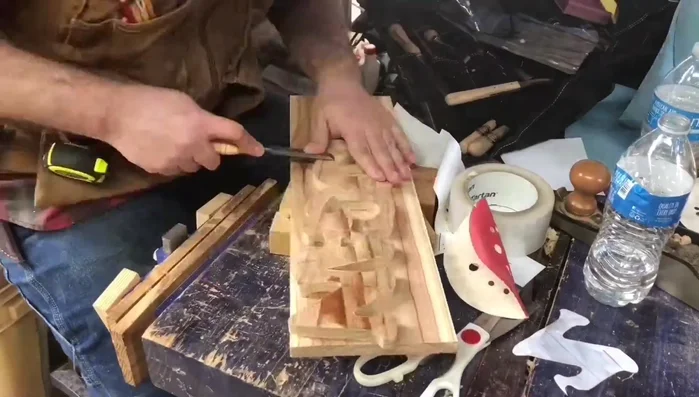
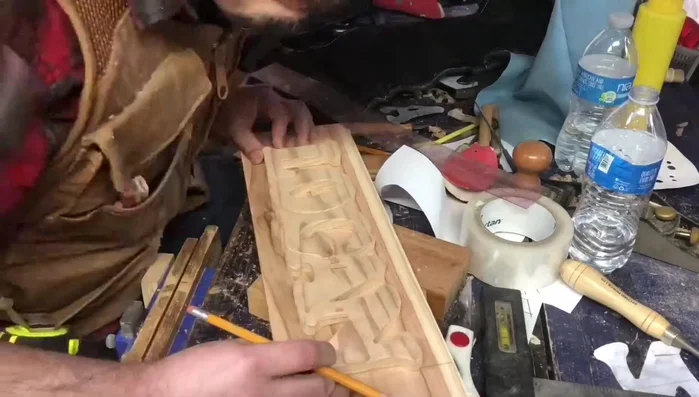
Cut the Nameplate Refine the Nameplate
- Carve or sand shadow lines where letters overlap to create a 3D effect. Sand the edges of the nameplate to make them smooth.
Refine the Nameplate Cut the Backdrop
- Design and cut out the backdrop using a scroll saw. Cut outside the lines initially; you will clean up the edges with a sander.
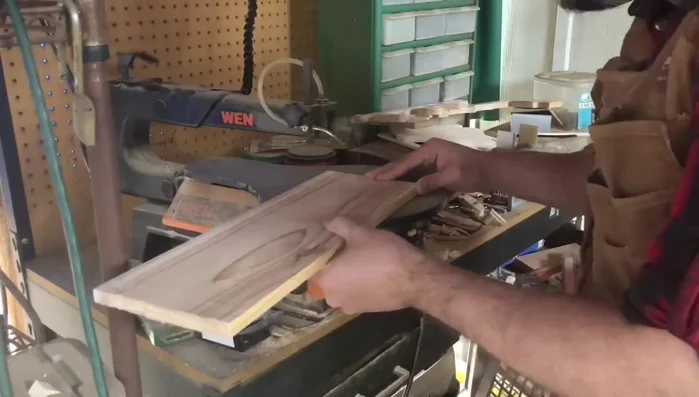
Cut the Backdrop Refine the Backdrop
- Sand the backdrop smooth. Optionally, route the edges using a cove bit for a decorative finish.
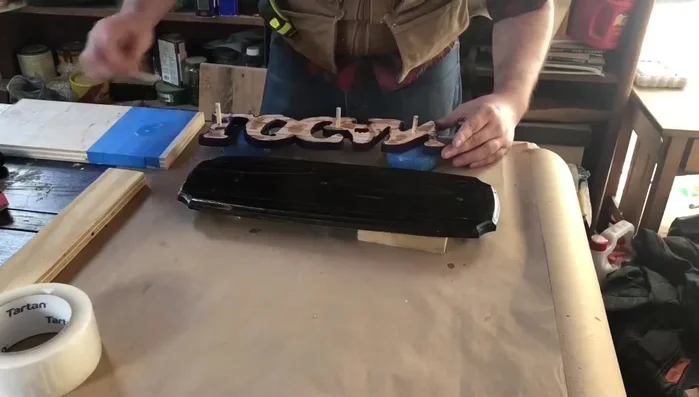
Refine the Backdrop Prepare for Assembly
- Drill holes for dowels in both the nameplate and the backdrop. Glue the dowels into the nameplate only.
Prepare for Assembly Final Sanding
- Sand the entire piece to at least 220 grit.
Final Sanding Finishing and Staining
- Apply stain (optional) and multiple coats of shellac, working on the nameplate and backdrop separately.
Finishing and Staining Assemble and Finish
- Attach the nameplate to the backdrop using epoxy and dowels. Flush-cut the dowels once the epoxy has set.
Assemble and Finish


Read more: Build a Stunning Black Walnut Coaster Set: The Ultimate Furniture Protector
Tips
- Don't panic if you stray from the line when using the scroll saw. Slowly and smoothly guide the blade back to the line for a smooth cut. Avoid sudden movements.
- Sanding is key for a professional finish. It helps smooth out any imperfections from the scroll saw cuts and creates smooth edges.
- If you are short on time, you can complete this project in one day. However, taking your time and working on it over several days gives you more flexibility.