Transform ordinary scrap wood into extraordinary candle holders with this easy DIY project! Adding a touch of shimmering elegance to your home decor doesn't require a hefty budget or advanced crafting skills. This project perfectly showcases how repurposing materials can lead to stunning results, adding a unique, handcrafted touch to any room. Imagine the warm glow of candlelight softly reflected off a beautifully crafted holder, made entirely from materials you likely already have on hand. The rustic charm of the wood, combined with a dazzling glimmer, creates a captivating ambiance.
This simple, yet sophisticated, project is perfect for beginners and seasoned crafters alike. From selecting your scrap wood to achieving that perfect glimmering finish, this guide will walk you through each step of the process, offering helpful tips and tricks along the way. Let's get started on creating your own DIY glimmering candle holder – follow the step-by-step instructions below!
Preparation and Safety Guidelines
- 2x4 wood
- table saw
- glue
- drill
- sandpaper
- torch
- clear coat
- Always supervise candle burning and never leave a burning candle unattended. Place the candle holder on a heat-resistant, stable surface far from flammable materials.
- Use only candles appropriate for the size and design of your holder. Avoid candles that are too tall or wide, which could cause a fire hazard.
- Ensure the wood is completely dry before applying any finishes or using it with a candle. Wet wood is a fire risk.
Step-by-Step Instructions
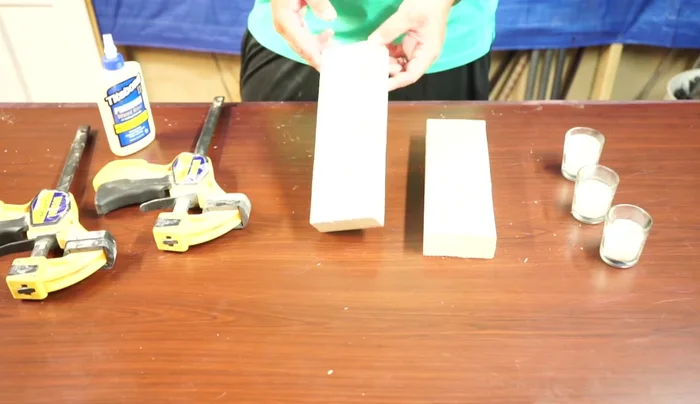
Prepare the Wood
- Rip 2x4s down to 3 inches wide.
- Glue two 3-inch wide 2x4 pieces together.
- Sand the glued pieces.

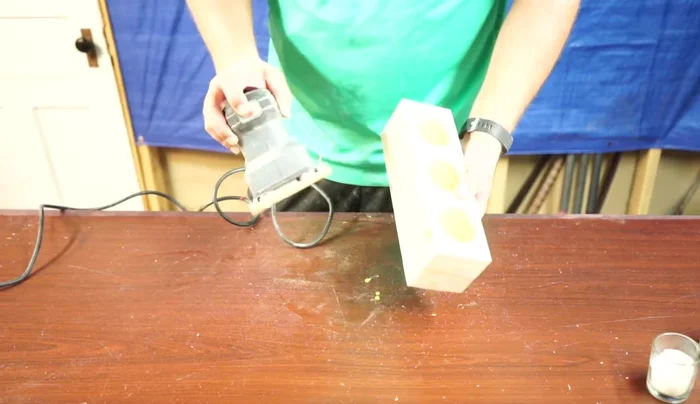
Prepare the Wood Drill Candle Holes
- Drill three holes for candles (2 inches from each end and 5 inches in to find the center).
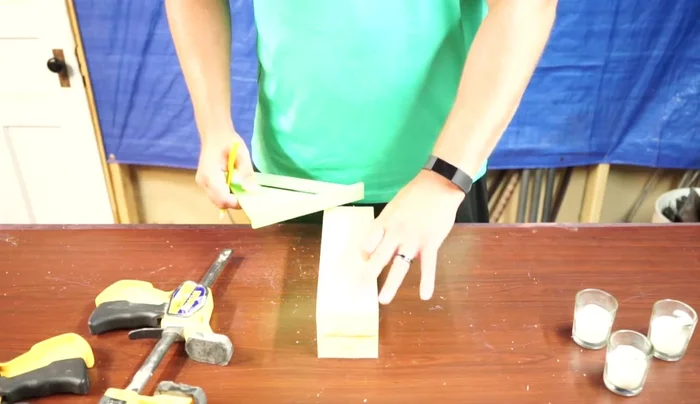
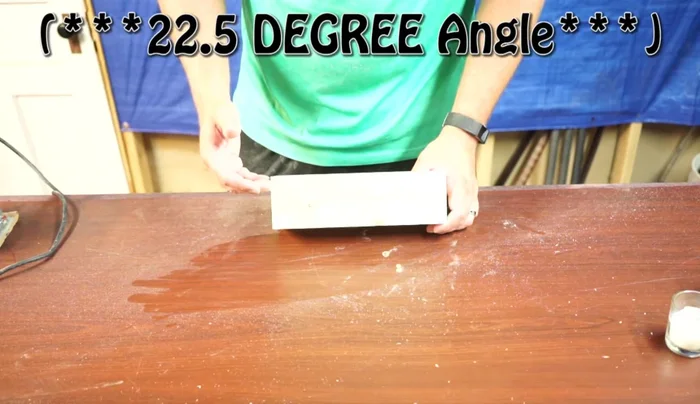
Drill Candle Holes Create the Reveal Grooves
- Cut reveal grooves on the sides at a 22.5-degree angle using a table saw, cutting about a quarter of the way into the holes.
Create the Reveal Grooves Char the Wood
- Use a torch to burn the wood, creating a charred finish. Adjust the burning intensity to your liking.
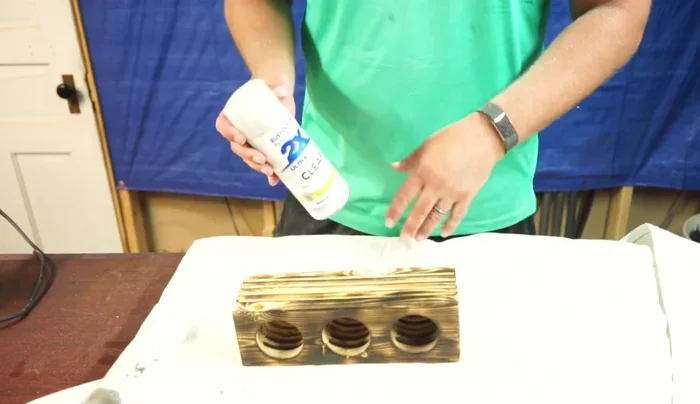
Char the Wood Seal and Finish
- Apply several coats of clear coat (matte preferred).
Seal and Finish Insert Candles
- Insert candles.


Read more: Build a Stunning Black Walnut Coaster Set: The Ultimate Furniture Protector
Tips
- Sand the wood thoroughly before cutting the grooves for better results.
- The sharp edges left by the table saw will burn faster, creating a unique charred look.
- Experiment with the depth of the grooves and the burning intensity to achieve your desired look.
- A matte clear coat enhances the wood's texture and the charred effect.