Love the charming look of rustic décor but intimidated by the price tag? Think again! This DIY project shows you how to create a stunning rustic lattice sign for under $50, making it the perfect affordable addition to your home or a thoughtful, handmade gift. Forget expensive, store-bought options; with a few simple materials and a little patience, you can craft a beautiful, personalized sign that perfectly reflects your style. This project is designed with beginners in mind, requiring no advanced woodworking skills or specialized tools. We’ll guide you through each step, ensuring a satisfying and rewarding crafting experience.
Get ready to transform inexpensive materials into a unique piece of farmhouse-chic decor! From selecting the right wood to mastering the lattice technique, this guide offers clear, concise instructions and helpful tips along the way. Ready to get started and add a touch of rustic charm to your space? Let's dive into the step-by-step process to build your own gorgeous DIY rustic lattice sign!
Preparation and Safety Guidelines
- Miter Saw
- Sandpaper (150 grit)
- Brad Nailer
- Skilsaw
- Wood Glue
- Nails
- Wood Filler
- Shellac
- French Cleat
- 2x4
- Lattice
- Plywood (1/2 inch sheet)
- Pencil
- Measuring Tape
- Clamps
- Always wear safety glasses when using tools like saws and hammers to protect your eyes from flying debris.
- Use caution when handling sharp objects like wood pieces and nails. Keep them away from children and pets.
- Ensure proper ventilation when using paints, stains, or sealants, and follow the manufacturer's safety instructions.
Step-by-Step Instructions
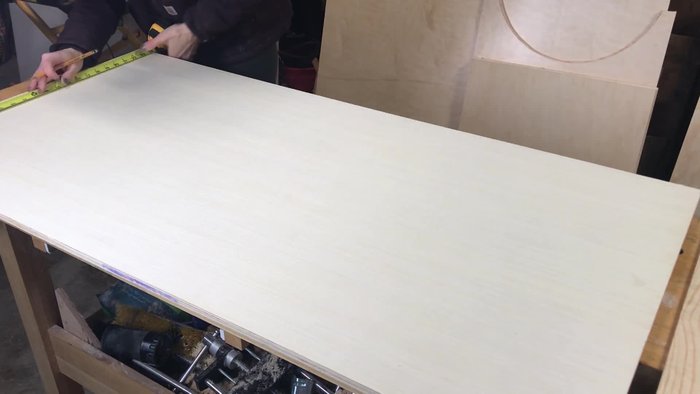
Prepare the Plywood
- Cut a 2ft x 4ft plywood sheet.
- Measure and mark the center points and draw reference lines.
- Create a pattern, measure, and mark cut lines on paper.

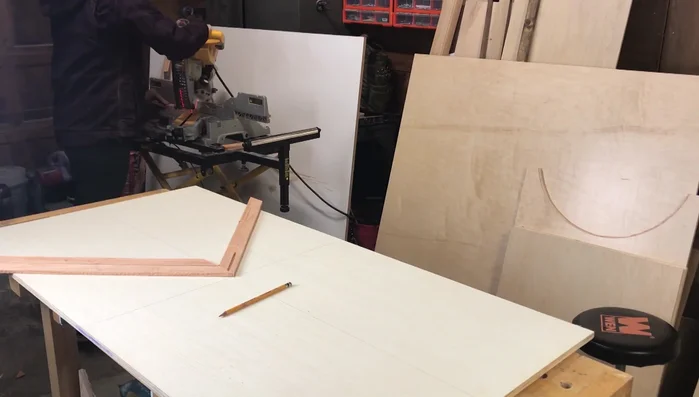
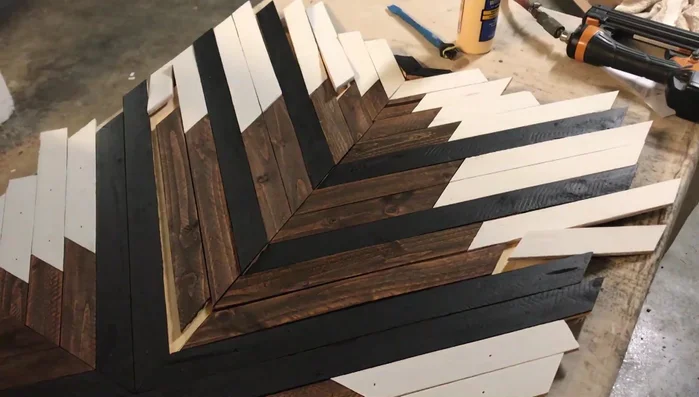
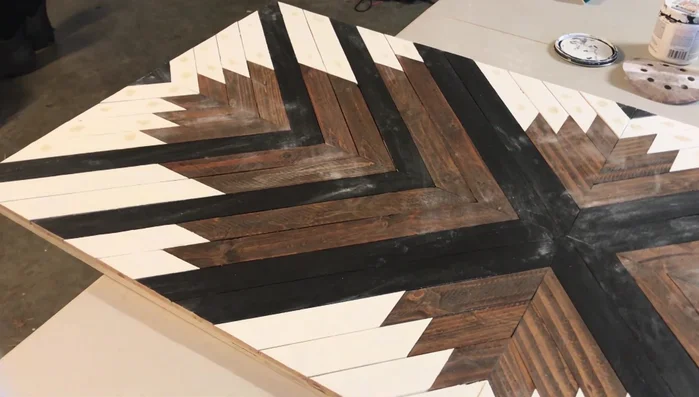
Prepare the Plywood Cut the Lattice Pieces
- Set miter saw to 45 degrees and cut the lattice boards to fit, leaving a little overhang.
- Create a stop on the saw with a 2x4 to ensure identical cuts on all sides.
- Mark each board with its quadrant and color for reassembly.
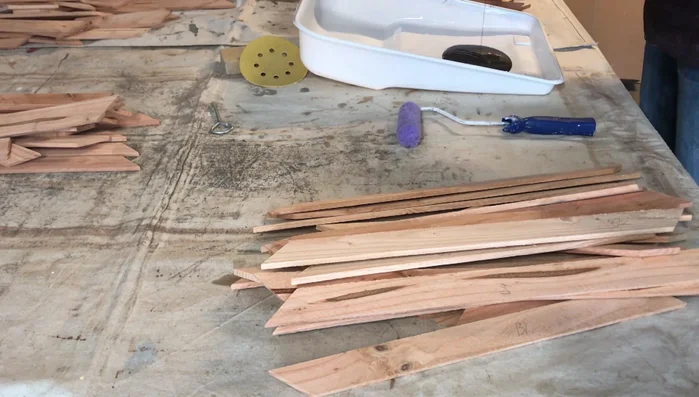
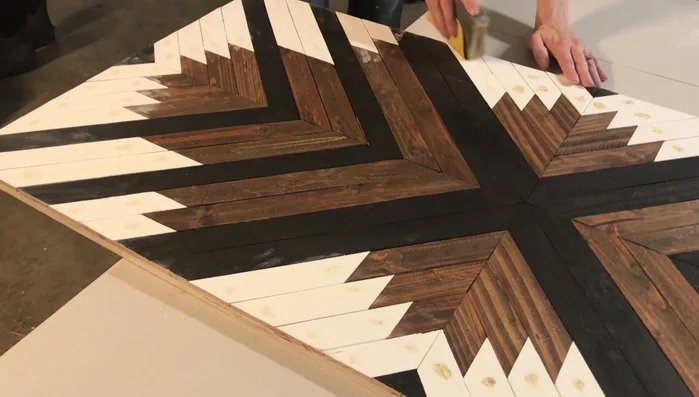
Cut the Lattice Pieces Sand and Finish the Wood
- Sand down edges and rough areas with 150 grit sandpaper.
- Paint and stain the wood (satin paint recommended).
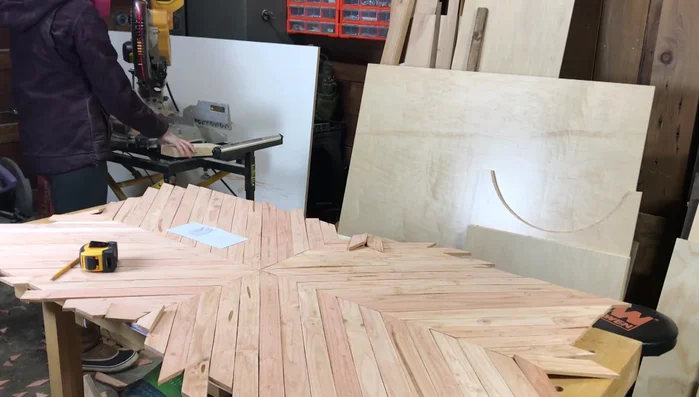
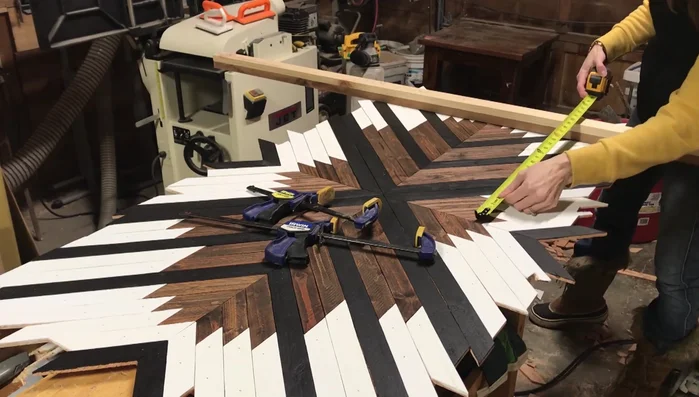
Sand and Finish the Wood Assemble the Lattice
- Reassemble the pieces according to the pattern to ensure correct placement before gluing.
- Glue and nail the pieces together, working in small sections.
- Cut the edges of the sign, ensuring accuracy by measuring from the middle and following the pattern.
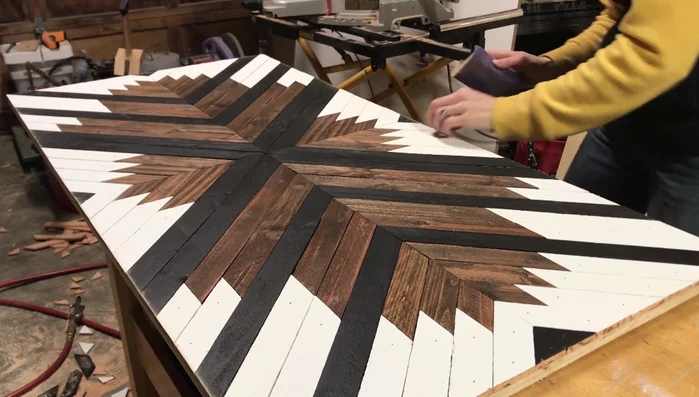
Assemble the Lattice Finishing Touches
- Sand down rough edges and fill any gaps with wood filler, then sand lightly.
- Touch up paint and let it dry.
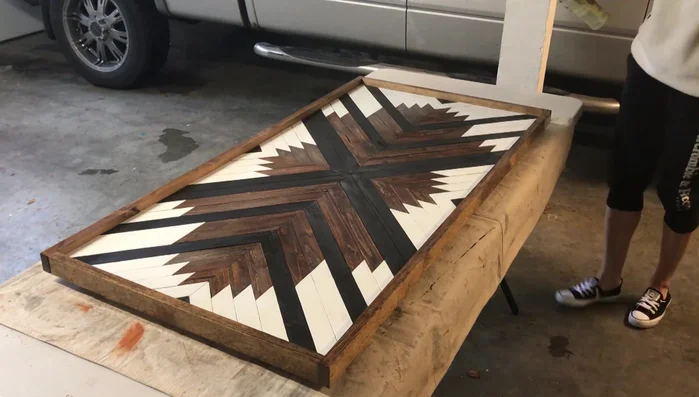
Finishing Touches Add Frame and Hanger
- Cut and attach the frame using wood glue and nails.
- Attach a French cleat for hanging.
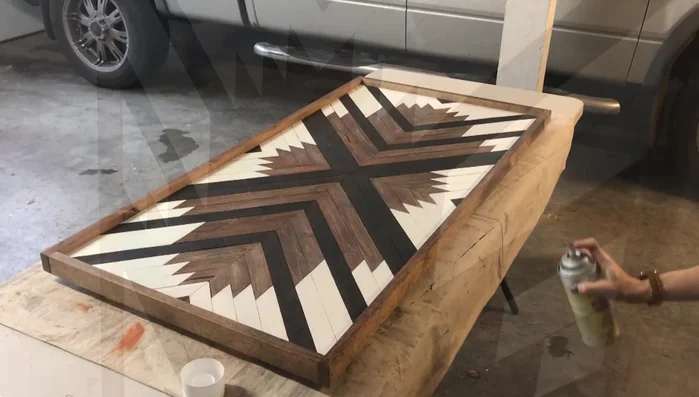
Add Frame and Hanger Clean and Protect
- Clean up chalk dust with water and a brush.
- Protect the sign with spray-on shellac.
Clean and Protect


Read more: Build a Stunning Black Walnut Coaster Set: The Ultimate Furniture Protector
Tips
- Use satin paint for a smoother finish.
- Avoid chalk paint as it can leave residue.
- Use a level surface for assembly.