Restore your living room's aesthetic with a stunning, handcrafted coffee table inspired by the coveted designs of Restoration Hardware, but without the hefty price tag. This project is perfect for those with a touch of DIY spirit and a desire to create a truly unique piece that reflects personal style. Forget mass-produced furniture; discover the satisfaction of transforming a simple base into a showstopping centerpiece that elevates your space. We’ll guide you through the process of selecting the right materials and applying techniques that emulate the luxurious look and feel of high-end furniture.
This step-by-step guide will walk you through every stage of the transformation, from prepping the base to applying the final, polished finish. Get ready to unleash your creativity and learn how to achieve a sophisticated, Restoration Hardware-inspired aesthetic without breaking the bank – all from the comfort of your own home. Let's begin!
Preparation and Safety Guidelines
- 8-foot boards
- miter saw
- pocket hole jig
- screws
- wood glue
- clamps
- sandpaper (80, 120, 220, 320 grit)
- palm sander
- pre-conditioner
- oil-based stain
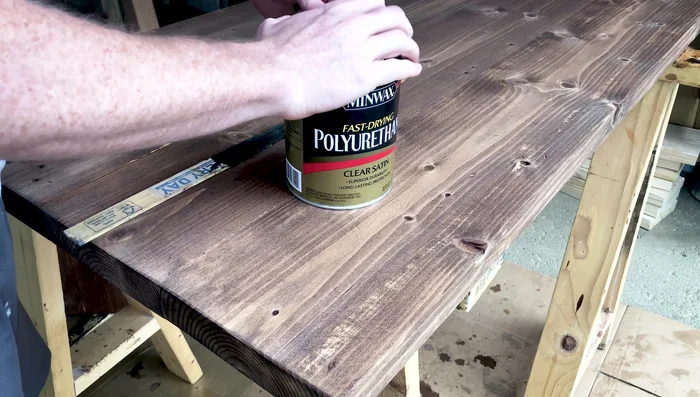
- oil-based polyurethane
- cotton t-shirt
- measuring tape
- Always wear safety glasses and a dust mask when sanding and using power tools. Wood dust is harmful to your lungs.
- Use caution when working with stains and finishes. Ensure adequate ventilation and wear gloves to protect your skin. Follow the manufacturer's instructions carefully.
- If you are unsure about any step, consult a professional. Improper techniques can lead to injury or damage to the furniture.
Step-by-Step Instructions
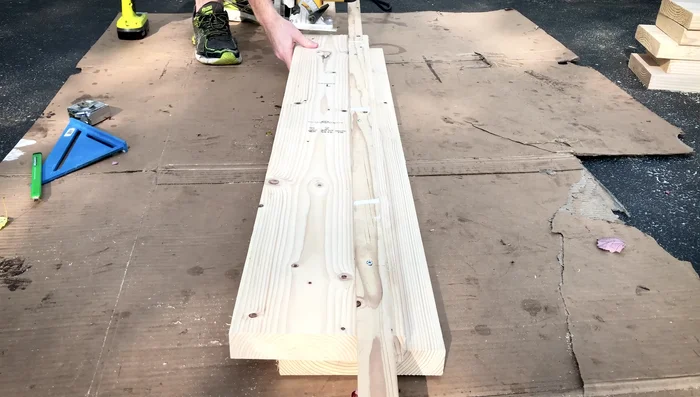
Cut and Prepare Table Top
- Cut two 8-foot boards into four 44-inch pieces. Ensure clean cuts on both ends.
- Rip down the sides of the 44-inch table top pieces to create nice corners for joining. This makes four 6.75-inch pieces.

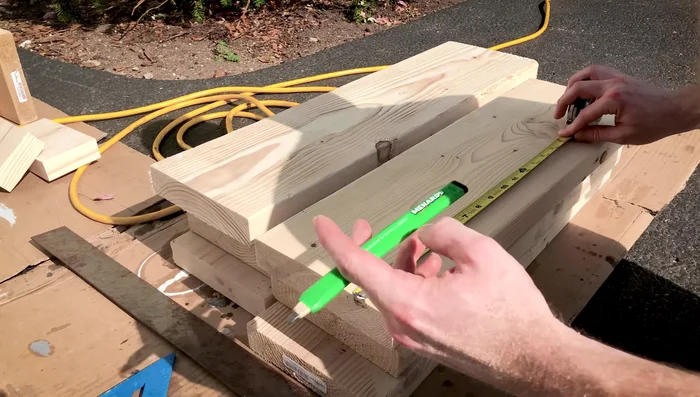
Cut and Prepare Table Top Prepare Plinth Pieces
- Cut 10 scrap pine boards to 12.5 inches long by 7 inches wide. Rip cut one side to ensure consistent width.
- Measure and cut the opposite side of the plinth pieces to 6.75 inches, making them perfectly square. Only do this for two pieces; the remaining eight will meet at a 45-degree angle.
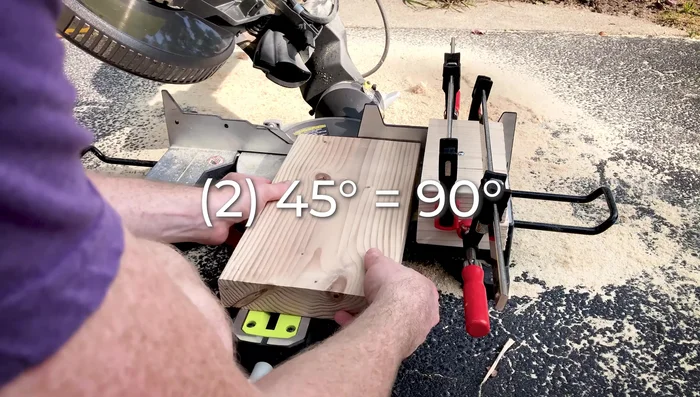
- Cut the eight remaining plinth pieces at a 45-degree angle to create square corners when assembled.
Prepare Plinth Pieces Assemble Table Top
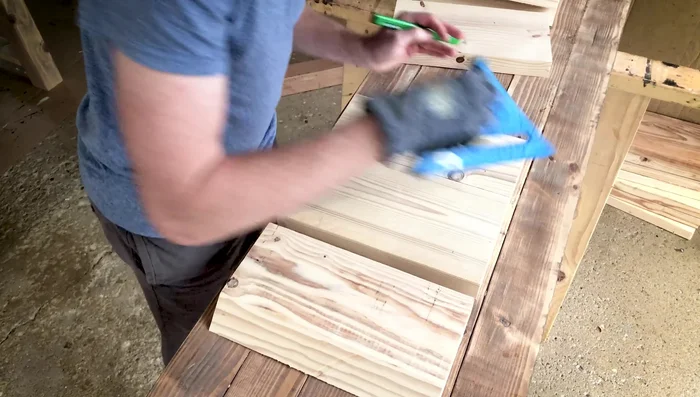
- Use a pocket hole jig to attach the table top boards, spacing pocket holes approximately 12 inches apart. Apply wood glue to strengthen the joint.
Assemble Table Top Assemble Plinth
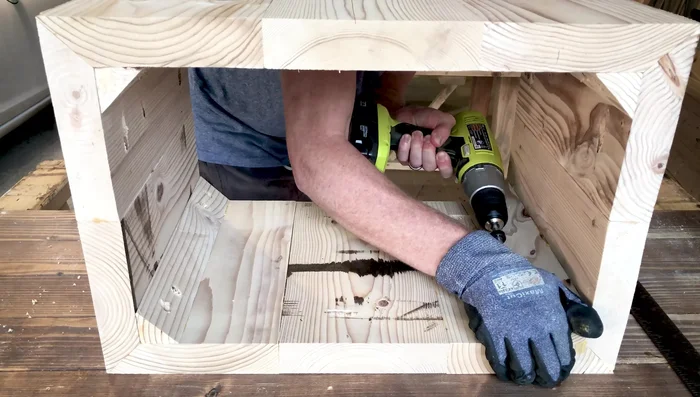
- Assemble four sides of the plinth individually using the pocket hole jig. Ensure at least two connection points per side.
- Attach the triangular corner pieces to two of the longer sides, then clamp and attach all four sides together.
- Drill pocket holes at the top of the plinth to connect it to the table top.
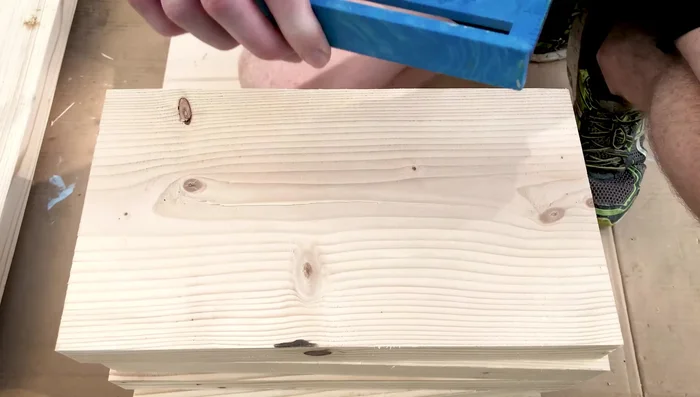
Assemble Plinth Sanding and Finishing
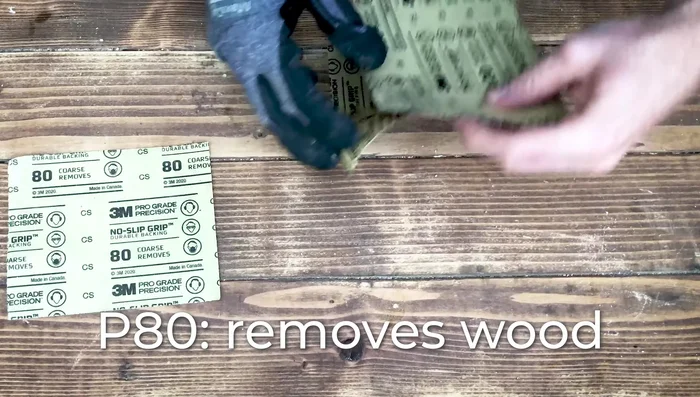
- Sand using 80-grit, 120-grit, and 220-grit sandpaper, always moving with the grain. Remove dust between each grit change.
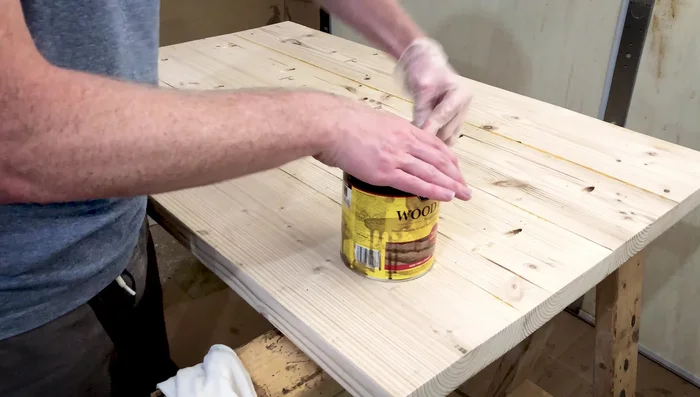
- Apply a coat of pre-conditioner to prevent blotchiness before staining.
- Apply stain using long, broad strokes with a cotton t-shirt. Wipe off excess stain immediately.
- Apply at least three coats of oil-based polyurethane, sanding lightly (320 grit) between coats.
Sanding and Finishing Final Assembly
- Attach the plinth to the tabletop using the pre-drilled pocket holes, ensuring it is centered.
Final Assembly


Read more: Build a Stunning Black Walnut Coaster Set: The Ultimate Furniture Protector
Tips
- Use clamps to ensure a strong, straight joint when assembling the table top and plinth.
- Wipe away excess glue immediately after screwing boards together to avoid a messy finish.
- Always sand with the grain to avoid scratching the wood.
- Start staining on the underside of the piece to check the color before applying to the top.
- Wipe off excess stain to avoid a sticky, uneven finish.