The allure of handcrafted jewelry is undeniable, offering a unique blend of artistry and personal expression. Resin pendants, in particular, provide a captivating canvas for creativity, allowing you to encapsulate memories, colors, and textures within a beautifully polished piece. From the humble beginnings of a rough resin blank, the transformation into a stunning, wearable work of art is both rewarding and surprisingly accessible. This process, while potentially daunting at first glance, is surprisingly straightforward, utilizing readily available materials and techniques.
This guide will walk you through each step, from preparing your resin blank to achieving a flawless, professional-looking finish. We'll delve into the crucial techniques for achieving a smooth, bubble-free surface, explore different embedding options to personalize your pendant, and finally, perfect the polishing process to unveil the shimmering beauty within. Let's embark on this journey together and transform that rough blank into a polished masterpiece.
Preparation and Safety Guidelines
- Belt sander
- Drill press
- Sandpaper (various grits)
- Micromesh
- Drill bit (3mm)
- Wooden blank
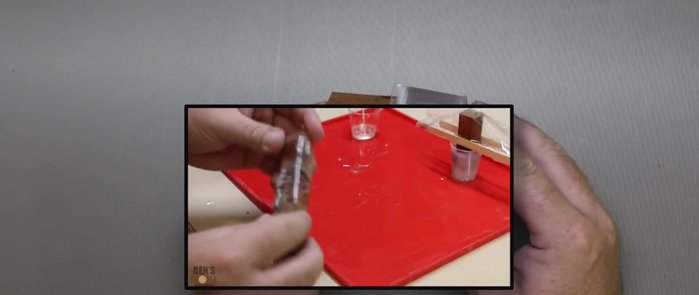
- Resin
- Rag
- Resin is a potent irritant. Always work in a well-ventilated area and wear gloves, eye protection, and a dust mask.
- Resin can exothermically react (release heat) during curing. Avoid using excessive amounts in one mold and monitor for excessive heat buildup.
- Dispose of resin and its waste properly according to local regulations. Never pour resin down the drain or into the trash without proper handling.
Step-by-Step Instructions
Rough Shaping
- Shape the resin blank into a teardrop using a belt sander. Aim for a rough teardrop shape, focusing on getting it as close to your desired shape as possible.

Rough Shaping Fine Shaping and Sanding
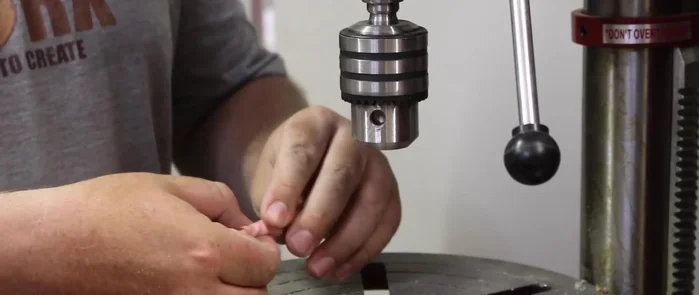
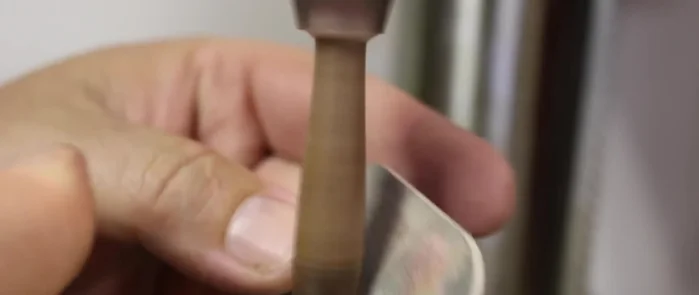
- Fine-tune the pendant's shape using a drill press and sandpaper of various grits. Start with a coarser grit and gradually move to finer grits for a smooth finish.
- Wrap a rag around the top of the pendant to protect it from damage during the sanding process.
Fine Shaping and Sanding Polishing
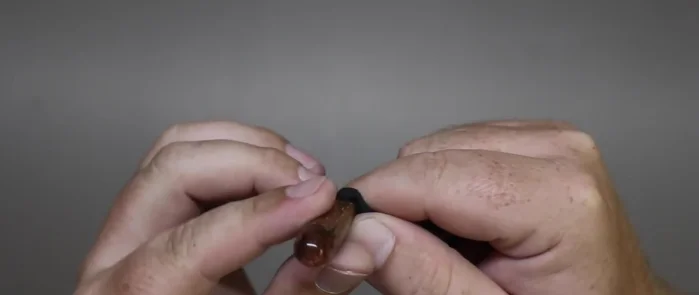
- Use micromesh for the final polishing steps to achieve a high-shine finish.
Polishing Drilling and Finishing
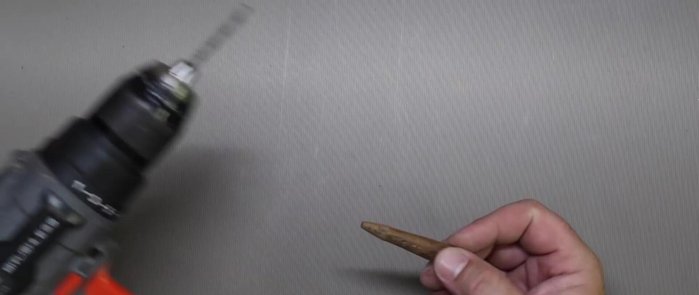
- Drill a 3mm hole at the top of the pendant for the bail (jewelry finding).
- Cut the pendant to the desired final length.
Drilling and Finishing
Read more: DIY Tiered Tassel Earrings: A Quick & Easy Jewelry Tutorial
Tips
- If you don't have a belt sander, you can use a handheld belt sander upside down, securing the trigger with a zip tie.
- If you don't have a drill press, you can use a cordless drill, holding it steadily and firmly.
- Don't overtighten the pendant in the drill press; a firm squeeze is sufficient.
- Keep one hand on the opposite side of the sandpaper to help steady it while sanding.