Dive into the sparkling world of resin crafting with this comprehensive guide to creating your own dazzling DIY resin mici glitter rings! These miniature works of art are surprisingly easy to make, offering a perfect blend of creativity and self-expression. Whether you're a seasoned crafter or a curious beginner, the unique charm of these rings makes them an irresistible project. Imagine the satisfaction of wearing a piece of jewelry crafted entirely by your own hands, shimmering with personalized glitter and color combinations.
From choosing the perfect resin and glitter to mastering the art of mixing and pouring, this guide will walk you through each stage of the process. Get ready to unleash your inner artist and create stunning, personalized jewelry. Let's get started with the step-by-step instructions below, transforming your creative vision into a beautiful, wearable piece.
Preparation and Safety Guidelines
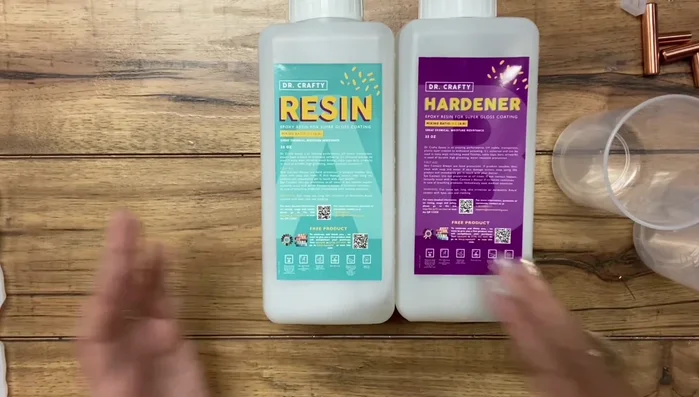
- Resin (Dr. Crafty recommended)
- Hardener
- Measuring cups
- Gloves
- Silicone molds
- Glitter (Mici glitter recommended)
- Stir stick (or popsicle stick)
- Nail file
- Fine grit sandpaper (optional)
- Wipe-on polyurethane
- Resin is a potentially harmful substance. Always work in a well-ventilated area and wear gloves to avoid skin contact. Avoid inhaling fumes.
- Keep resin and its components away from children and pets. Accidental ingestion can be dangerous.
- Use only designated resin-safe glitter and pigments. Non-resin safe materials can cause the resin to not cure properly or cloud.
Step-by-Step Instructions
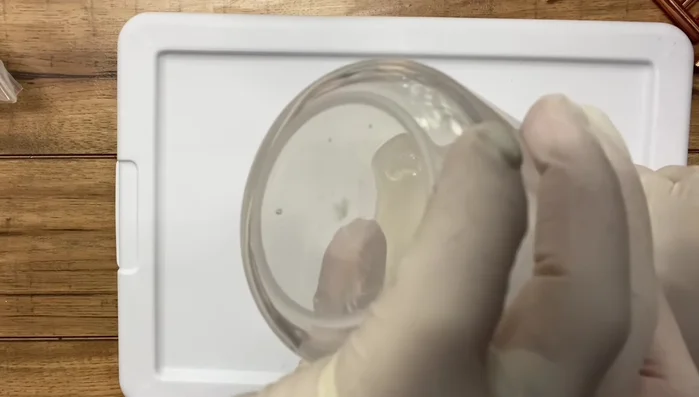
Prepare Resin Mixture
- Prepare equal parts resin and hardener.
- Mix resin and hardener thoroughly for three minutes.
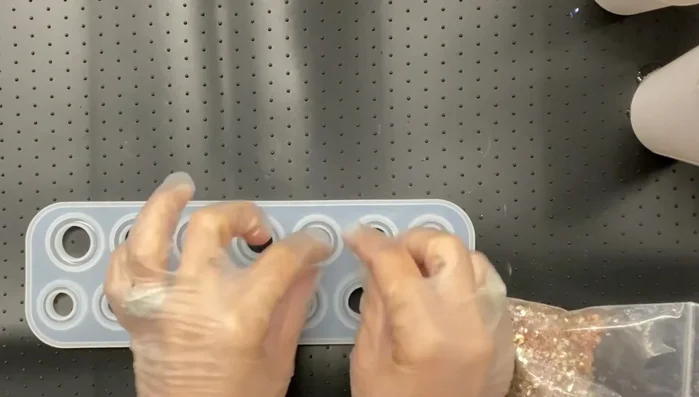
- Add glitter to the resin mixture. (Consider putting glitter in the mold first for small molds)

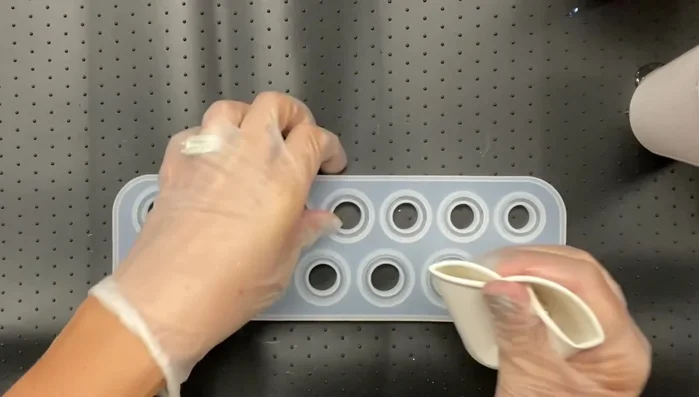
Prepare Resin Mixture Pour into Molds
- Carefully pour the resin mixture into the silicone molds.
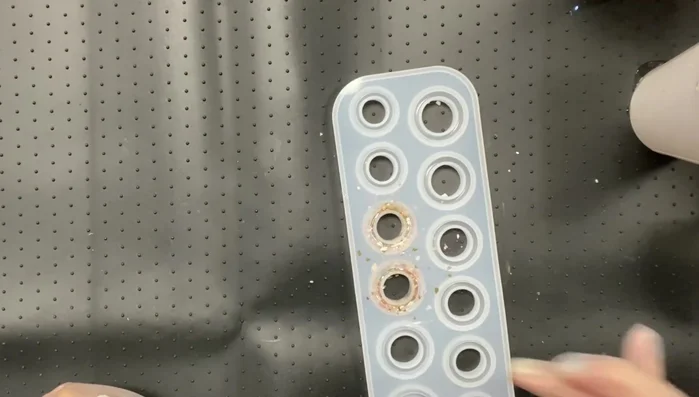
Pour into Molds Curing
- Let the resin dry for 24 hours.
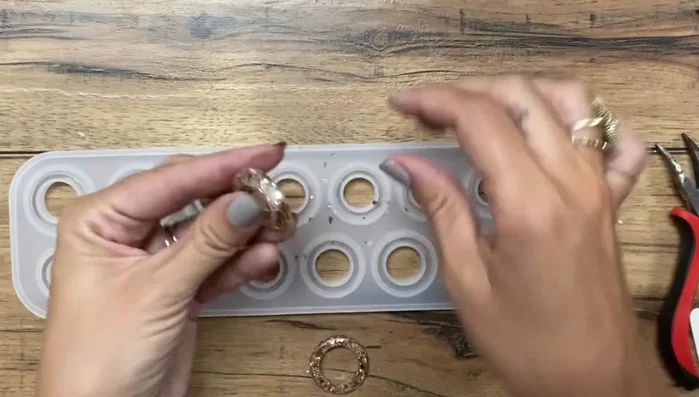
Curing Remove from Molds
- Remove rings from molds.
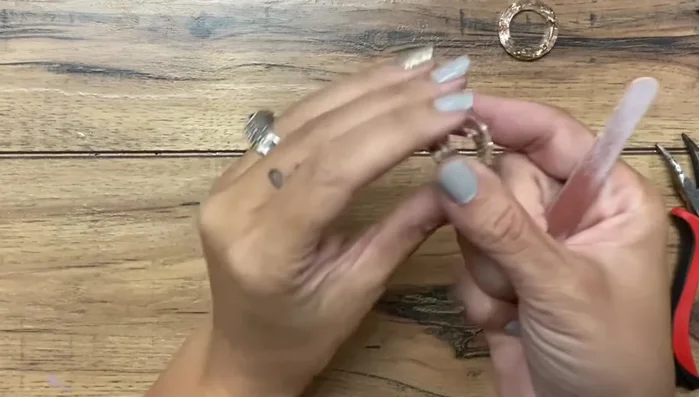
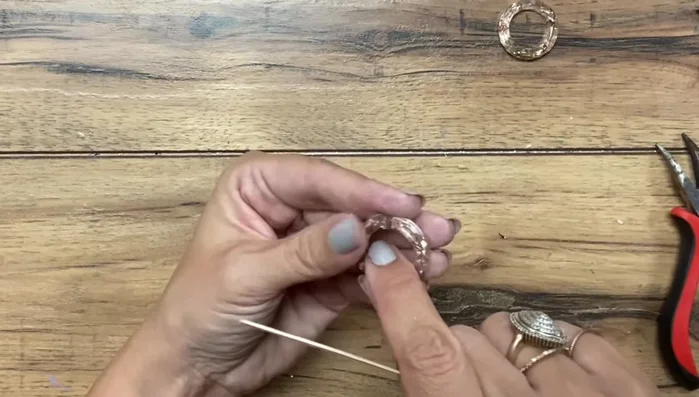
Remove from Molds Finishing
- Sand any uneven edges or bumps using a nail file or fine grit sandpaper.
- Polish the rings with wipe-on polyurethane for a shiny finish.
Finishing
Read more: DIY Tiered Tassel Earrings: A Quick & Easy Jewelry Tutorial
Tips
- Use exact equal parts of resin and hardener for proper curing.
- Wear gloves to avoid messy resin spills.
- Use nail polish remover or acetone to clean up resin spills.
- Don't mix too much resin at once, as it sets up quickly.
- If resin overflows the mold, trim and sand the excess once it's dry.