Tired of exorbitant prices for queen-size bed frames? Do you dream of a stylish, supportive bed without breaking the bank? Then you've come to the right place! This guide will walk you through building your own queen-size bed frame – a project that's surprisingly affordable, remarkably sturdy, and incredibly easy to assemble, even for beginners. Forget flimsy, mass-produced frames that wobble and creak; you'll be crafting a custom piece that perfectly fits your style and budget.
This DIY project requires minimal tools and readily available materials, making it a perfect weekend project. We’ll cover everything from choosing the right wood to securing each joint, ensuring a robust and long-lasting frame. Ready to transform your bedroom and save money at the same time? Let's dive into the step-by-step instructions and build your dream bed!
Preparation and Safety Guidelines
- 2x4s
- 2x6s
- Wood Glue
- Clamps
- Drill
- Drill bits
- T-nuts
- Bolts (3/8 inch)
- Wrench
- Hammer
- Sandpaper
- Always use sturdy lumber and appropriate fasteners (screws, not nails) to ensure structural integrity. Weak materials can lead to collapse.
- Ensure all screws are fully tightened to prevent movement or wobbles. Regularly check the frame for any loosening over time.
- Before assembling, carefully read all instructions and pre-drill pilot holes whenever screwing into wood to prevent splitting.
Step-by-Step Instructions
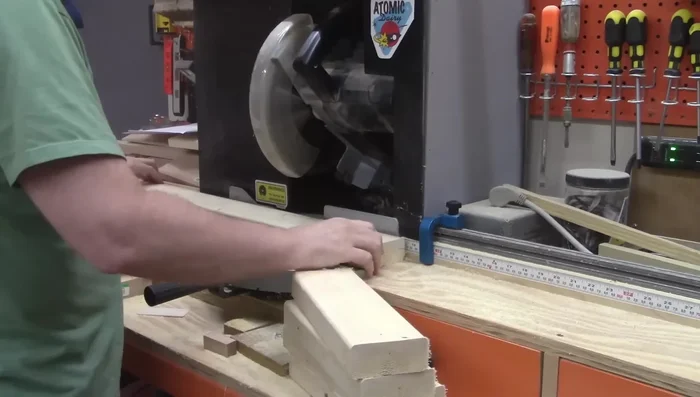
Cut and Prepare Lumber
- Cut two 2x6 boards to 84 inches and two 2x4s to 74 inches.
- Cut four 2x4 legs to 11 inches each.
- Cut two 5-foot header and footer boards.

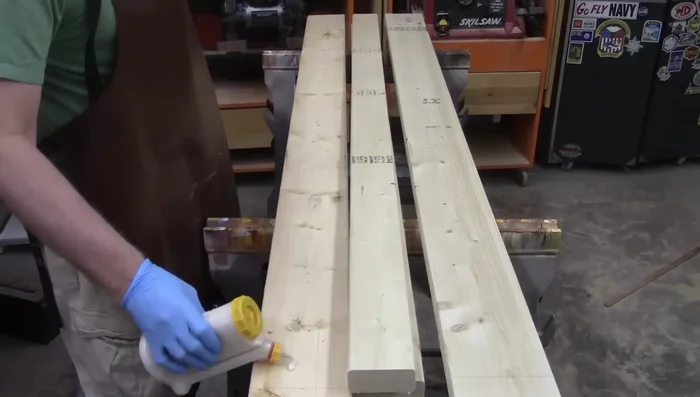
Cut and Prepare Lumber Assemble Rails
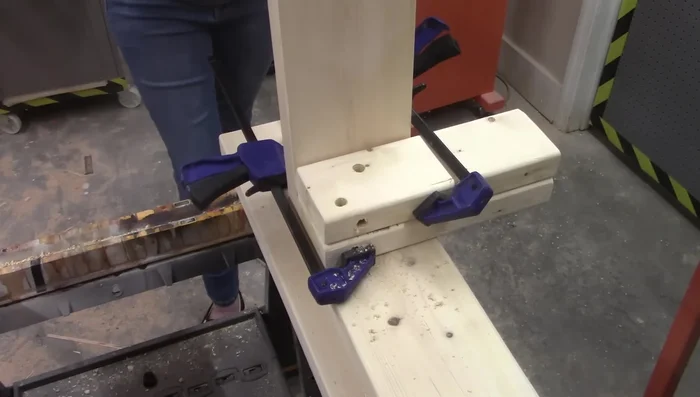
- Center and glue the 74-inch 2x4s onto the 84-inch 2x6s to create the left and right rails.
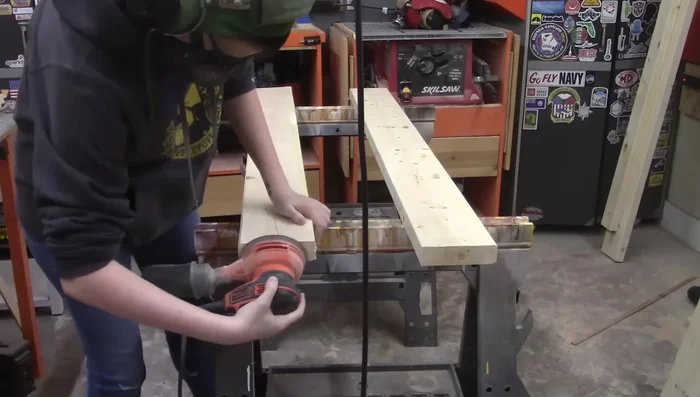
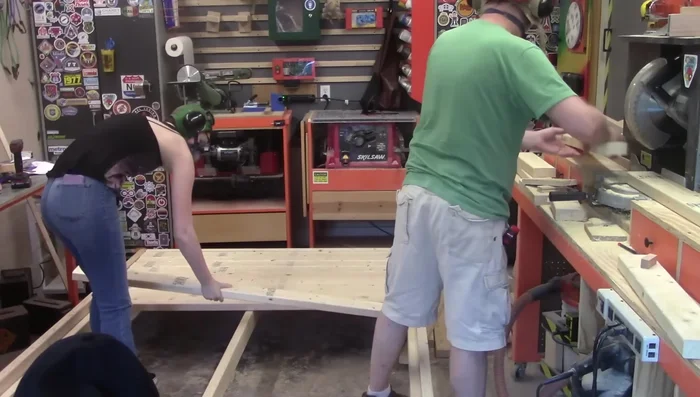
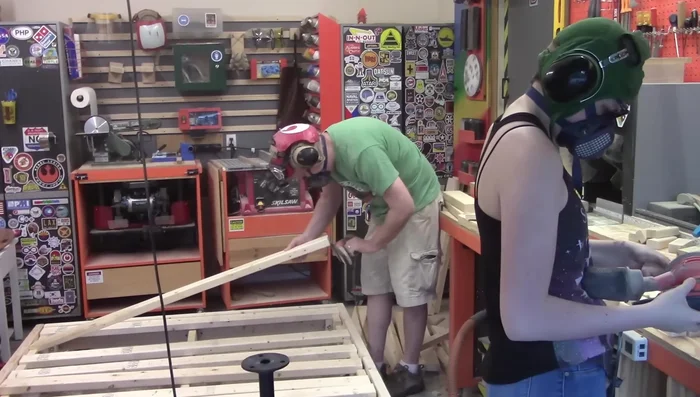
Assemble Rails Sand Rails and Legs
- Sand the rails to remove splinters and imperfections.
- Sand the legs.
- Sand the header and footer boards.
Sand Rails and Legs Prepare for Leg Attachment
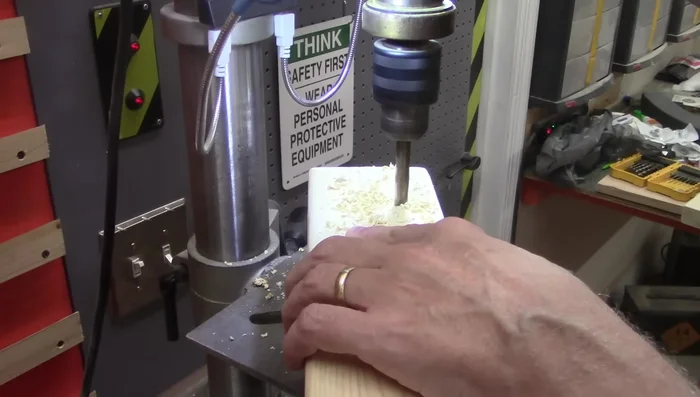
- Drill pilot holes in the rails for the leg bolts. Use each leg as a template for accurate hole placement.
- Drill slightly larger holes for the T-nuts in the rails.
- Drill holes in the header and footer boards for bolts to attach to the legs.
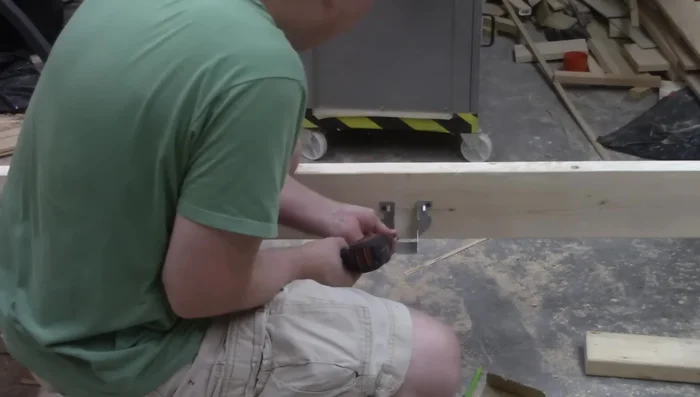
Prepare for Leg Attachment Install T-nuts and Attach Legs
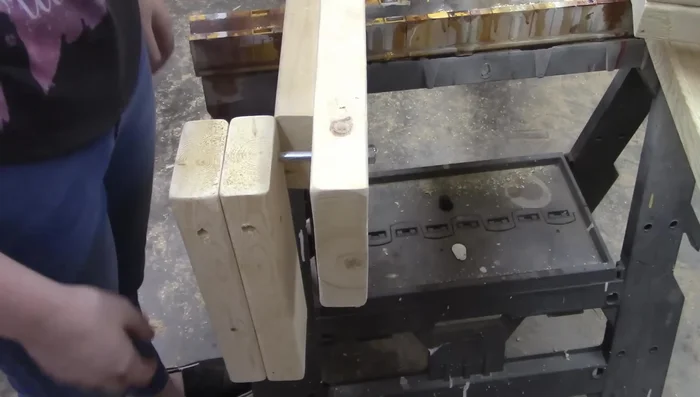
- Hammer the T-nuts into the larger holes.
- Attach the legs to the rails using three bolts per leg and the T-nuts.
Install T-nuts and Attach Legs Add Support Structure
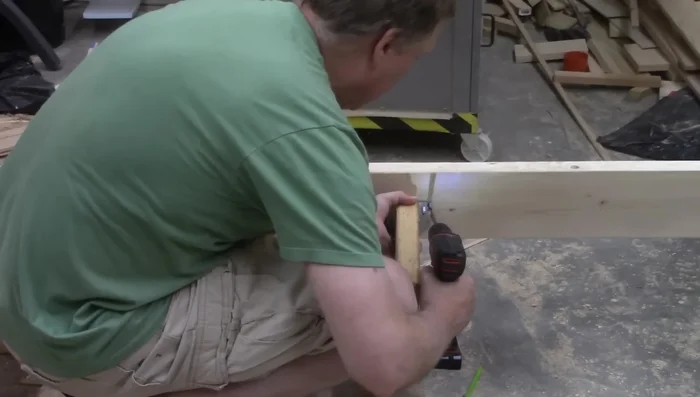
- Attach 2x4 Raptor hangers to the header and footer boards.
- Cut the center support rail to fit within the Raptor hangers.
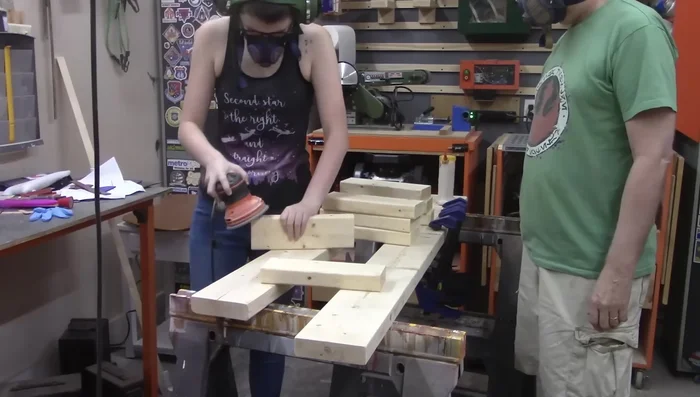
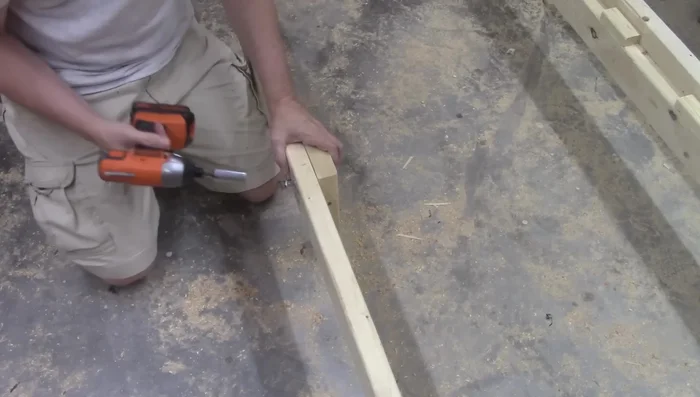
Add Support Structure Prepare and Install Slats
- Cut the support slats (8-foot 2x4s) into 5-foot lengths.
- Create the 'teeth' (short 2x4 pieces) to keep the slats in place. Cut 2x4 scraps to 3.75 inches in length.
- Glue the teeth to the rails, leaving space between each tooth for the slats.
Prepare and Install Slats Final Assembly and Finishing Touches
- Sand all the pieces after gluing.
- Attach the center leg (11-inch 2x4) using T-nuts and bolts.
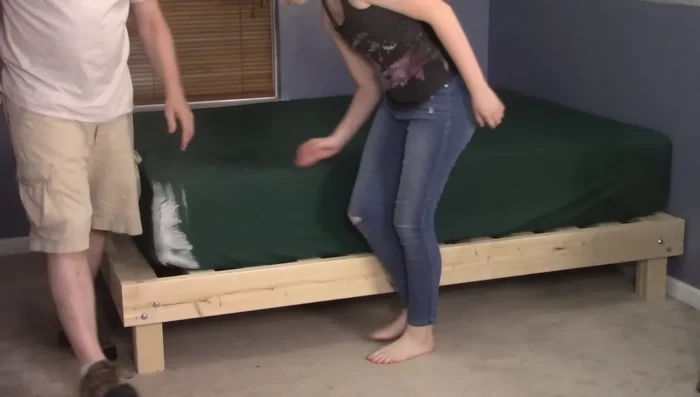
Final Assembly and Finishing Touches Complete and Enjoy!
- Place the mattress and enjoy your new bed frame!
Complete and Enjoy!

Read more: Build a Stunning Black Walnut Coaster Set: The Ultimate Furniture Protector
Tips
- Using glue reduces the number of screws needed, making assembly easier and cheaper.
- T-nuts prevent losing fasteners during disassembly.
- Working with a partner speeds up the process.
- The design allows for easy disassembly for transport, requiring only the removal of four bolts.