Clutter on your desk can be a major distraction, hindering productivity and creativity. A simple solution to this common problem is a stylish and functional pen and pencil holder, and the best part? You can easily make one yourself! Forget expensive, mass-produced organizers; this DIY project allows you to personalize your workspace with a unique piece that reflects your taste and style, all while keeping your writing tools neatly organized and readily accessible. Think sleek minimalism, rustic charm, or vibrant pops of color – the possibilities are endless, limited only by your imagination and the materials you choose.
This guide will walk you through a straightforward, step-by-step process for crafting your very own elegant pen and pencil holder. Whether you're a seasoned DIY enthusiast or a complete beginner, this project is achievable and rewarding, transforming a mundane task into a satisfying creative outlet. Let's dive in and create the perfect addition to your desk!
Preparation and Safety Guidelines
- Jointer
- Planer
- Table Saw
- Bandsaw
- Drum Sander
- Hand Sander
- Glue
- Painter's Tape
- Always supervise children when using sharp tools like knives or scissors during the crafting process.
- Ensure the chosen container is stable and won't easily tip over, preventing potential accidents.
- Use appropriate adhesives and allow them to dry completely before handling the finished pen and pencil holder to avoid spills or damage.
Step-by-Step Instructions
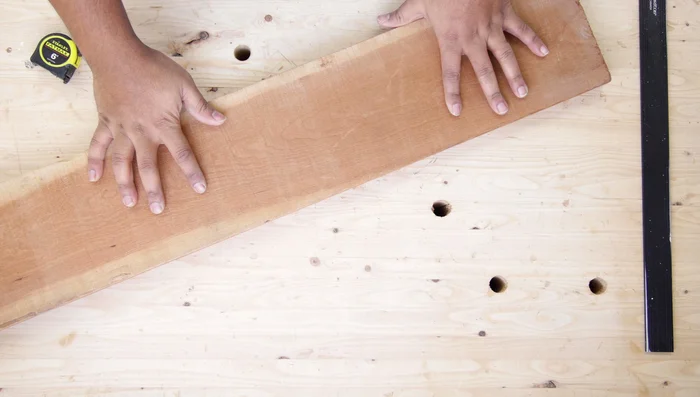
Prepare the Lumber
- Mill lumber to be flat and square using a jointer, planer, and table saw.
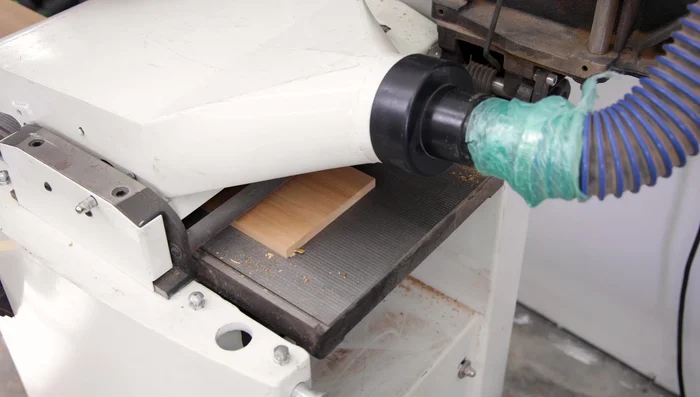
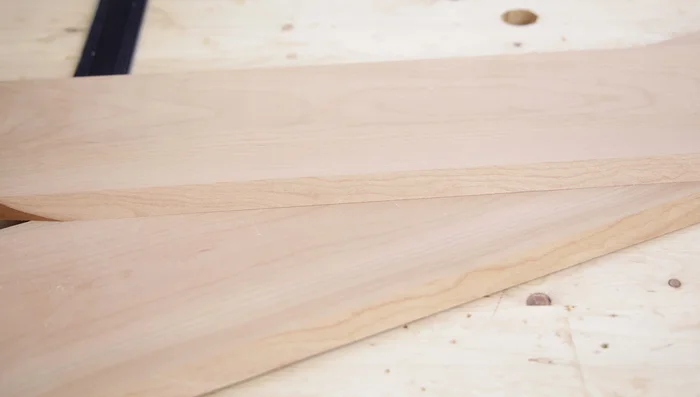
- Resaw the lumber on a bandsaw to reduce thickness to the desired size.
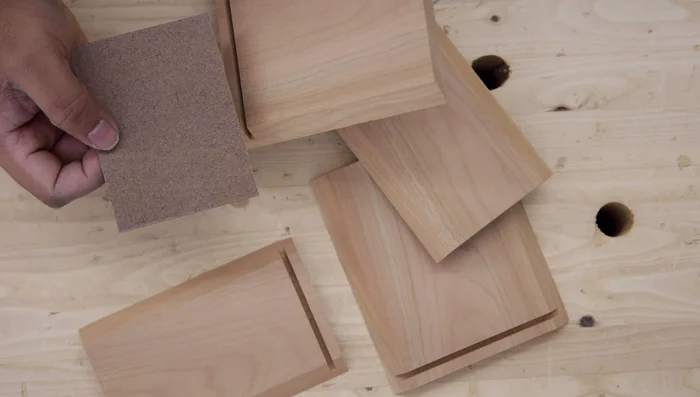
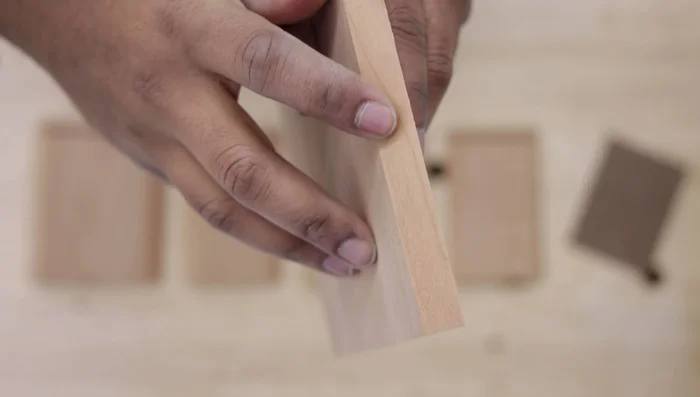
- Clean up the resawn edge using a planer and drum sander. Pre-sand all pieces.

Prepare the Lumber Cut and Prepare Joints
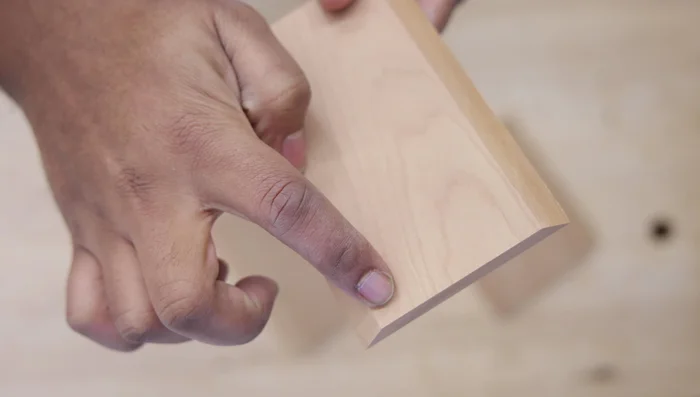
- Cut 45-degree mitered cuts for joinery.
- Cut a dado (groove) at the bottom of all four pieces to insert the bottom.
Cut and Prepare Joints Assemble the Box
- Dry fit all pieces to check for accuracy.
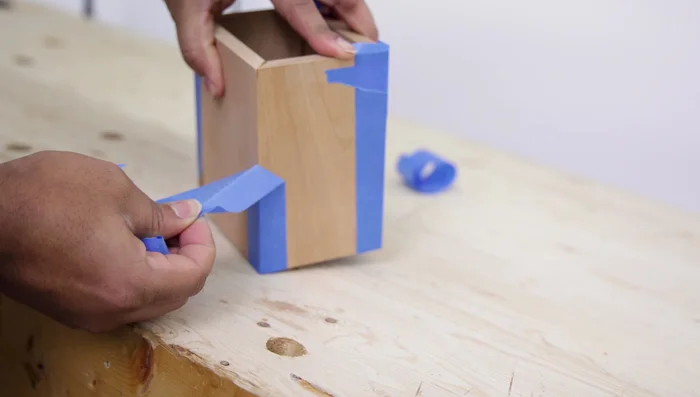
- Glue up the pieces, using painter's tape instead of clamps.
- Allow glue to dry overnight, then remove tape.
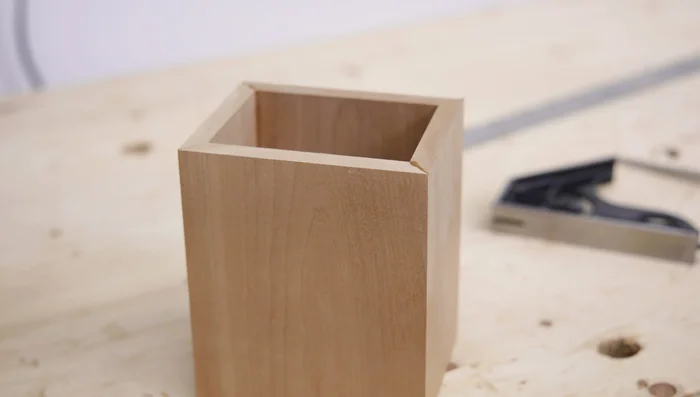
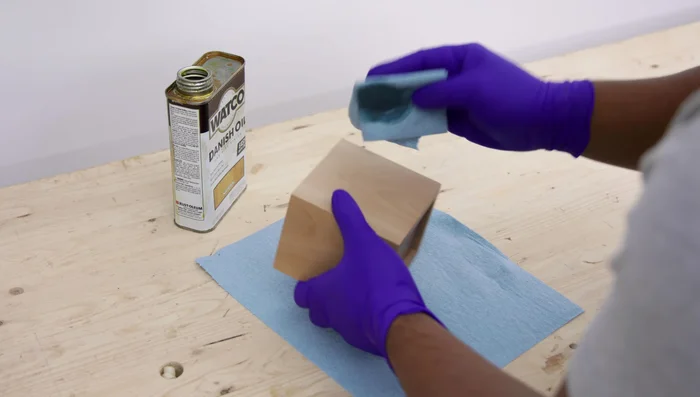
Assemble the Box Refine and Finish
- Cut the box to final dimensions using a table saw, then hand-sand to refine.
- Finish with Danish oil.
Refine and Finish
Read more: Build a Stunning Black Walnut Coaster Set: The Ultimate Furniture Protector
Tips
- Using painter's tape instead of clamps simplifies the glue-up process.
- Lowering the table saw blade slightly enhances safety when cutting the final dimensions.
- Danish oil is easy to apply, provides moderate protection, and enhances the wood grain.