Summer is the perfect time to embrace bold, vibrant accessories, and what better way to elevate your style than with a stunning ombre statement necklace? This DIY project allows you to create a unique piece of jewelry reflecting your personal taste and adding a touch of handmade charm to your summer wardrobe. Forget expensive designer pieces; with just a few simple supplies and a little bit of patience, you can craft a show-stopping necklace that will garner compliments all season long. Imagine the satisfying process of selecting your favourite colours and watching them blend seamlessly into a beautiful gradient.
This tutorial will guide you through each step, from choosing the right beads to securing the clasp, ensuring even the most novice crafter can achieve a professional-looking result. Get ready to unleash your creativity and add a splash of colour to your summer style; let's dive into the step-by-step process of creating your very own ombre statement necklace!
Preparation and Safety Guidelines
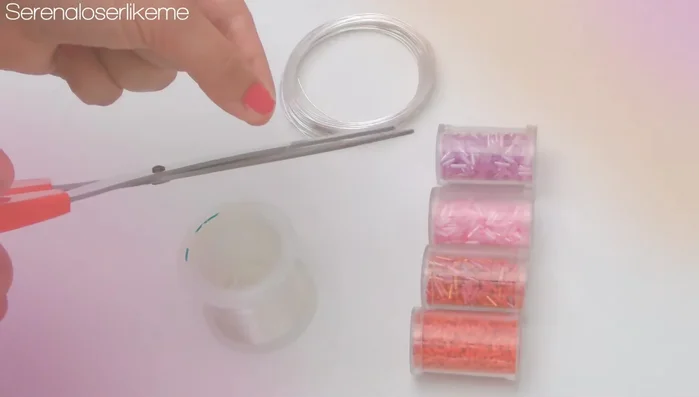
- Long Beach pliers
- multi-strand spacer bars
- 2mm wire
- 5mm jump rings
- clasp
- chain
- nylon thread (8 pieces, 1 meter each)
- beads
- Always supervise children around small beads and crafting tools to prevent choking hazards or injuries.
- Use strong, beading-appropriate wire or thread to ensure the necklace's durability. Weak materials can easily break, leading to lost beads.
- If using any potentially toxic materials (e.g., certain paints or adhesives), ensure adequate ventilation and wear appropriate safety gear like gloves and a mask.
Step-by-Step Instructions
Prepare Materials
- Prepare the nylon threads. Cut eight 1-meter long pieces of nylon thread.

Prepare Materials Create Clasp
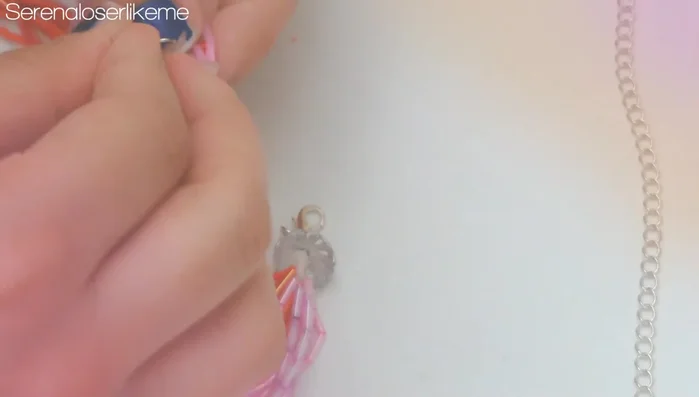
- Create the necklace clasp. Fold the wire, create a loop using pliers, cut a 4cm piece, insert it into the loop, close the loop with pliers, tie a knot, and secure it with each thread.
- Add a small cap and cut excess wire. Create another hook at the end of the wire. Add a jump ring, then the clasp, and close the jump ring.
Create Clasp Add Beads to One Side
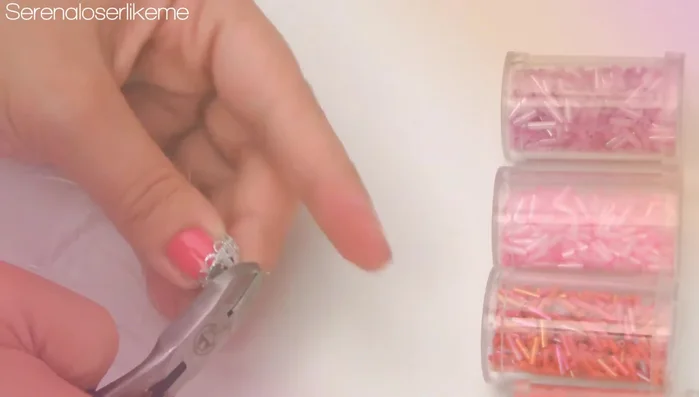
- Add beads to the threads. Use tape to keep the beads in place. The amount of beads is up to you, but add them in sections of color for the ombre effect.
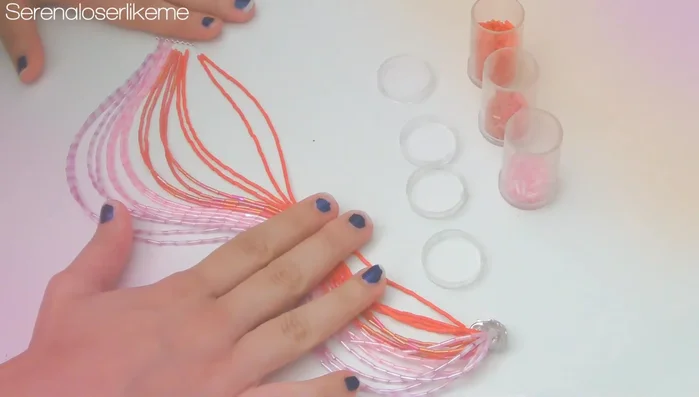
- Add the beaded threads to the multi-strand spacer bar. Use two threads per section, securing with tape. Gradually increase the number of beads per thread section to create the ombre effect.
Add Beads to One Side Add Beads to the Other Side
- Repeat step 4 and 5 on the other side of the spacer bar, adding the same amount of beads as the first side.
Add Beads to the Other Side Secure Threads
- Secure the threads. Tie a knot, pull each thread tight, and add superglue for extra security. Trim the excess thread.
Attach Chain and Finish
- Create a hook on each end, add jump rings, and attach the chain to finish.
Attach Chain and Finish

Read more: DIY Tiered Tassel Earrings: A Quick & Easy Jewelry Tutorial
Tips
- Use tape to keep beads in place while working.
- Gradually increase the number of beads per thread section for a beautiful ombre effect.
- Use superglue to secure the knots for extra durability.