The Monstera deliciosa, with its iconic fenestrated leaves, is a coveted houseplant, adding a touch of the tropics to any interior. However, showcasing this stunning plant often requires a stand that complements its beauty and size, and store-bought options can quickly become expensive. This needn't be the case! This guide will show you how to create a stylish and sturdy plant stand for your Monstera, all while keeping your budget intact and your DIY skills engaged. Forget overpriced furniture stores – let's unleash your inner craftsman and build a bespoke stand perfect for your leafy friend.
This project utilizes readily available materials and simple construction techniques, making it ideal for beginners. We'll walk you through each step of the process, from selecting the right materials to assembling your masterpiece. Ready to get your hands dirty and create a beautiful, budget-friendly home for your Monstera? Let’s dive into the step-by-step instructions below!
Preparation and Safety Guidelines
- Compound miter saw
- Jigsaw
- Drill with 1/4 inch dowel bit
- Sander
- Clamps (at least 15 inches wide)
- Stain
- Wood glue
- 2x2x8 piece of wood
- Always use appropriate safety equipment, such as safety glasses and gloves, when using tools like saws and drills.
- Ensure the stand is stable and secure to prevent tipping and potential damage or injury. Consider the weight of your Monstera and the stand's capacity.
- If working with wood, ensure it's properly treated and dried to prevent warping or splintering. Sand any rough edges to avoid scratches or injuries.
Step-by-Step Instructions
Preparation
- Sand the 2x2x8 piece of wood to remove rough edges.

Preparation Cutting the Wood
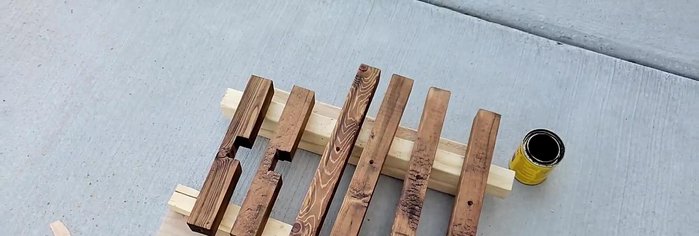
- Cut four 18-inch pieces (legs) and two 11-inch pieces (cross sections) from the wood.
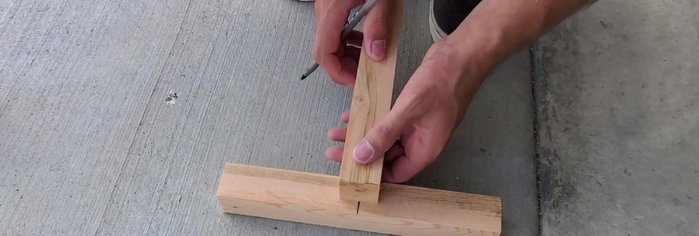
Creating Interlocking Joints
- Mark and cut notches on the 11-inch pieces to create interlocking joints for the middle section of the plant stand.
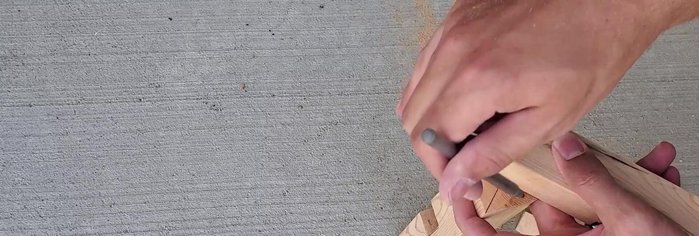
Creating Interlocking Joints Preparing for Assembly
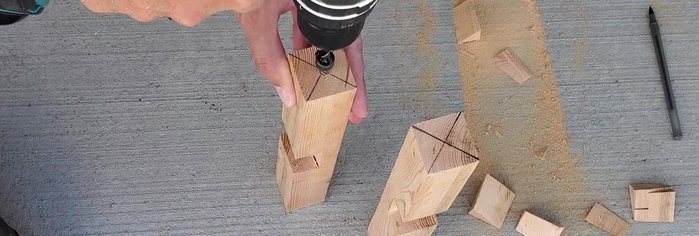
- Mark the center points on the legs and cross sections where the dowel pins will connect.
- Drill holes for the dowel pins on the legs and cross sections.
Preparing for Assembly Finishing and Staining
- Apply stain to the wood.
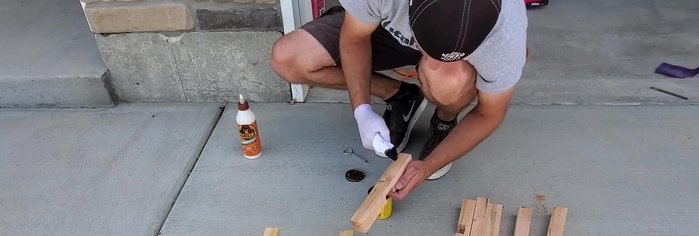
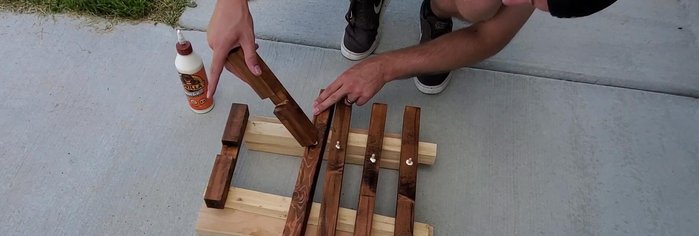
Finishing and Staining Glueing and Assembly
- Apply glue to the dowel pins and cross sections.
- Assemble the plant stand, ensuring the legs are straight. Clamp and let the glue dry completely.
Glueing and Assembly Completion
- Unclamp and admire your finished plant stand!

Read more: Build a Stunning Black Walnut Coaster Set: The Ultimate Furniture Protector
Tips
- Sanding the wood before cutting saves time and effort.
- Ensure the notches on the cross sections face opposite directions for proper interlocking.