Tired of overpriced, mass-produced furniture that lacks character? Craving a stylish, modern bench that fits your space and budget perfectly? Then look no further! This guide will show you how to build your own stunning modern bench for under $60, transforming your living space without breaking the bank. We'll be using readily available materials and simple tools, making this project achievable even for beginners. Forget about spending hundreds on a similar piece – you'll be amazed at how easily you can craft a beautiful and functional addition to your home.
This inexpensive DIY project combines affordability with contemporary design, resulting in a bench that will elevate any room. Forget complicated plans and expensive materials; this guide offers a clear and concise approach. Ready to get started on creating your own stylish and budget-friendly bench? Let's dive into the step-by-step instructions and bring your vision to life.
Preparation and Safety Guidelines
- Miter saw
- Drill
- Drill bits
- Screws (1 1/2 inch and 3 1/2 inch)
- 2x4 lumber
- 1x4 lumber
- Pocket hole jig
- Clamps
- Sandpaper (coarse and 220 grit)
- Orbital sander
- Clear lacquer
- Always wear safety glasses to protect your eyes from flying debris during cutting and sanding.
- Use caution when working with power tools. Ensure the tools are properly plugged in, functioning correctly, and used as instructed in their manuals. Never reach across a running blade.
- Properly secure your work pieces before cutting or assembling to prevent injury and ensure accurate results. Use clamps where necessary.
Step-by-Step Instructions
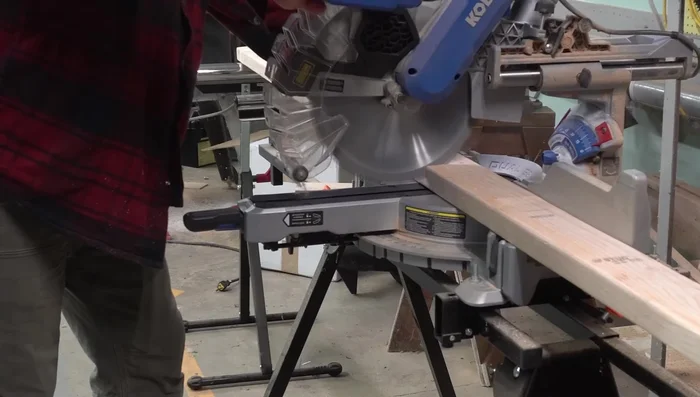
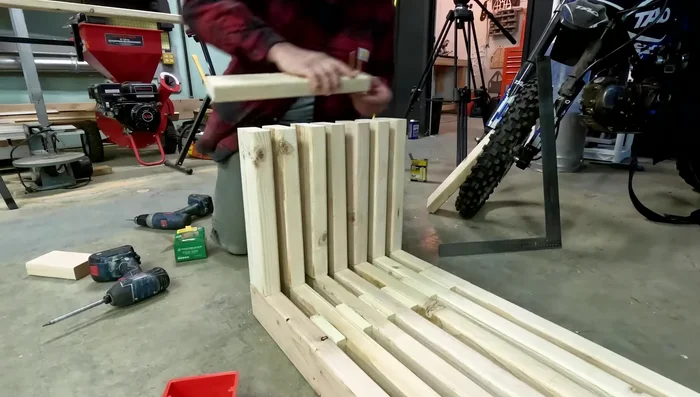
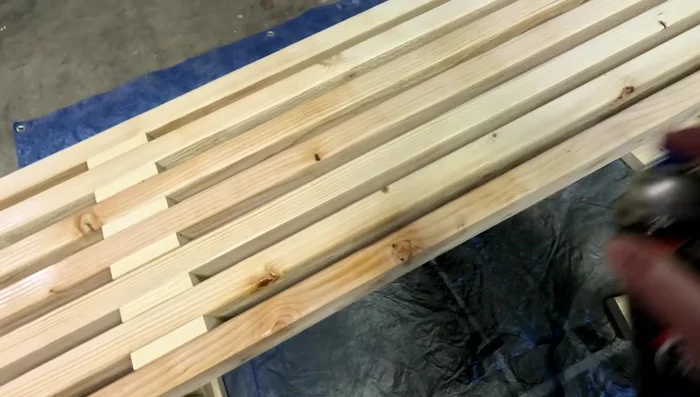
Prepare the Benchtop
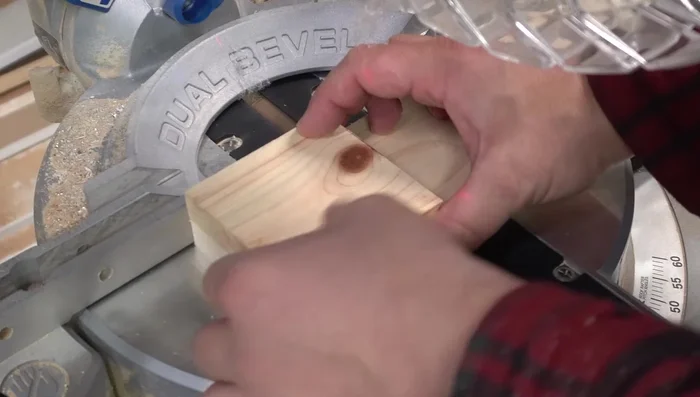
- Cut the 2x4s to 5 feet for the benchtop. Cut seven pieces.
- Cut twelve 1x4 spacers to the same length (using the first piece as a reference).
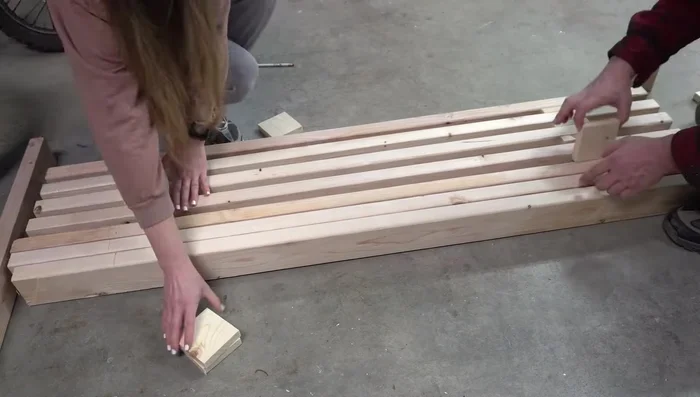
- Measure and mark 8 inches from the ends of the 2x4s where the spacers will be placed.
- Dry-fit everything to check the layout before attaching.

Prepare the Benchtop - Tack the 1x4s in place with a brad nailer to keep everything aligned.
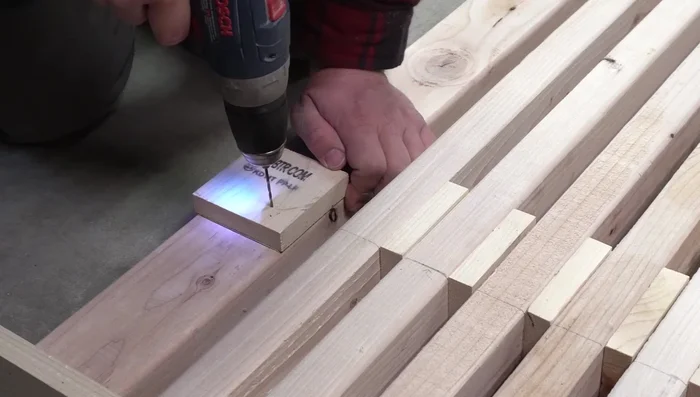
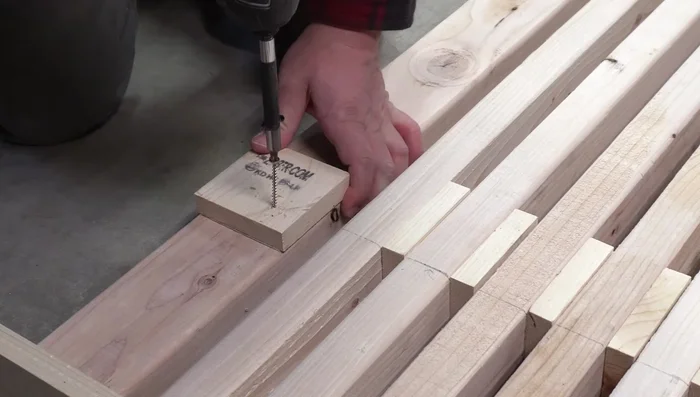
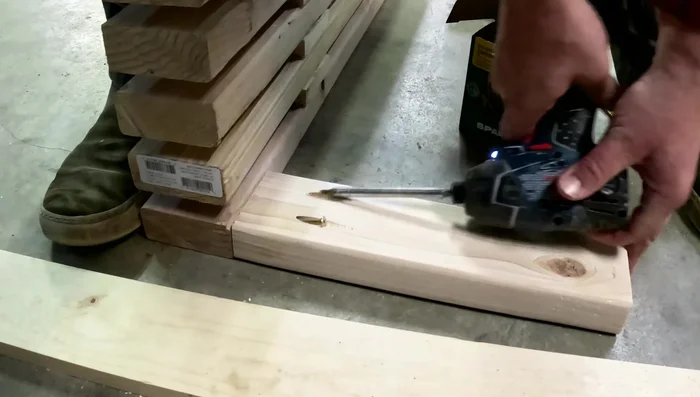
Attach Spacers to Benchtop
- Drill pilot holes to prevent wood splitting when screwing. Ensure the drill bit depth is shallow enough to avoid going through the front.
- Attach the 1x4 spacers using 1 1/2 inch screws, diagonally to avoid screw head interference.
- Repeat the same process for the other side, using opposite diagonal placement.
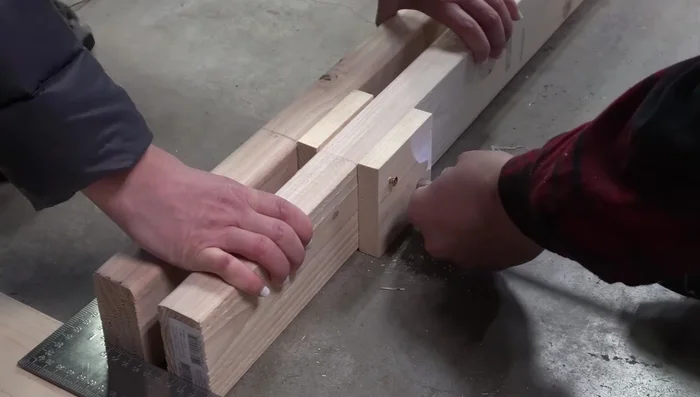
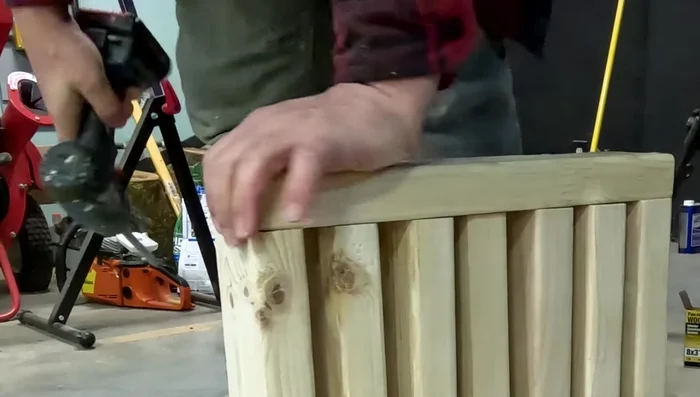
Attach Spacers to Benchtop Attach Top Boards to Spacers
- Attach the 1x4s to the 2x4s using 3 1/2 inch screws, ensuring they are countersunk below the surface.
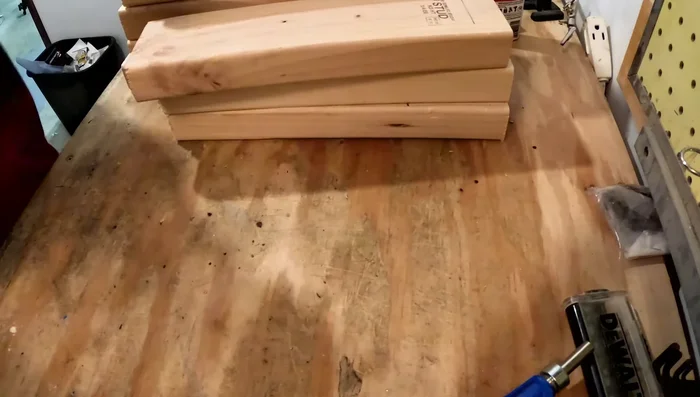
Attach Top Boards to Spacers Prepare the Legs
- Cut fourteen 2x4 legs to 13 inches.
- Mark a line 1 1/4 inches from the end of each leg for pocket hole jig placement.
- Use a pocket hole jig to drill pocket holes 4 and 8 inches from the end, ensuring proper depth.
- Sand the legs before attaching.
Prepare the Legs Attach Legs to Benchtop
- Attach legs to the benchtop using screws through the pocket holes, ensuring pocket holes face away from the front.
Attach Legs to Benchtop Attach Baseboards
- Cut two 2x4 baseboards to 15 inches. Drill pilot holes before screwing to prevent splitting.
- Attach baseboards to the legs, using a 1x4 spacer to maintain even spacing between legs.
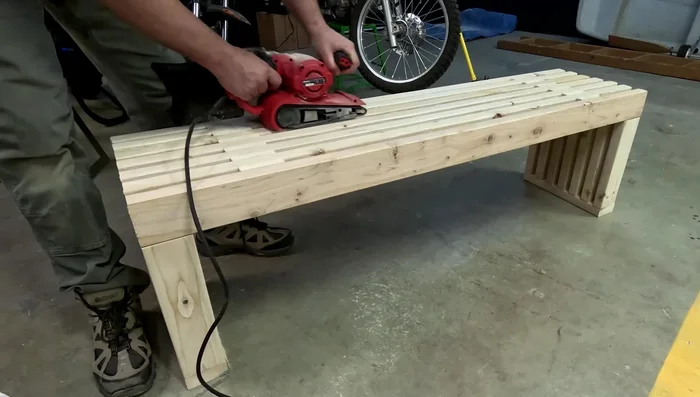
Attach Baseboards Sand and Finish
- Sand the entire bench with coarse sandpaper then 220 grit sandpaper for a smooth finish.
- Apply a clear lacquer for a smooth finish that enhances the wood grain.
Sand and Finish


Read more: Build a Stunning Black Walnut Coaster Set: The Ultimate Furniture Protector
Tips
- Use the first cut piece as a template for subsequent cuts to ensure consistent sizing.
- Diagonal screw placement prevents screw interference between layers.
- Countersink screws slightly to avoid interference with the next board.
- Sanding legs before installation is easier.
- Always drill pilot holes to prevent wood splitting, especially when screwing into end grain.