Have you ever admired intricate, miniature jewelry but been put off by the perceived difficulty and cost? Forget expensive boutiques and complicated techniques! This tutorial will guide you through creating stunning, miniature adult jewelry pieces entirely from the comfort of your own home, utilizing readily available materials. We're talking unbelievably charming, wearable art, perfect for adding a touch of whimsy to your everyday style or as a delightful, personalized gift. Forget about tiny tools and microscopic precision; we'll focus on simple, accessible methods that yield surprisingly professional results.
This project focuses on crafting two essential pieces: a delicate charm bracelet and a subtly elegant ring. Both are surprisingly easy to make, requiring minimal supplies and expertise. Forget those frustrating craft projects that seem impossible to complete – these are designed for success! Get ready to unleash your inner artisan as we delve into the easy step-by-step process, beginning with gathering the necessary materials.
Preparation and Safety Guidelines
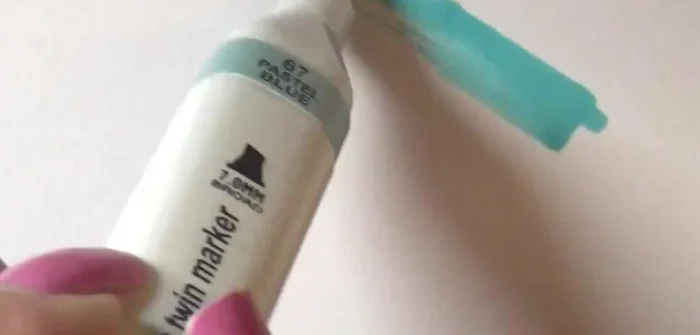
- marker
- paper
- pencil
- glue
- white ribbon
- black fabric
- thin chain
- wire
- jump rings
- rhinestones
- clay
- silver colored alcohol ink
- head pins
- pliers (round nose and regular)
- Adult supervision is required, especially when using small parts and tools which pose choking hazards for children.
- Always wash your hands thoroughly before and after handling crafting materials to prevent contamination and infection.
- Be mindful of sharp tools like wire cutters or craft knives. Handle with care and use a cutting mat to protect surfaces.
Step-by-Step Instructions
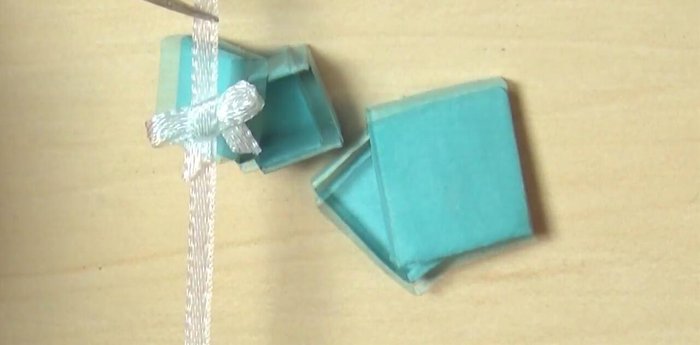
Prepare Packaging
- Create simple boxes for packaging. Color paper with a marker, outline with pencil, cut, and glue together. Ensure lids are slightly larger than the bottom.
- Make a bow from white ribbon and glue it to the outside of one box. Line the inside with black fabric.

Prepare Packaging Create the Bracelet
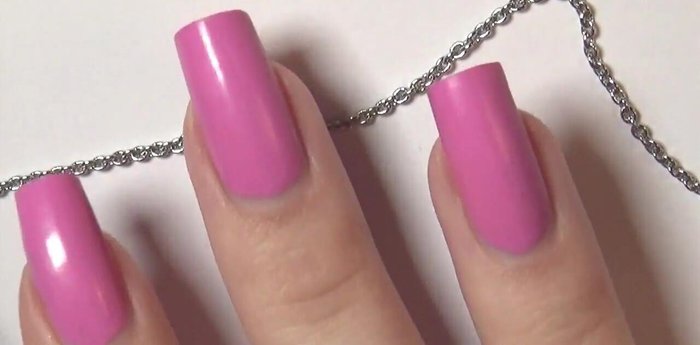
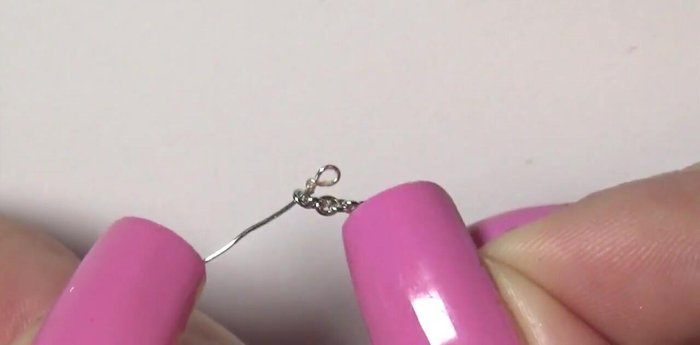
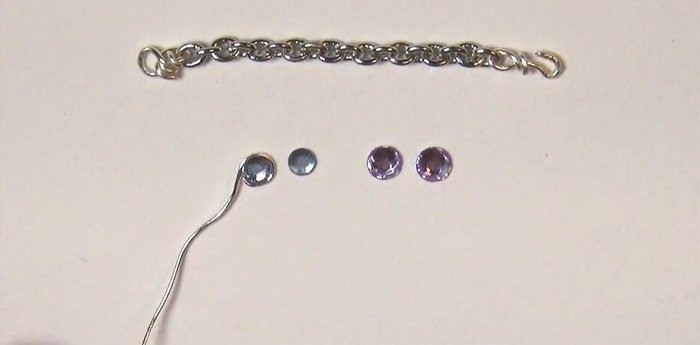
- Create a bracelet. Measure and cut a piece of thin chain to fit the doll's wrist. Form loops on the ends using wire.
- Use wire or a jump ring to make a bangle.
Create the Bracelet Make the Charms
- Make charms. Form a loop with wire, glue rhinestones to each side to create the look of bezel-set gemstones.
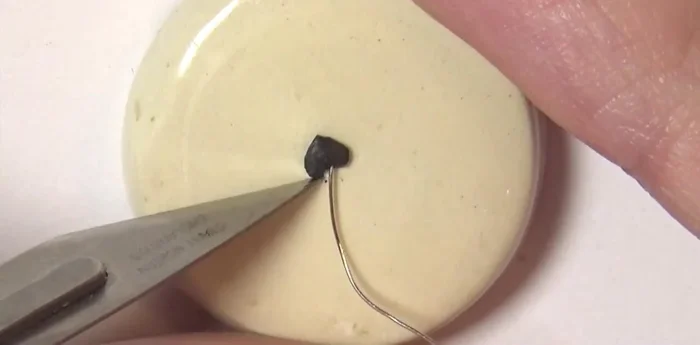
- Make clay charms. Bend wire, insert into clay, and bake. Paint with silver alcohol ink after baking.
Make the Charms Assemble the Bracelet
- Attach charms to chain using tiny jump rings made from wire.
Assemble the Bracelet Create the Ring
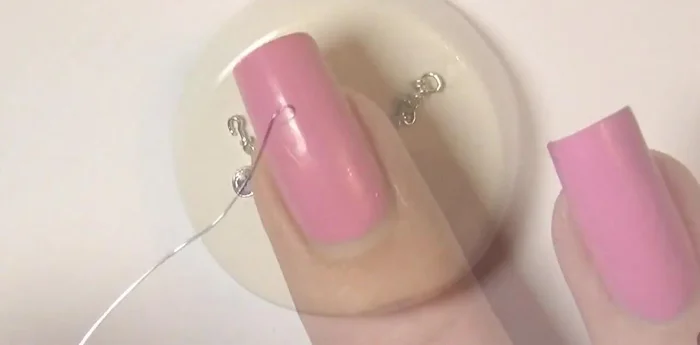
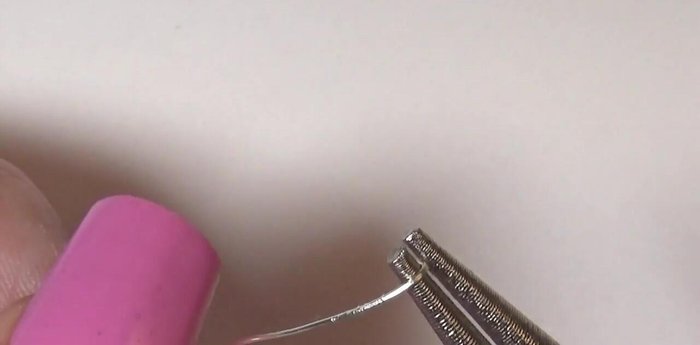
- Make a ring. Flatten wire with pliers, shape with round nose pliers. Conceal the seam with glue and a rhinestone or glitter.
Create the Ring Make Earrings (Optional)
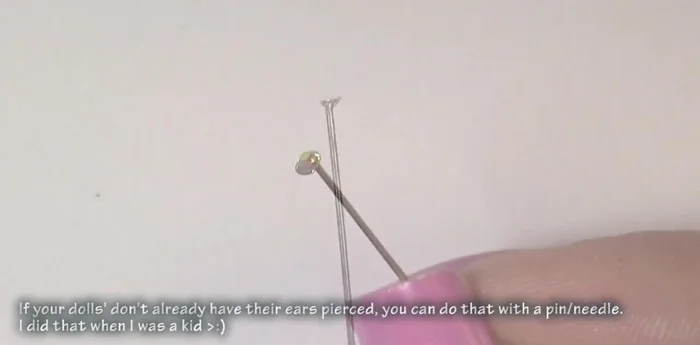
- Make earrings. Use head pins, add rhinestones, and cut off excess.
Make Earrings (Optional)
Read more: DIY Tiered Tassel Earrings: A Quick & Easy Jewelry Tutorial
Tips
- For the bracelet, using a thin chain and wire loops provides a secure and easy-to-make closure.
- For the charms, using wire loops with glued rhinestones creates a professional, bezel-set look.
- For the ring, concealing the seam with glitter or rhinestones enhances the overall appearance.