Unleash your inner artist and create a charming miniature world with our adorable DIY Mini House Craft Kit! This delightful project combines the satisfaction of crafting with the joy of personalization, allowing you to build and decorate your very own miniature dream home. Forget expensive, pre-made miniatures; this kit provides all the necessary materials – from intricately cut wooden pieces to a vibrant selection of DIY paints – empowering you to build something truly unique and special. Whether you're a seasoned crafter or a complete beginner, this kit offers a relaxing and rewarding experience, perfect for a quiet evening or a fun-filled weekend activity.
Imagine the possibilities! From rustic cottages to whimsical fairy houses, the only limit is your imagination. This kit encourages creativity and offers a fantastic opportunity to express your personal style. With easy-to-follow instructions and high-quality components, you'll be amazed at the beautiful miniature house you can create. Ready to embark on this charming crafting journey? Let's dive into the step-by-step instructions and begin building your miniature masterpiece!
Preparation and Safety Guidelines
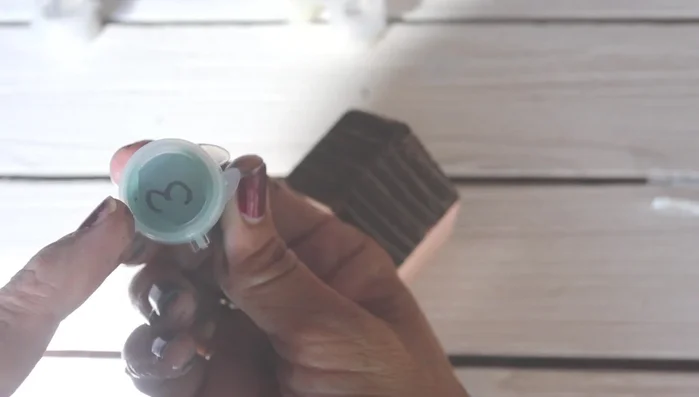
- DIY paint products (Dark and Decrepit, White Swan, Old School)
- Popsicle sticks
- Wood glue
- Scissors
- Pencil
- Small nails
- Hammer
- Sandpaper
- Paintbrush
- Toothpick
- Glitter
- Cord
- Paper plate
- Adult supervision is required at all times, especially when using paints and small craft tools. Young children should not handle sharp objects or paints unsupervised.
- Ensure adequate ventilation while painting to avoid inhaling paint fumes. Work in a well-ventilated area or wear a respirator if necessary.
- Always wash hands thoroughly with soap and water after handling paints and craft materials. Keep paints and small parts away from pets and young children to prevent ingestion.
Step-by-Step Instructions
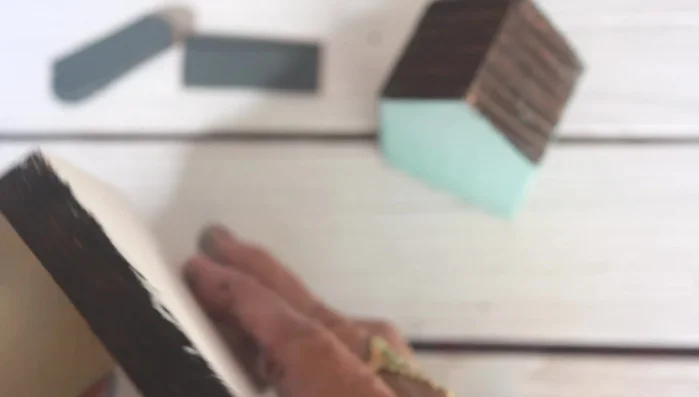
Prepare the Base
- Apply Dark and Decrepit to the edges of the wooden base for a stained effect. Then, apply a coat of White Swan to the entire base.

Prepare the Base Paint the House Base
- Use the farm brush to apply a coat of paint to the house base.
Paint the House Base Sand and Smooth
- Once the paint is dry, sand the edges of the base and house.
Sand and Smooth Prepare Popsicle Sticks
- Paint popsicle sticks with Old School paint, let them dry, and then measure and cut them to just under two inches.
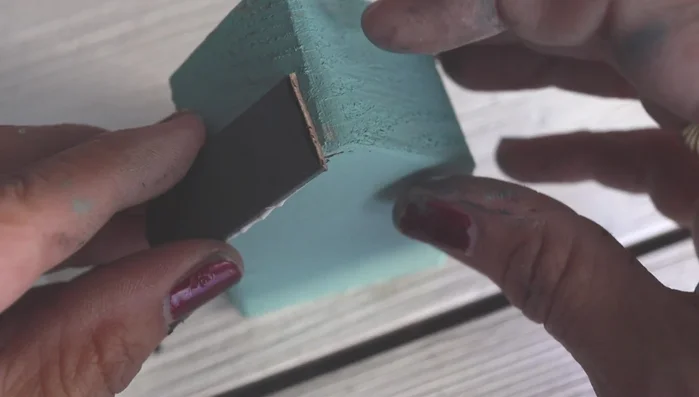
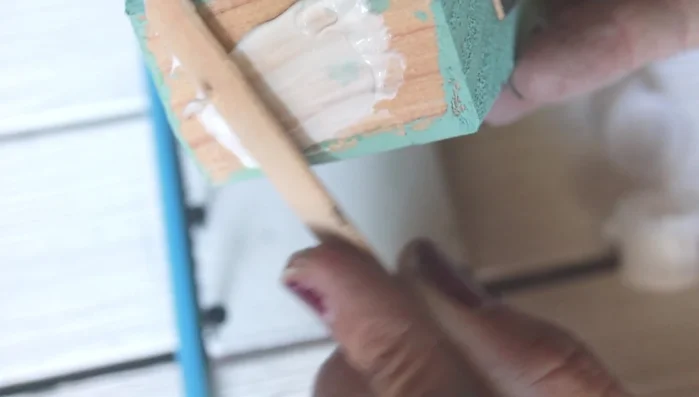
Prepare Popsicle Sticks Attach Popsicle Stick Walls
- Apply wood glue to the back of the unpainted popsicle sticks and glue three pieces to each side of the house.
Attach Popsicle Stick Walls Attach House to Base
- Place the house on the base, mark the corners, and hammer small nails into the base around the house to secure it.
- Apply wood glue to the bottom base and secure the house.
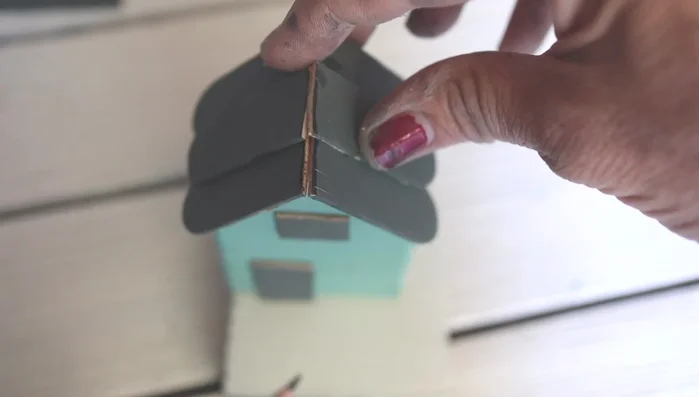
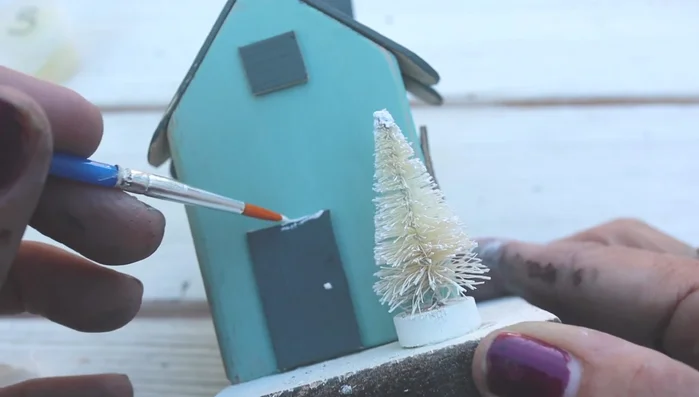
Attach House to Base Add Details
- Add details like a door handle and windows using paint.
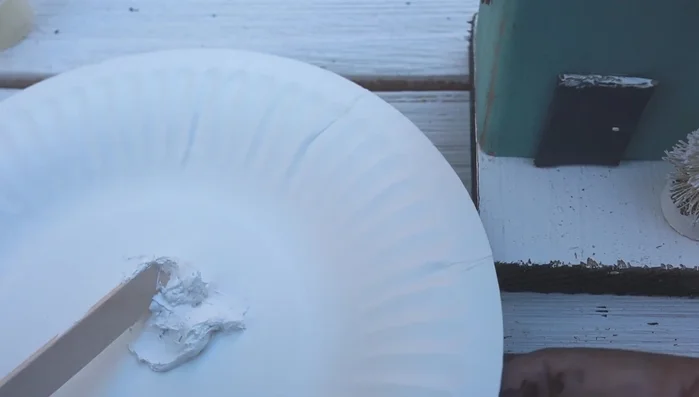
Add Details Make and Apply Snow
- Mix White Swan paint until it reaches a snow-like consistency. Alternatively, you can use DIY paint frosting for a thicker consistency.
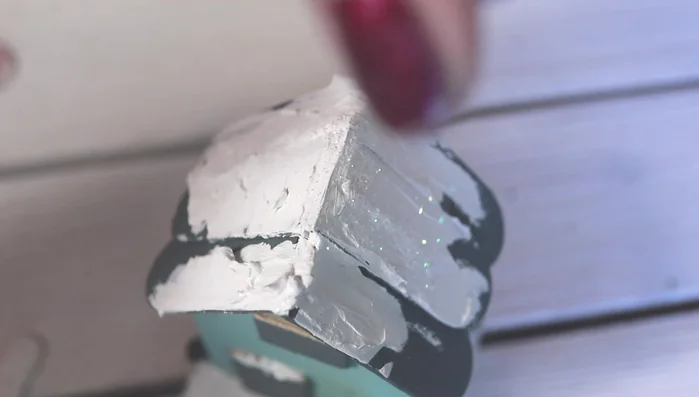
- Apply the snow to the roof, base, door, and tree using a toothpick to create texture.
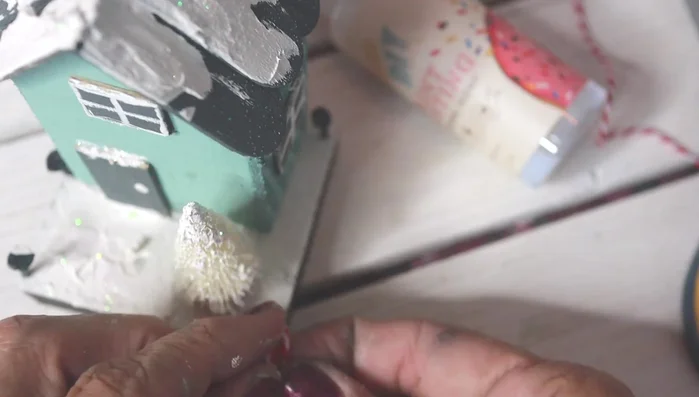
Make and Apply Snow Add Glitter to Snow
- Apply glitter to the snow before the paint dries.
Add Glitter to Snow Create Fence
- Tie a cord to the ends of the nails to create a fence around the house.
Create Fence


Read more: Build a Stunning Black Walnut Coaster Set: The Ultimate Furniture Protector
Tips
- Cut the paint containers apart for easier access (optional).
- Use wood glue sparingly to prevent warping.
- Get creative with the detailing and snow application.
- Apply glitter before the paint dries for optimal adhesion.