Mid-century modern design, with its clean lines and understated elegance, continues to captivate homeowners. One of the easiest and most impactful ways to incorporate this iconic aesthetic into your home is by updating your drawer and cabinet hardware. Replacing outdated pulls with stylish, mid-century modern alternatives can dramatically elevate the look of your furniture, adding a touch of sophistication without breaking the bank. Forget expensive boutique finds; the sleek, minimalist designs you crave are surprisingly achievable with a little DIY ingenuity and readily available materials.
This guide provides a comprehensive, step-by-step approach to crafting your own stunning mid-century modern drawer pulls. Whether you're a seasoned DIY enthusiast or a complete beginner, we'll walk you through the entire process, from selecting the perfect materials to achieving a professional-looking finish. Let's get started and transform your furniture with these easy-to-make, customized pulls!
Preparation and Safety Guidelines
- 1-inch thick x 6-inch wide board
- Table saw
- Chop saw
- Auxiliary fence
- 3/8-inch setup block
- Hand plane
- Sandpaper
- PVC pipe (optional)
- Oscillating spindle sander
- Bandsaw
- Always use appropriate safety glasses and a dust mask when working with power tools and sanding materials. Wood dust is harmful if inhaled.
- Measure twice, cut once. Accurate measurements are crucial for a proper fit and aesthetically pleasing results. Double-check all measurements before drilling or cutting.
- If using a wood stain or finish, ensure proper ventilation and follow the manufacturer's instructions carefully. Some finishes are flammable and require extra precautions.
Step-by-Step Instructions
Prepare the Wood
- Mark lines 1/4 inch from the top and 3/8 inch from the end. Mark another line 1/4 inch from the 3/8 inch line.

Prepare the Wood Set Up the Table Saw
- Adjust the blade to be even with the 1/4-inch line. Attach an auxiliary fence.
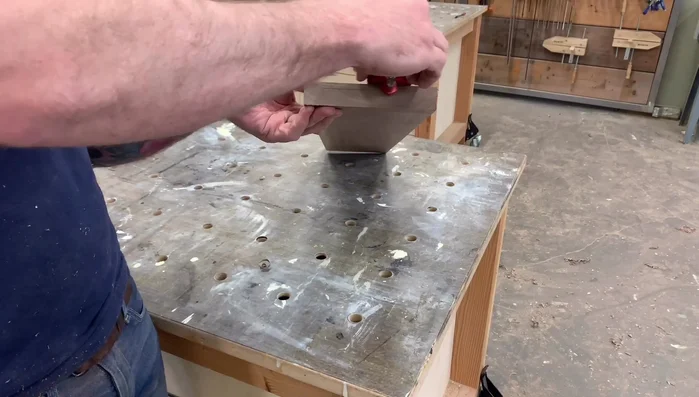
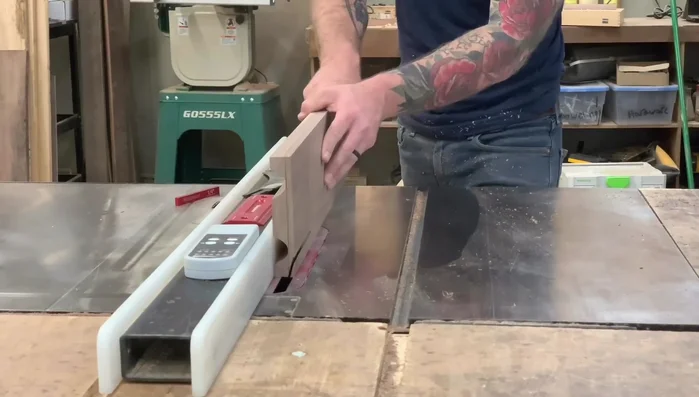
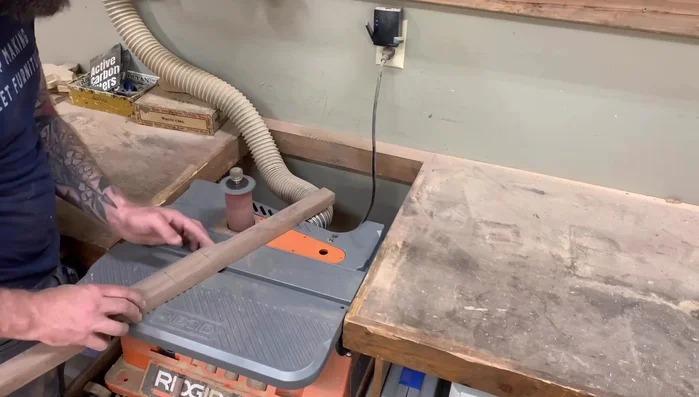
Set Up the Table Saw Cut the Cove
- Set the auxiliary fence at 15 degrees using a template cut from plywood on the chop saw. Ensure the end of the cut is exactly 3/8 inch from the fence. Make multiple shallow passes, raising the blade slightly after each pass. Repeat on the other side.
Cut the Cove Mark for the Pole Shape
- Redraw a line 1/4 inch from the cove. Draw a reference line for the pole shape.
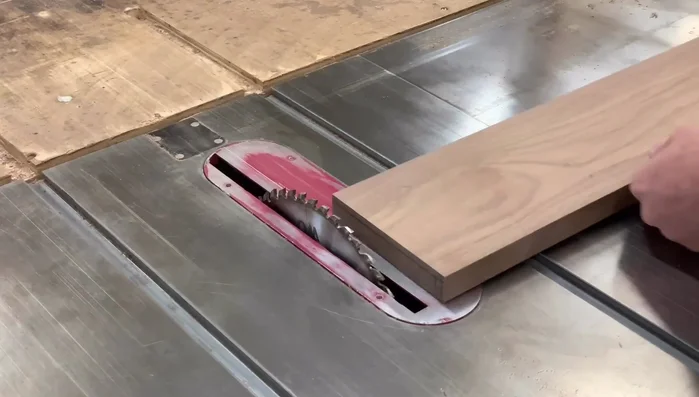
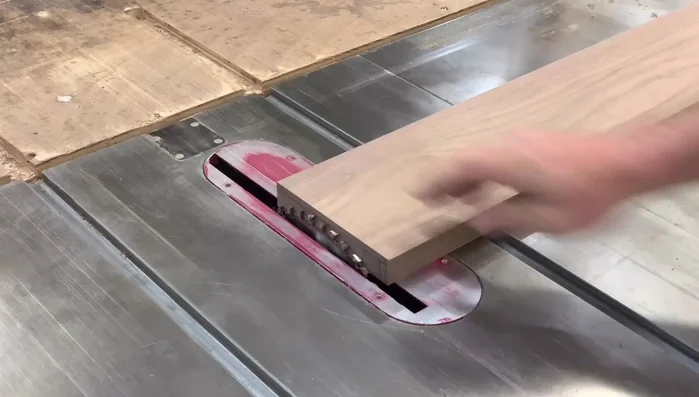
Mark for the Pole Shape Cut at Various Angles
- Change the blade angle to 15 degrees and cut, removing material without crossing the reference line. Repeat at 30 and 45 degrees.
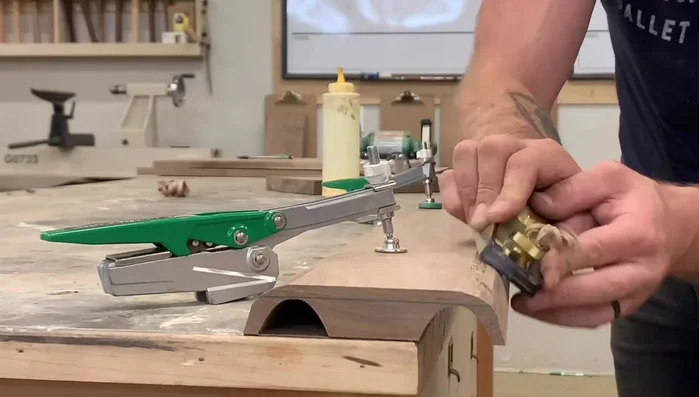
Cut at Various Angles Refine and Smooth
- Use a hand plane to smooth corners. Adjust the jointer fence to roughly align with the end mark.
- Use a curved sanding block (optional PVC pipe) to maintain the curve. Sand smooth, addressing any remaining ridges.
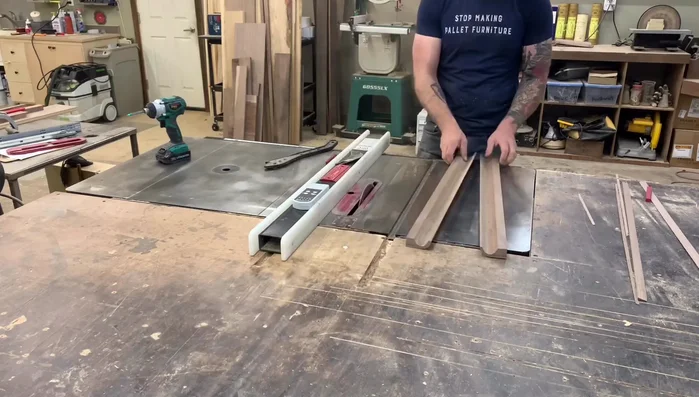
Refine and Smooth Cut the Drawer Pull Blanks
- Cut the board in half. Mark distances from the back flat portion to the curve start point and mark the same measurement on the opposite side. Connect the marks with a line.
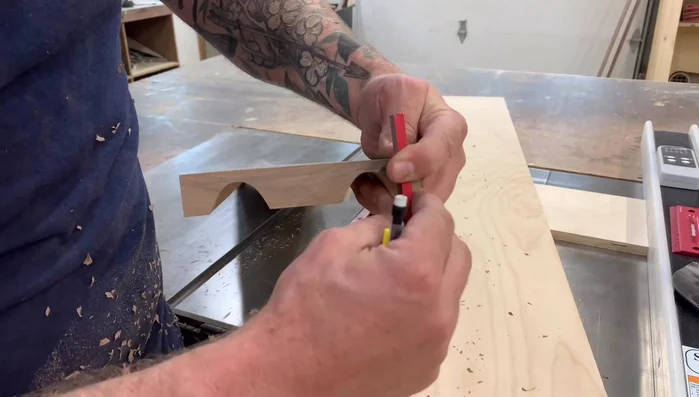
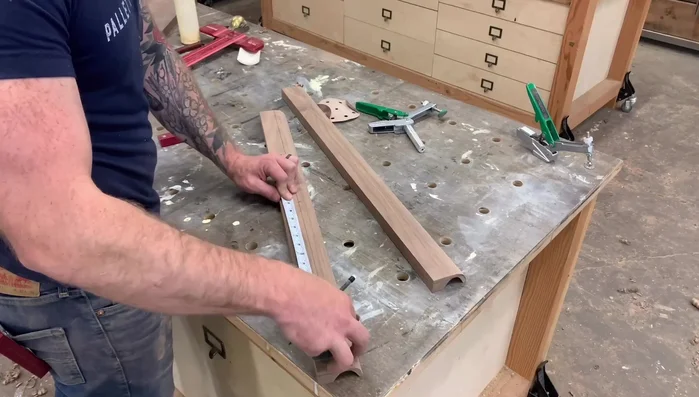
Cut the Drawer Pull Blanks Mark and Cut the Handles
- Find the center. Mark the desired handle location (e.g., 3 inches from the center). Use a sanding disc or similar template to draw the handle shape. Cut on the table saw and bandsaw, taking care not to remove too much material.
Mark and Cut the Handles Finish and Attach
- Use an oscillating spindle sander to clean up excess material. Cut the finished pull to a 1/4 inch thickness. Glue to a drawer face and trim.
Finish and Attach

Read more: Build a Stunning Black Walnut Coaster Set: The Ultimate Furniture Protector
Tips
- Multiple shallow passes on the table saw prevent kickback and ensure a clean cut.
- It's better to cut slightly below the reference line than above it.
- Personal preference plays a role in sanding and shaping the final product.
- Remember to flip the board around when hand planing, switching the side you start on due to grain direction changes.