Mid-century modern design, with its clean lines and minimalist aesthetic, continues to captivate homeowners. Adding a touch of this iconic style to your living space can be surprisingly easy and rewarding, especially with a simple DIY project. These stylish bookends, crafted from readily available wood, offer a perfect opportunity to inject some MCM charm into your home while honing your woodworking skills. The understated elegance of these bookends makes them a perfect addition to any bookshelf, adding a subtle yet sophisticated touch to your décor.
This project is ideal for beginners, requiring only basic tools and a little patience. No prior woodworking experience is necessary to create these beautiful and functional bookends. Ready to get started and bring a piece of mid-century modern design into your home? Let's dive into the step-by-step instructions below.
Preparation and Safety Guidelines
- Wood
- Jig
- Dremel with cutoff wheel
- Bench grinder
- 220 grit sandpaper
- Mother's polish
- Buffing wheel
- 10mm socket
- Bench vise
- Block of wood
- Wood glue
- Super glue
- Water-based polyurethane
- Steel wool
- Always wear safety glasses to protect your eyes from flying wood chips and debris.
- Use clamps to secure your wood pieces firmly during gluing and while the glue dries to prevent warping or shifting.
- Ensure proper ventilation when using wood finishes and paints; always follow the manufacturer's safety instructions.
Step-by-Step Instructions
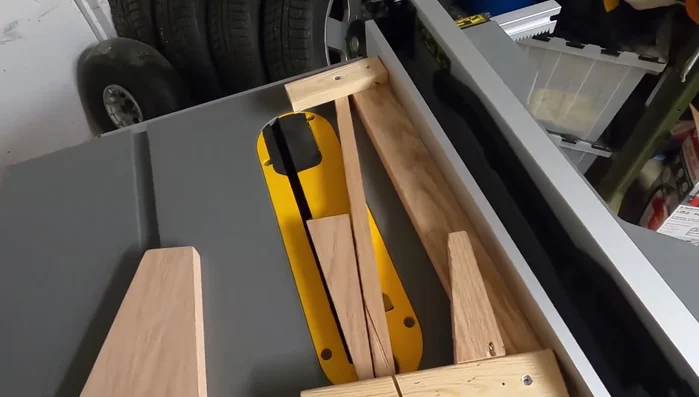
Prepare the Wood
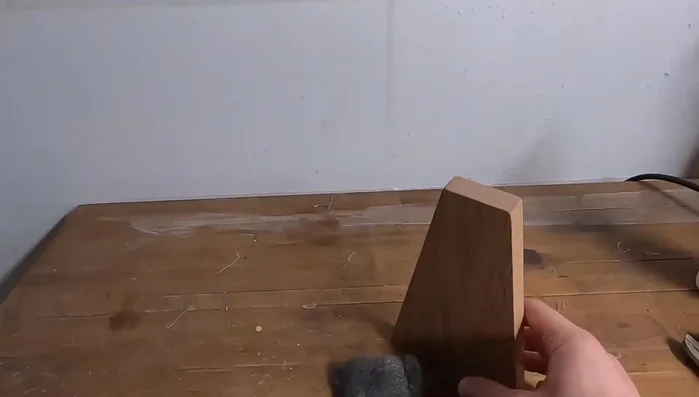
- Create a jig to help cut the wood at the desired angle.
- Cut the two main wood shapes using the jig.

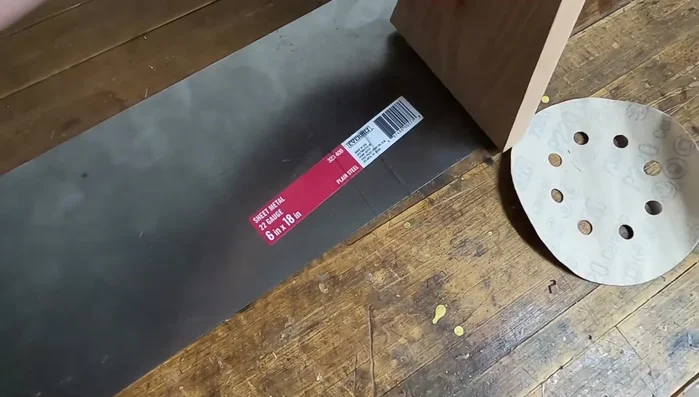
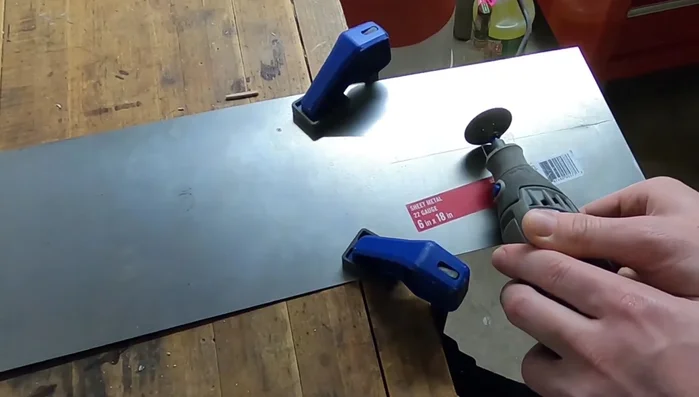
Prepare the Wood Prepare the Metal Foot
- Cut the steel piece to size using a Dremel and cutoff wheel.
- Clean up the steel edges using a bench grinder.
- Radius the edges of the steel using a bench grinder and sandpaper for smoothness.
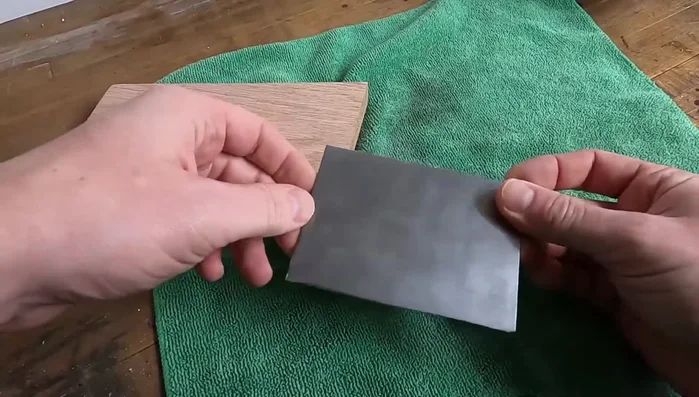
- Polish the steel using Mother's polish and a buffing wheel.
Prepare the Metal Foot Attach the Metal Foot to the Wood
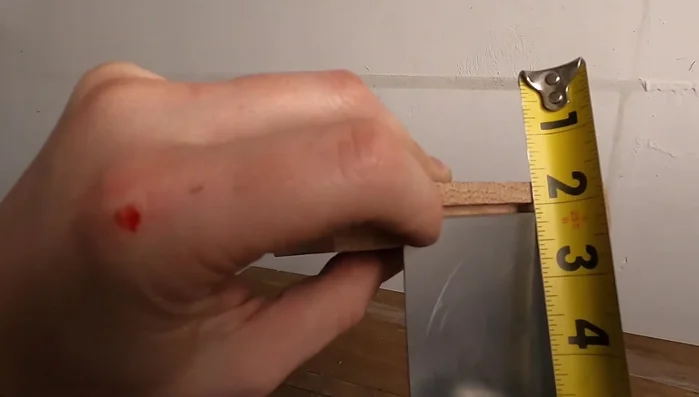
- Route out a slot in the bottom of the wood pieces to accommodate the metal foot.
- Insert the steel foot into the wood slot, mark the bend point, and bend the metal to a 90-degree angle using a bench vise and a block of wood.
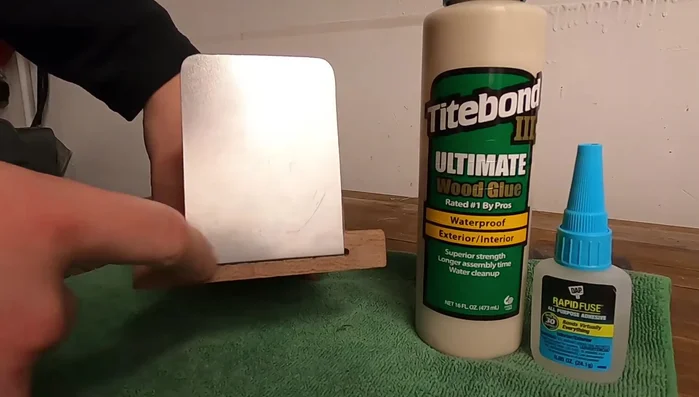
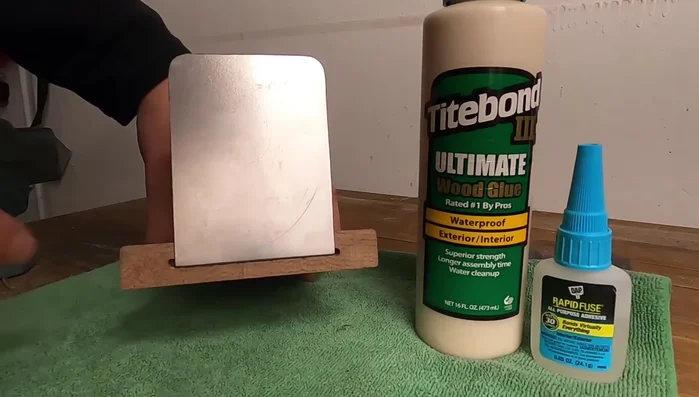
- Cut a spline to create a tight interference fit for attaching the metal foot to the wood.
- Apply wood glue and super glue to secure the metal foot to the wood.
Attach the Metal Foot to the Wood Finish the Bookends
- Apply polyurethane finish to the wood and let it dry.
- Sand the finish with steel wool for a smooth, low-sheen finish.
- Assemble the bookend by inserting the metal foot into its slot and ensuring a tight fit with the glue.
Finish the Bookends

Read more: Build a Stunning Black Walnut Coaster Set: The Ultimate Furniture Protector
Tips
- Get it right the first time to minimize cleanup work.
- Use a block of wood to bend the steel for an even, 90-degree angle.
- When bending sheet metal, push further than the desired point to account for springback.