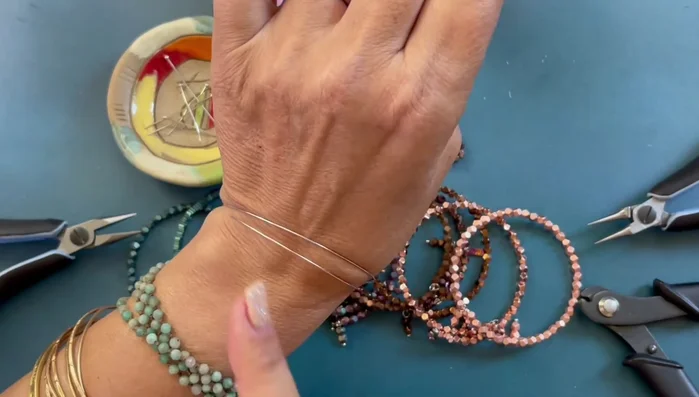
Autumn's vibrant hues are the perfect inspiration for crafting beautiful and unique jewelry. This season's rich tapestry of crimson, gold, and russet leaves translates wonderfully into stunning DIY accessories, and what better way to capture that autumnal magic than with a charming horizon bangle bracelet? This project utilizes the easy-to-work-with memory wire, making it ideal for beginners and experienced crafters alike. Forget expensive store-bought jewelry – you'll be amazed at how simple it is to create these elegant and personalized pieces.
Using readily available materials and a few basic tools, you can craft a series of autumn-themed bracelets, perfect for gifting or treating yourself. These memory wire bangles offer a delightful combination of flexibility and durability, resulting in comfortable and long-lasting pieces. Ready to transform your autumnal inspiration into wearable art? Let's dive into the step-by-step instructions to create your own stunning DIY autumn horizon bangle bracelets.
Preparation and Safety Guidelines
- Memory wire cutters
- Round nose pliers
- Chain nose pliers
- Memory wire (bracelet size)
- Head pins
- Assortment of beads (e.g., 4mm plated hematine pentagon beads)
- Always wear safety glasses when working with memory wire. Sharp ends can cause eye injuries.
- Be mindful of the wire's strength. Avoid excessive bending or stretching that could cause it to snap and potentially injure you.
- If working with beads that have small parts, keep them away from children to prevent choking hazards.
Step-by-Step Instructions
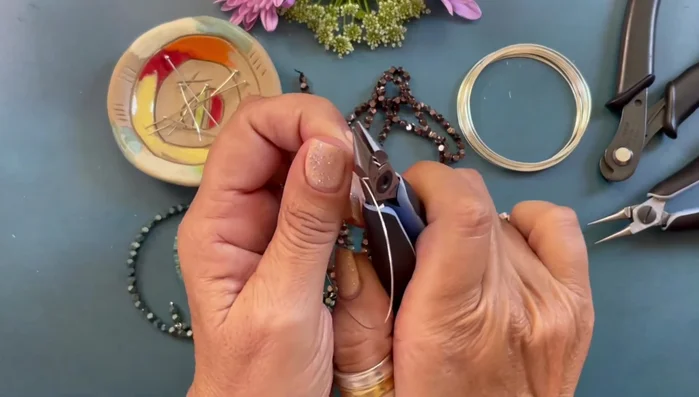
Prepare the Memory Wire
- Measure and cut the memory wire.
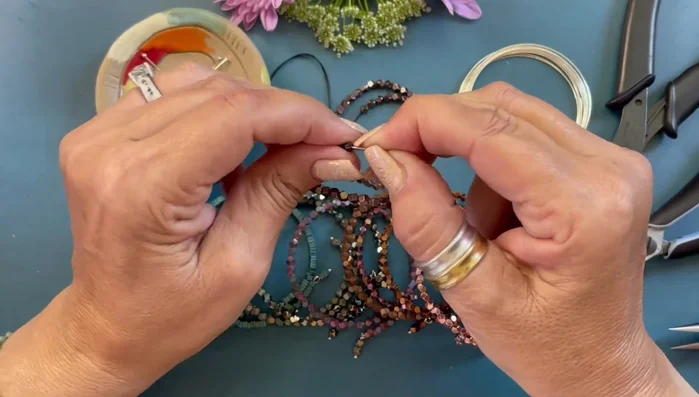
- Form a simple loop at one end of the wire using chain nose pliers. Bend the wire back before forming the loop for a neater finish.
- Use round nose pliers to neatly roll and secure the loop.

Prepare the Memory Wire String the Beads
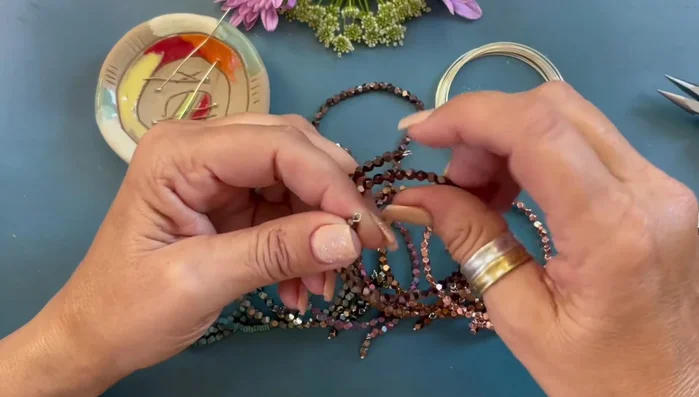
- String beads onto the memory wire.
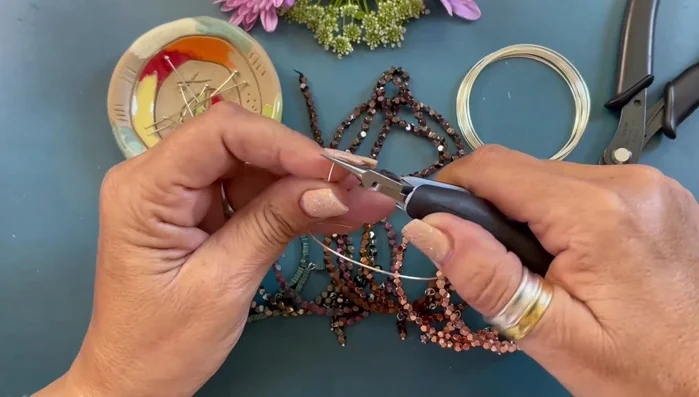
String the Beads Close the Bracelet
- Form a simple loop at the other end of the wire, securing the beads.
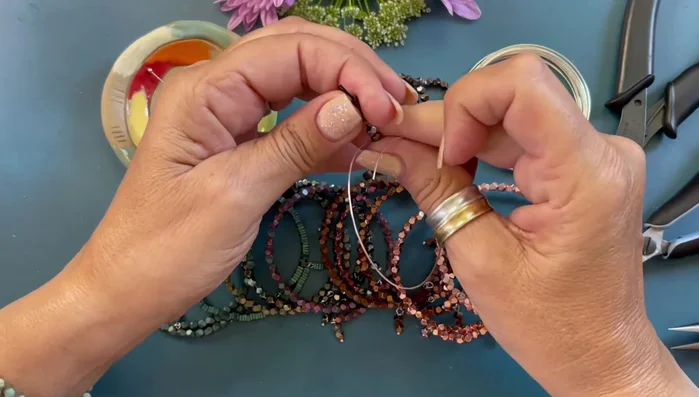
Close the Bracelet Create and Attach Dangles
- Create simple loop dangles using head pins and beads.
- Attach the dangles to the bracelet by opening and closing the loops.
Create and Attach Dangles

Read more: DIY Tiered Tassel Earrings: A Quick & Easy Jewelry Tutorial
Tips
- Always use memory wire cutters to avoid damaging your regular cutters.
- Bend the wire back before forming the loop to create a perfect loop.
- Picking beads from the strand makes stringing them onto the memory wire easier.