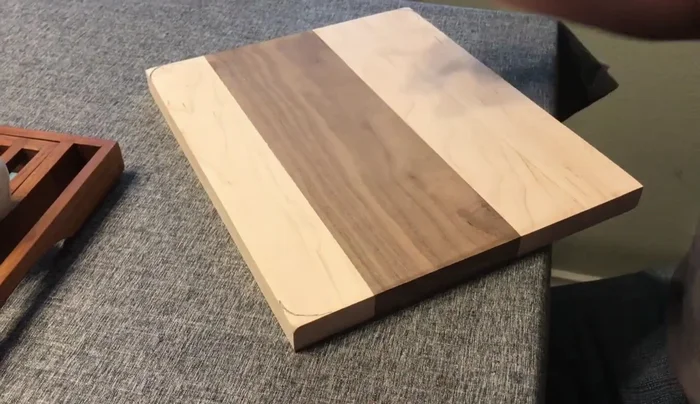
Cheese boards are more than just serving platters; they're statement pieces, conversation starters, and the heart of any successful gathering. The rich warmth of maple and the sophisticated elegance of walnut combine to create a truly stunning cheese board, one that elevates any cheese and charcuterie spread from ordinary to extraordinary. This DIY project allows you to craft a personalized masterpiece, perfectly sized and styled to your preferences, and all without breaking the bank. Forget mass-produced, generic boards; let's create something truly special.
This ultimate guide will walk you through every step of building your own exquisite maple and walnut cheese board, from selecting the perfect wood to applying the finishing touches. We’ll cover essential tools, techniques for precise cutting and gluing, and the best methods for achieving a professional-looking finish. Ready to transform your culinary presentation? Let's get started with the detailed step-by-step instructions below!
Preparation and Safety Guidelines
- Wood strips (Maple and Walnut)
- Bar clamps
- Wood glue
- Card scraper
- Belt sander
- Band saw
- Router with round-over bit
- Forstner bit
- Sandpaper (various grits)
- Boos Block oil
- Cream
- Strike letters (optional)
- Always use appropriate safety glasses and a dust mask when cutting, sanding, and finishing the wood. Wood dust is a respiratory irritant.
- Ensure the wood is completely dry before applying any finish. Moisture trapped beneath the finish can cause warping or cracking.
- Use food-safe oil and finish for your cheese board. Avoid using finishes intended for outdoor use or those containing toxic chemicals.
Step-by-Step Instructions
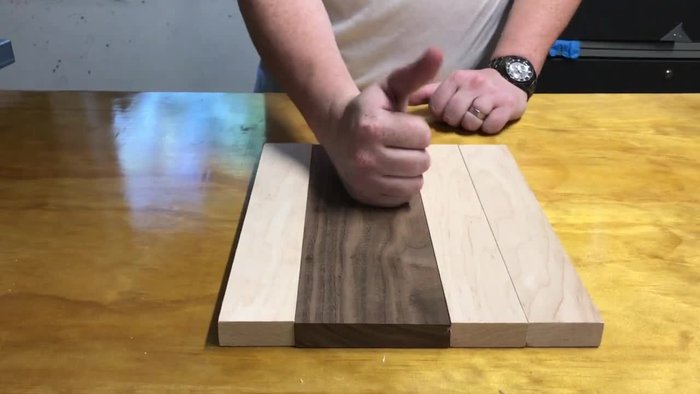
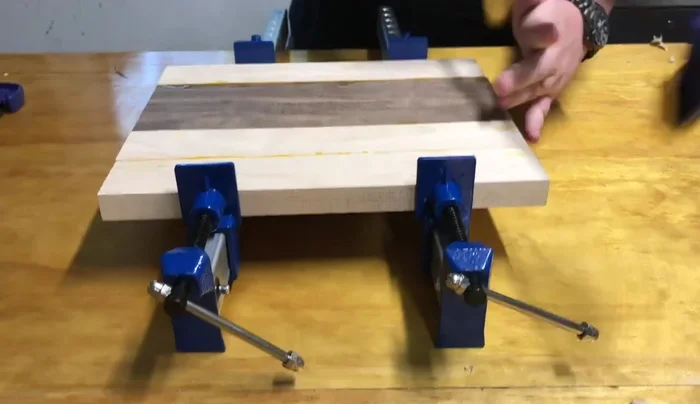
Gluing and Clamping
- Glue and clamp wood strips together.
- Let the glued wood dry for 24 hours.

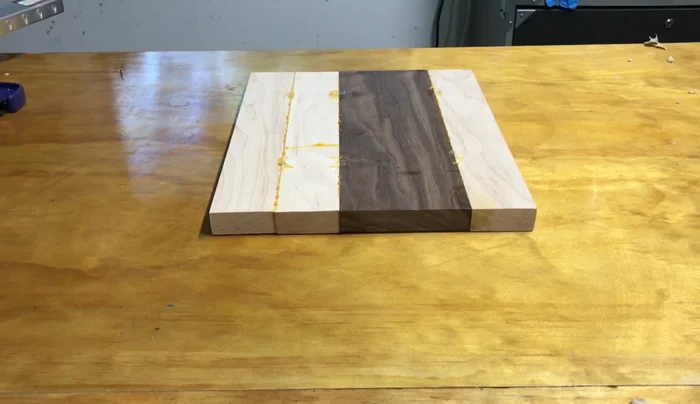
Gluing and Clamping Initial Shaping and Squaring
- Use a card scraper to remove excess glue.
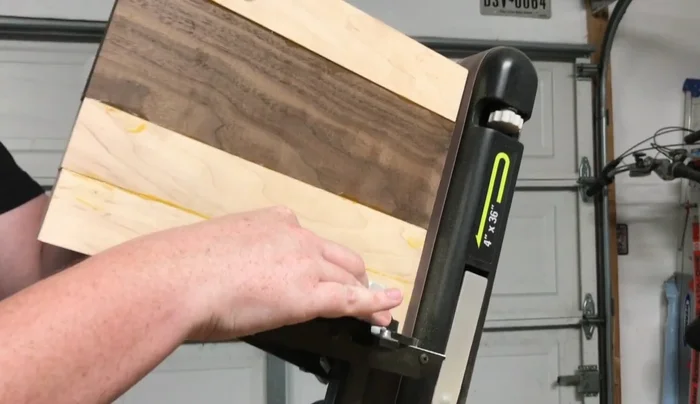
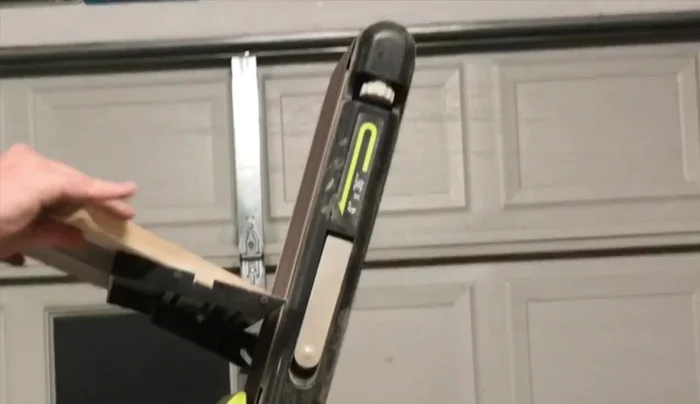
- Square up the edges using a belt sander.
Initial Shaping and Squaring Edge Rounding
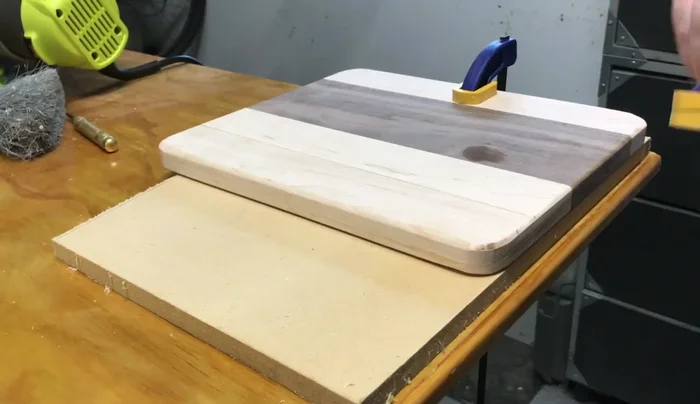
- Round out the edges using a template and a band saw.
- Clean up the edges with a belt sander.
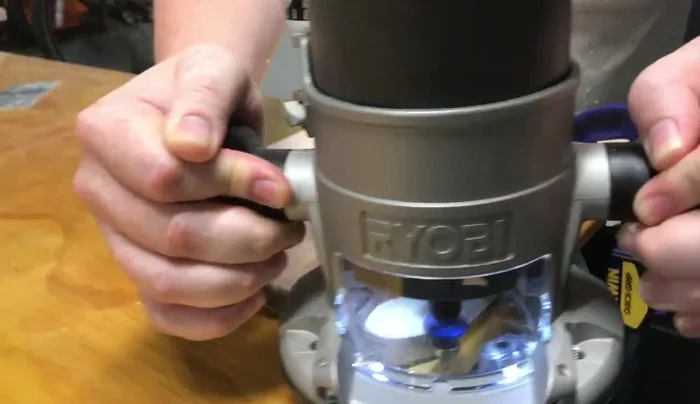
- Round the edges using a router with a round-over bit.
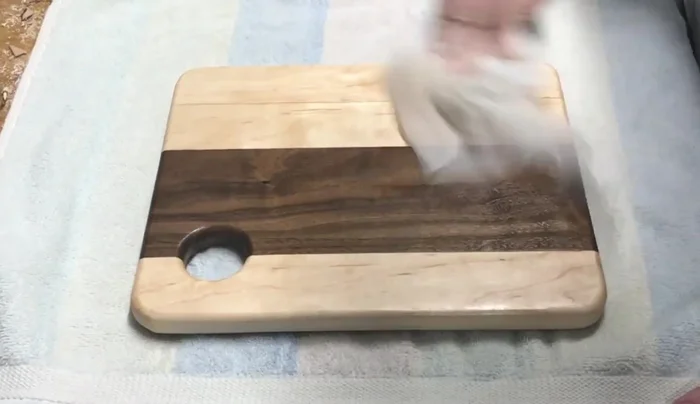
Edge Rounding Adding Features
- Drill a thumb hole using a Forstner bit and rout out the inside for a smooth finish.
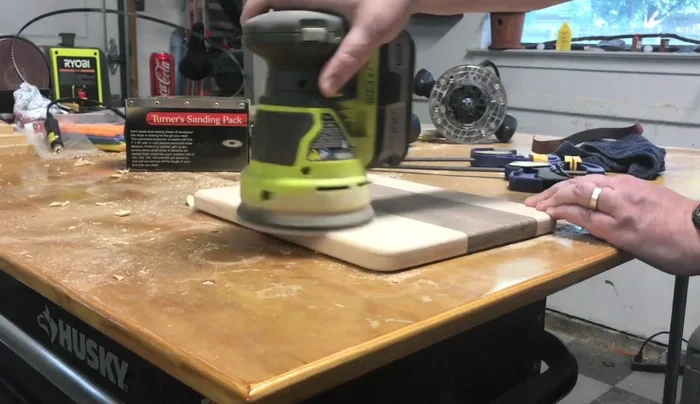
Adding Features Sanding
- Sand the board using sandpaper of various grits (80-220).
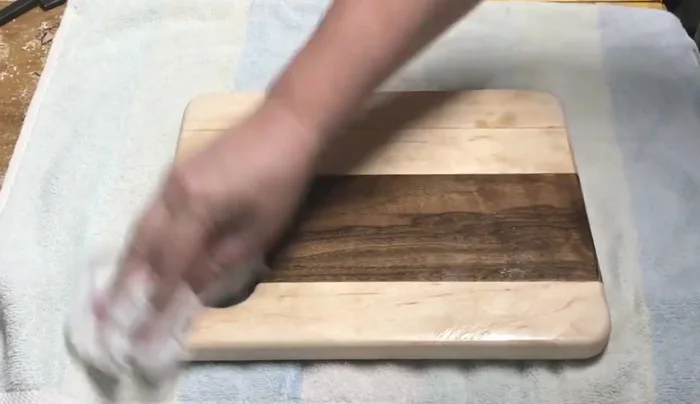
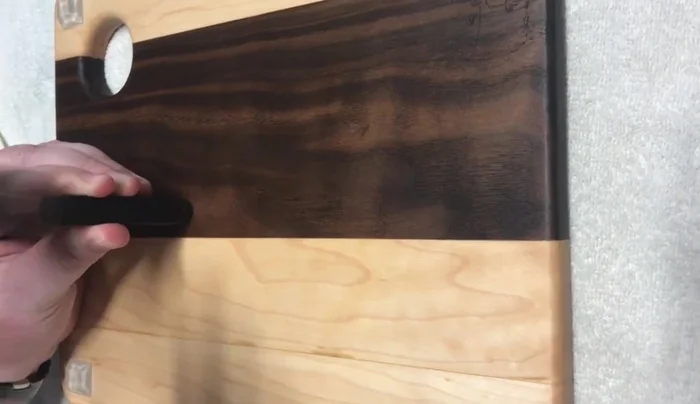
Sanding Finishing
- Apply several coats of Boos Block oil, letting each coat absorb before applying the next.
- Apply cream to enhance the finish.
Finishing Optional Enhancements
- Add feet (optional).
- Customize with lettering (optional).
Optional Enhancements

Read more: Build a Stunning Black Walnut Coaster Set: The Ultimate Furniture Protector
Tips
- Use bar clamps to prevent warping during glue-up.
- Apply a liberal amount of wood glue.
- Take your time when using power tools like the router and belt sander to avoid uneven results.
- Work your way up through the sandpaper grits for a smooth finish.