In today's fast-paced world, we're constantly searching for accessories that seamlessly blend style and functionality. Tired of bulky wallets and cumbersome keychains weighing you down? Enter the magnetic leather bracelet – a sophisticated solution for carrying your essentials with effortless chic. This simple yet elegant accessory allows you to discreetly hold cards, keys, or even a small amount of cash, all while adding a touch of refined personality to your outfit. Forget flimsy, easily broken alternatives; a well-made leather bracelet offers durability and timeless appeal.
This guide will walk you through the process of creating your own custom magnetic leather bracelet, empowering you to personalize your style and create a truly unique piece. Whether you’re a seasoned crafter or a complete beginner, we'll equip you with the necessary knowledge and step-by-step instructions to confidently build your own functional and stylish accessory. Let's dive into the detailed instructions and begin crafting your perfect magnetic leather bracelet!
Preparation and Safety Guidelines
- Thin leather (4 oz etched hand leather)
- Oil-based dye
- Rare earth magnets
- Hole punch
- Riveted snap
- Silver metal plate
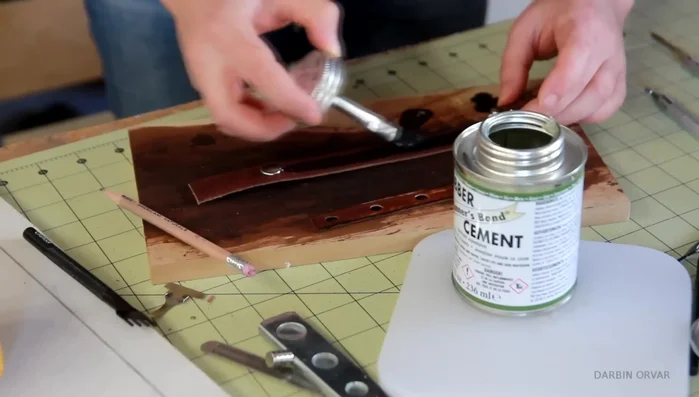
- Rubber cement
- Hemp thread
- Epoxy
- Top coat
- Strong magnets can damage electronic devices. Keep the bracelet away from smartphones, credit cards, pacemakers, and other sensitive electronics.
- Magnets can be a choking hazard for small children and pets. Keep the bracelet out of reach if you have young children or pets.
- If you experience any skin irritation or allergic reaction after wearing the bracelet, remove it immediately and consult a doctor.
Step-by-Step Instructions
Prepare Leather Strips
- one narrow (to fit magnets), one wider (wrist size).
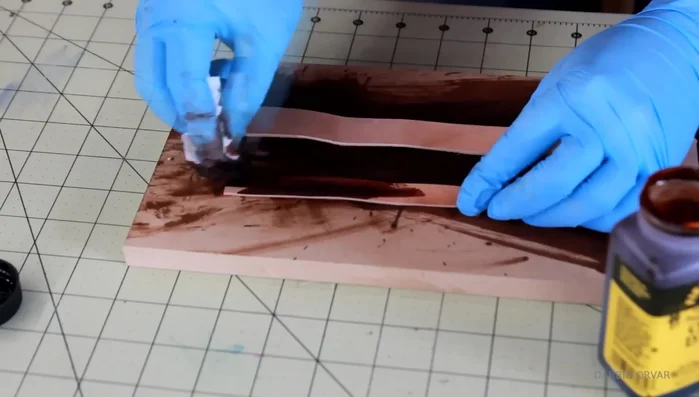
- Dye leather using oil-based dye.

Prepare Leather Strips Prepare Wider Strip
- Form wider strip around wrist, cut & add extra.
Prepare Magnetic Strip
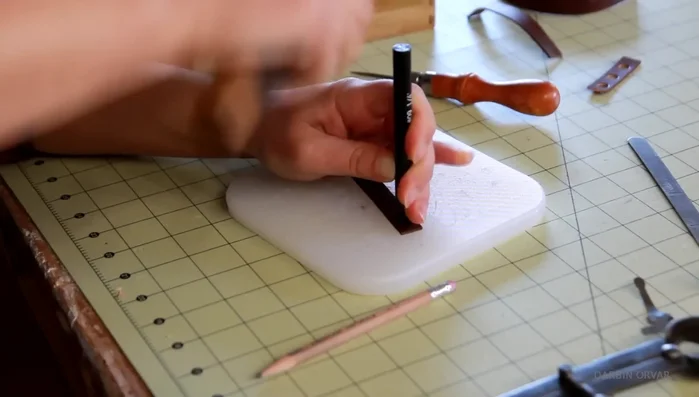
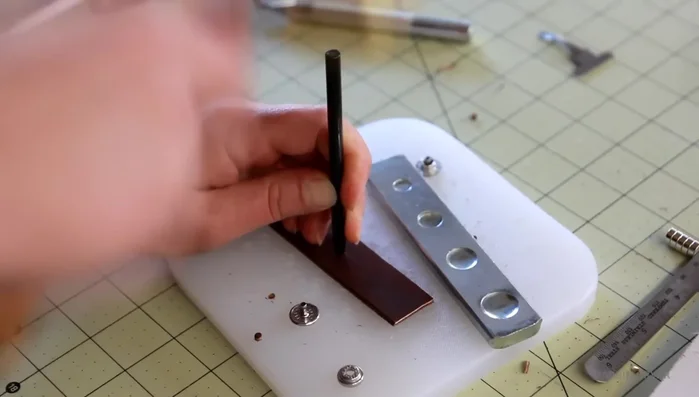
- Place magnets on narrow strip; punch holes (may require enlarging for magnet fit).
Prepare Magnetic Strip Mark Stitching Holes
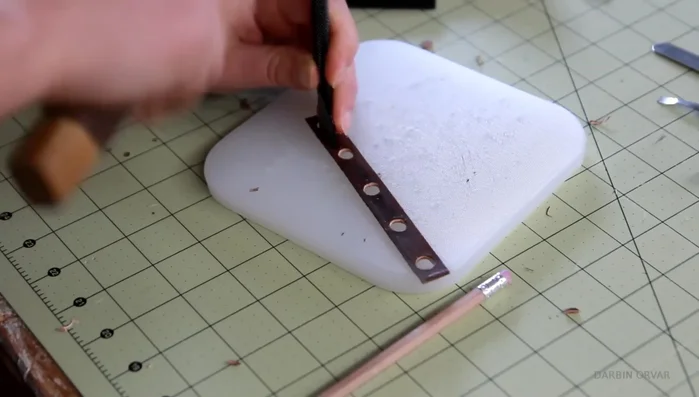
- Mark and punch stitching holes on wider strip between magnets.
Mark Stitching Holes Prepare Clasp
- Prepare clasp using riveted snap & metal plate; add loop for security.
Prepare Clasp Join Leather Strips
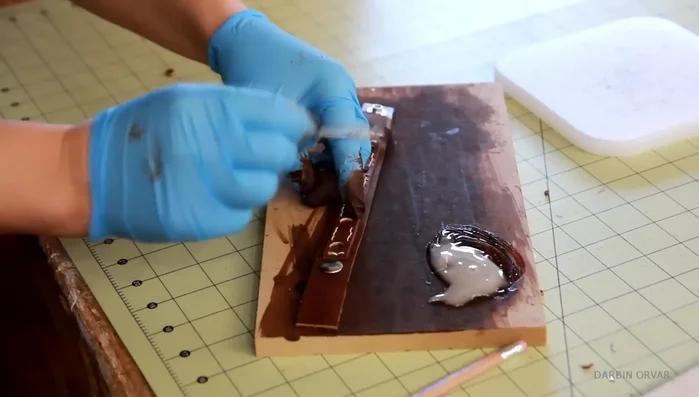
- Apply rubber cement to join leather strips.
- Punch holes through both layers; sew with contrasting hemp thread.
Join Leather Strips Secure Magnets
- Glue magnets in place using epoxy.
Secure Magnets Finish and Seal
- Apply top coat to seal dye and protect leather.
Finish and Seal

Read more: DIY Tiered Tassel Earrings: A Quick & Easy Jewelry Tutorial
Tips
- Use oil-based dye for a unique finish.
- For riveted snaps, use metal plate & firm pressure for a good fit.
- Contrasting stitching enhances the leatherwork.
- Epoxy provides strong magnet adhesion.