Attract a vibrant array of feathered friends to your garden with a charming, handcrafted birdhouse! Building your own log cabin-style birdhouse is a surprisingly simple and rewarding project, perfect for beginners and seasoned DIY enthusiasts alike. This unique design offers a rustic appeal, blending seamlessly with natural surroundings while providing a safe and cozy haven for nesting birds. Forget expensive, mass-produced options; creating your own allows for personalization and the immense satisfaction of knowing you built a home for wildlife. You'll be surprised by how easily accessible the materials are and how quickly this project comes together.
This quick and easy guide will walk you through each step of the process, from gathering materials to the final touches. Get ready to unleash your inner craftsman and learn how to construct a beautiful and functional log cabin birdhouse that will become a delightful feature in your garden, attracting birds for years to come. Let’s get started!
Preparation and Safety Guidelines
- Cedar fence picket
- Table saw (or hand saw)
- Brad nailer (or nails, screws, glue)
- Hole saw or Forstner bit (1 1/2" for bluebirds)
- Measuring tape
- Sandpaper
- Wood glue
- Ice screws
- Twine or string
- Copper wire
- Always supervise children around tools and sharp objects. Birdhouses should be built by adults or with close adult supervision.
- Use appropriate safety gear, such as safety glasses, when using tools like saws and drills.
- Ensure all wood is properly dried and free from splinters before use to avoid injuries to birds.
Step-by-Step Instructions
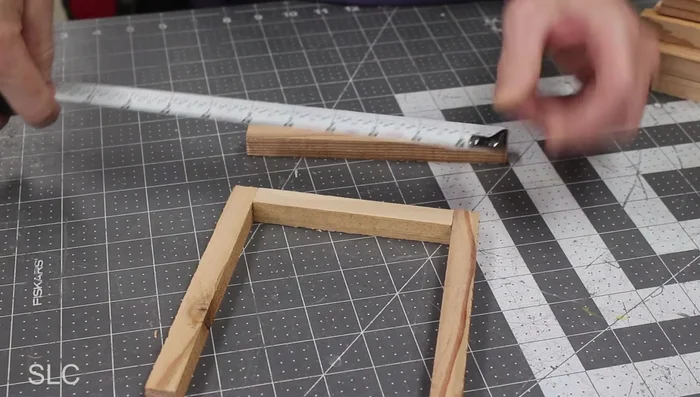
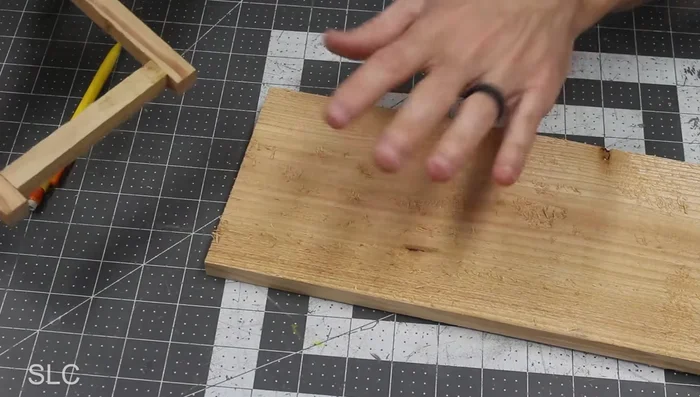
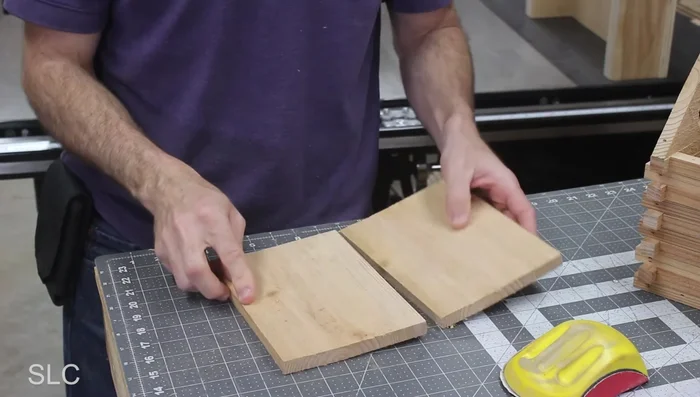
Prepare the Wood Strips
- Determine picket thickness and cut strips.
- Cut down a section of the board to 6 1/2 inches and rip down strips (aim for 8 initially, needing 20 total).
- Cut 20 pieces of 4 1/2 inches long.
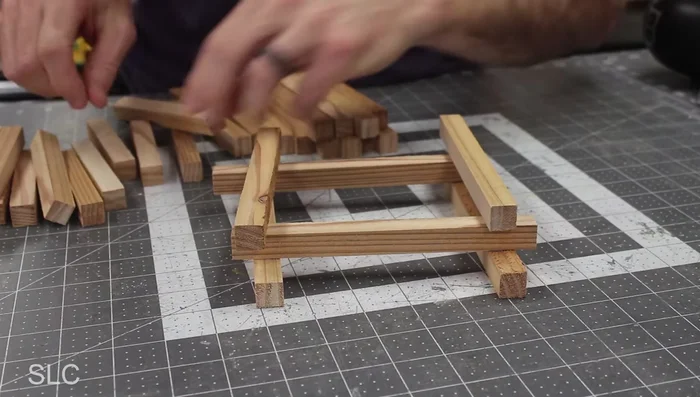
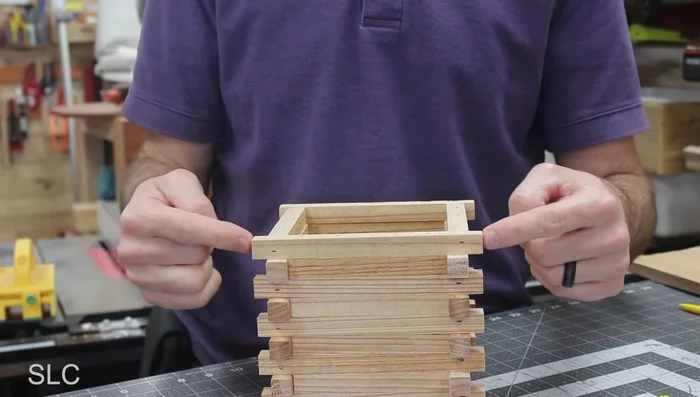
Assemble the Walls
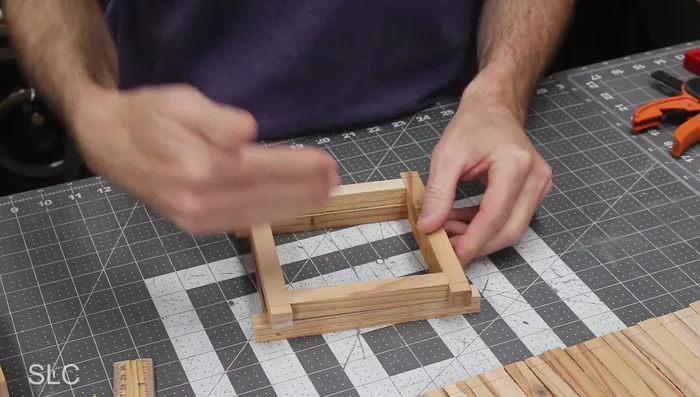
- Stack pieces in a 2x2 formation, interlacing smaller pieces to fill gaps. Smooth edges should face smooth edges.
- For each 6 1/2" piece, there should be a 3/8" overhang on each side.
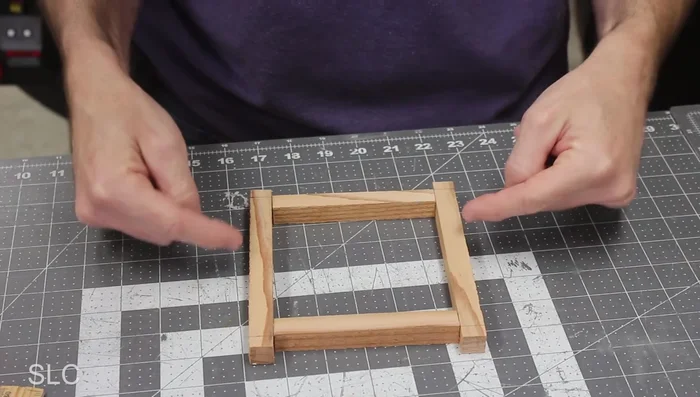
- Construct 2x2 squares, using a brad nailer (or your chosen method) to secure.
- Combine the squares, aligning the nicest sides to the front.

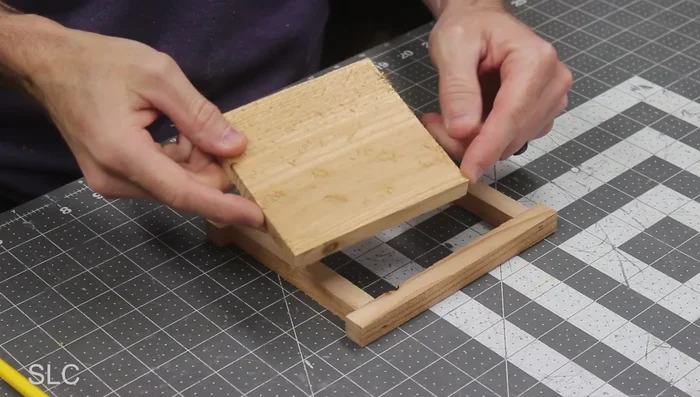
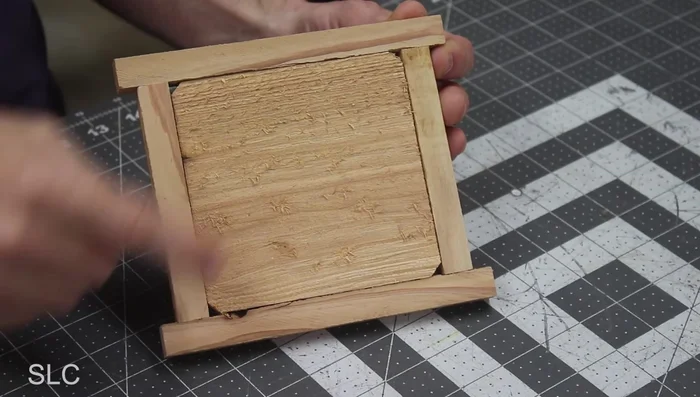
Assemble the Walls Create and Attach the Base
- Create the bottom piece from remaining picket; cut out hole for bird entrance.
- Cut off four corners of bottom piece for drainage.
- Attach bottom piece using brad nails.
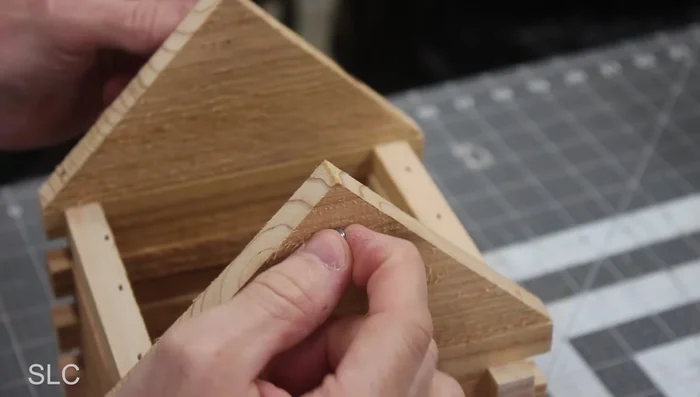
Create and Attach the Base Add the Front and Roof
- Create the front and back pieces (triangular roof pieces), ensuring a 6 1/2" base.
- Drill 1 1/2" hole in the front piece for the bird entrance (crucial for bluebirds).
- Attach front and back using glue and brad nails.
- Construct the roof (7 1/2" - 8" long pieces) and attach, leaving it removable for cleaning.
Add the Front and Roof - Install ice screws at the back and front of roof for hanging twine.
Add the Front and Roof

Read more: Build a Stunning Black Walnut Coaster Set: The Ultimate Furniture Protector
Tips
- Make sure your strips are as straight as possible.
- If the squares aren't perfectly square, offset any imperfections to the back.
- Use tape on twine to easily thread it through a small hole.