In a world of mass-produced accessories, expressing individuality is more important than ever. Keyrings, those everyday essentials, often become a silent reflection of our personalities. Why settle for a generic, store-bought keyring when you can craft a truly unique piece that showcases your creativity and personal style? This guide delves into the rewarding process of creating a stunning live edge keyring, a miniature masterpiece that will undoubtedly turn heads and spark conversation. The natural beauty of the wood, combined with a simple yet effective crafting process, makes this project perfect for both seasoned crafters and enthusiastic beginners.
This project allows you to harness the organic beauty of wood's natural edge, resulting in a keyring as individual as your fingerprint. We'll be utilizing readily available materials and straightforward techniques, making this a manageable and highly satisfying endeavor. Ready to transform a piece of wood into a stylish and personalized accessory? Let's dive into the step-by-step instructions and begin crafting your unique live edge keyring!
Preparation and Safety Guidelines
- Keyring
- Eye hook
- Piece of wood (exotic hardwood recommended)
- Band saw
- Band facer or disc sander (optional)
- Block plane
- Sandpaper
- Wood finish (food-safe recommended)
- Always wear safety glasses when working with wood, especially when sanding or using power tools. Wood dust can be irritating and eye injuries are a serious risk.
- Use caution when handling sharp tools like knives or chisels. Work slowly and deliberately to avoid cuts.
- Ensure the wood is properly sealed with a food-safe finish if the keyring will come into contact with food or drink. Untreated wood can harbor bacteria.
Step-by-Step Instructions
Gather Materials
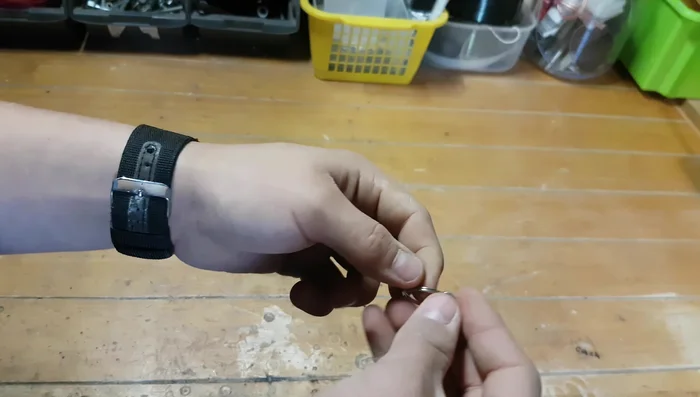
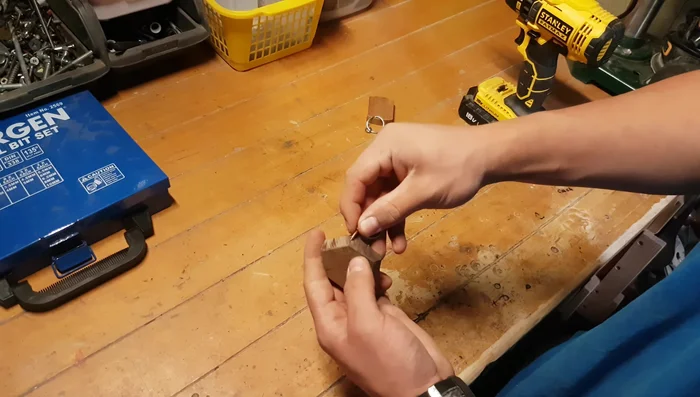
- Find a keyring and eye hook.
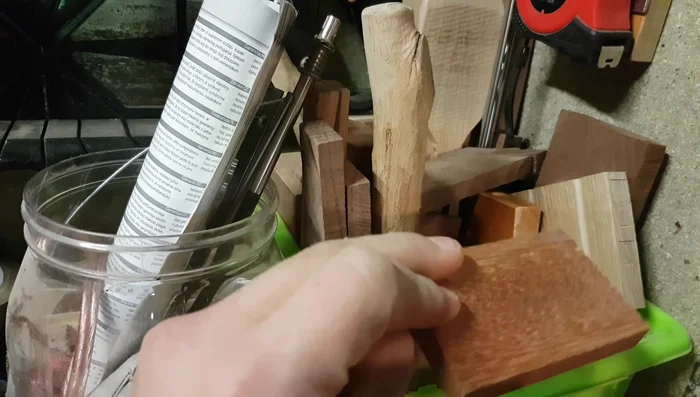
- Select a piece of wood (exotic hardwoods or live edge pieces are recommended).

Gather Materials Design and Cut
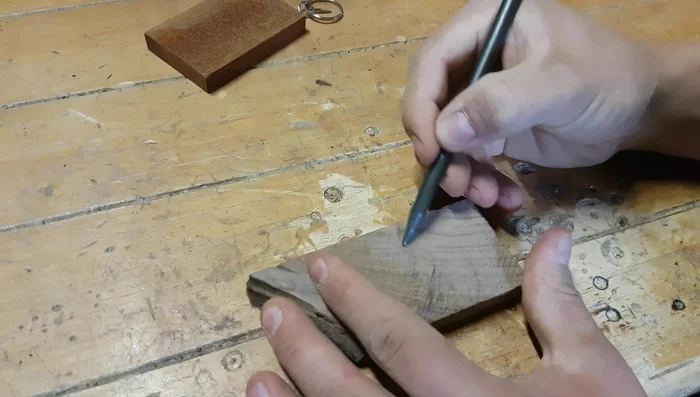
- Sketch your design onto the wood.
- Cut out the design using a band saw.
Design and Cut Refine the Shape
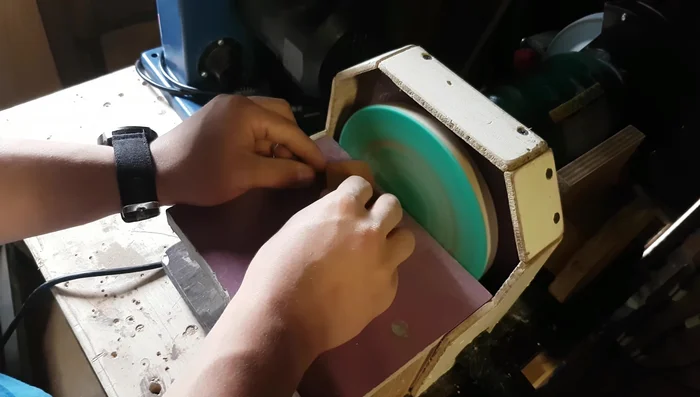
- Straighten the edges using a band facer, disc sander, block plane, and sandpaper.
Refine the Shape Attach Hardware
- Attach the eye hook.
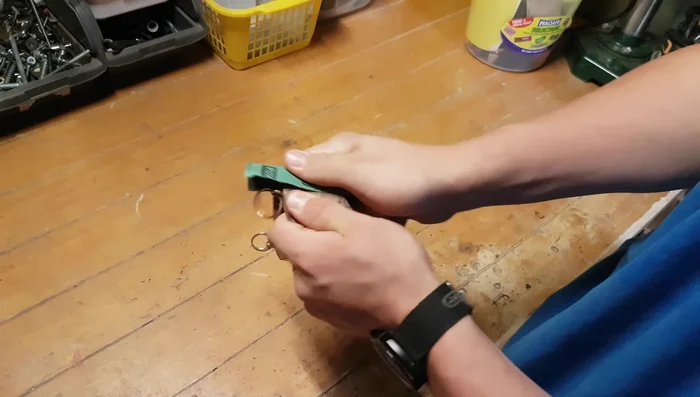
Attach Hardware Sand and Finish
- remove the eye hook before sanding).
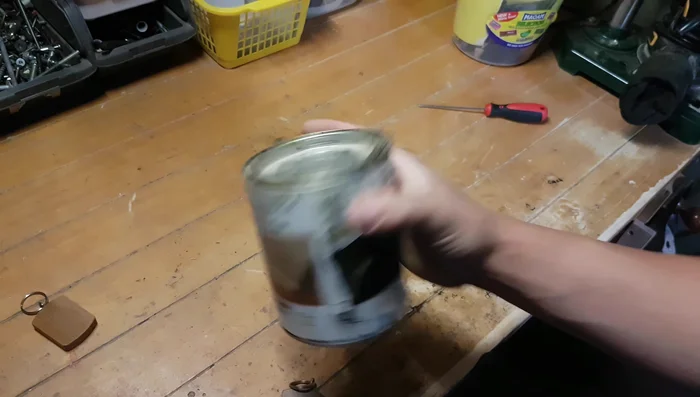
- Apply a wood finish (food-safe recommended).
Sand and Finish

Read more: Build a Stunning Black Walnut Coaster Set: The Ultimate Furniture Protector
Tips
- Cracked and live edge pieces of wood add more visual interest.
- Even normal wood can become interesting with a unique design.
- If advanced tools aren't available, use a block plane and sandpaper.
- Food-safe finish is not strictly necessary.