Tired of cluttered countertops and endlessly searching for the right knife? A DIY knife block is the perfect solution, offering both stylish storage and easy access to your culinary tools. But why stop at simple storage? This guide elevates the humble knife block to the next level, incorporating a convenient cookbook holder for seamless recipe referencing while you cook. Imagine effortlessly transitioning between chopping vegetables and checking your recipe, all within arm's reach. This upgrade not only enhances your kitchen's aesthetic but streamlines your workflow, making cooking a more efficient and enjoyable experience.
This ultimate guide provides a comprehensive, step-by-step walkthrough to constructing your very own custom knife block with integrated cookbook holder. From selecting the right materials to mastering the finishing touches, we’ll equip you with all the knowledge and instructions you need to build this fantastic kitchen addition. Let's get started and create the perfect culinary companion!
Preparation and Safety Guidelines
- Jointer
- Planer
- Table Saw
- Chop Saw
- Flush Cut Saw
- Band Saw
- Router
- Clamps
- Orbital Sander
- Sanding Block
- Tack Cloth
- 100% Pure Tung Oil
- Scrap of Teak
- Always use appropriate safety glasses and a dust mask when cutting, sanding, or staining wood. Wood dust is harmful if inhaled.
- Exercise extreme caution when handling sharp knives. Never force a knife into the block; ensure proper fit to avoid injury.
- Ensure the knife block is stable and securely attached to the surface before use. A poorly constructed or placed block could lead to knives falling and causing injury.
Step-by-Step Instructions
Preparing the Basswood
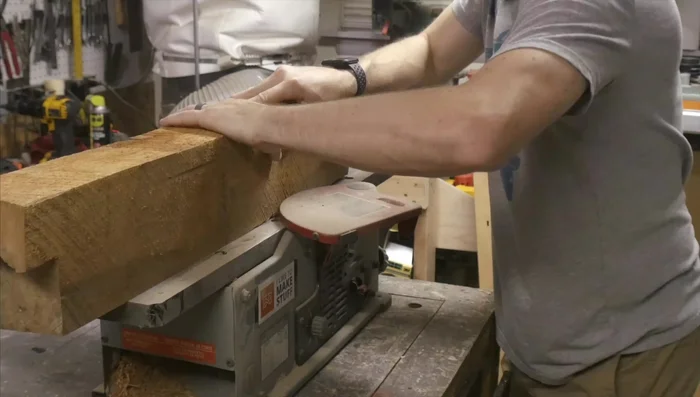
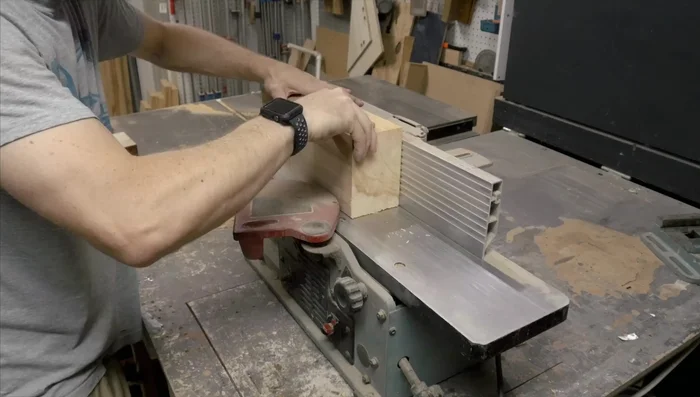
- Clean and flatten one face of a Basswood board using a jointer.
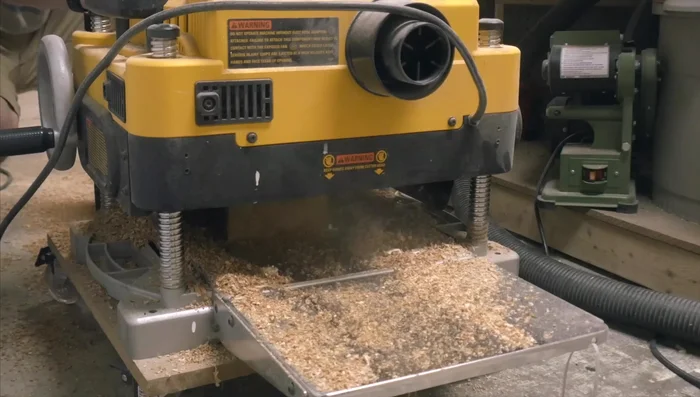
- Plane the two wide sides of the board.
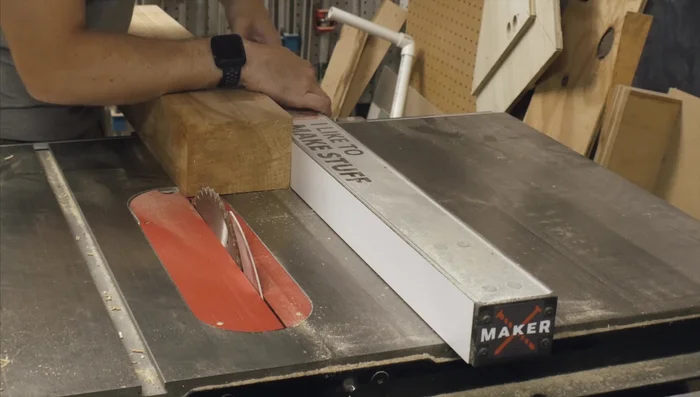
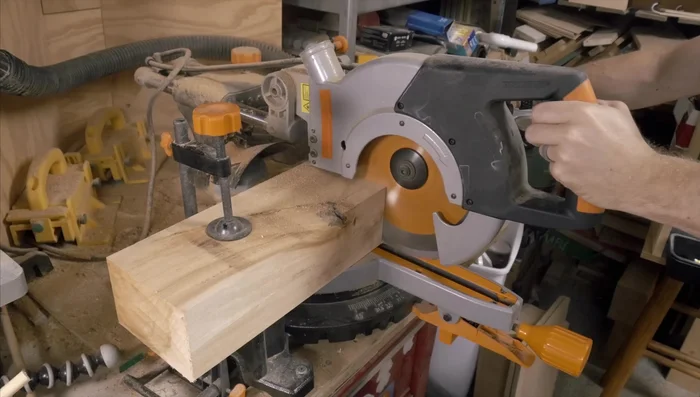
- Clean up the opposite edge using the table saw fence.
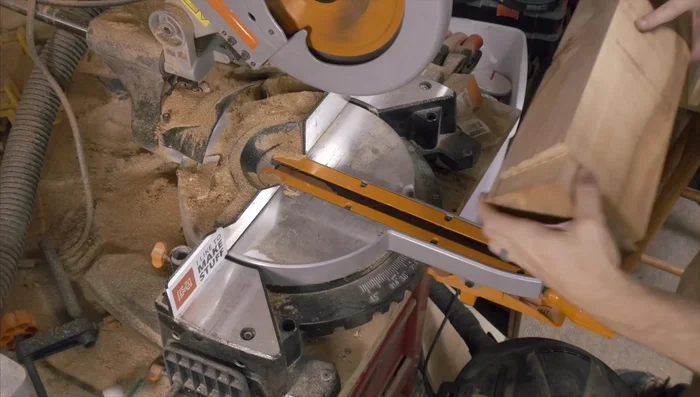
- Clean up one end of the board using a chop saw.

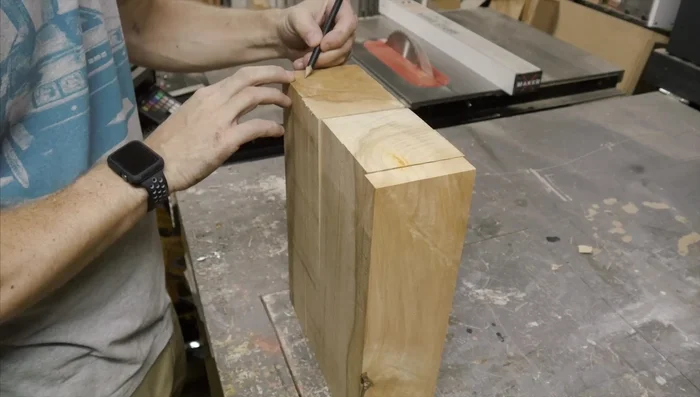
Preparing the Basswood - Cut the first Basswood piece to length. Use it as a guide to mark and cut the second piece to the same length.
- Use a flush cut saw to trim any excess wood from the cuts.
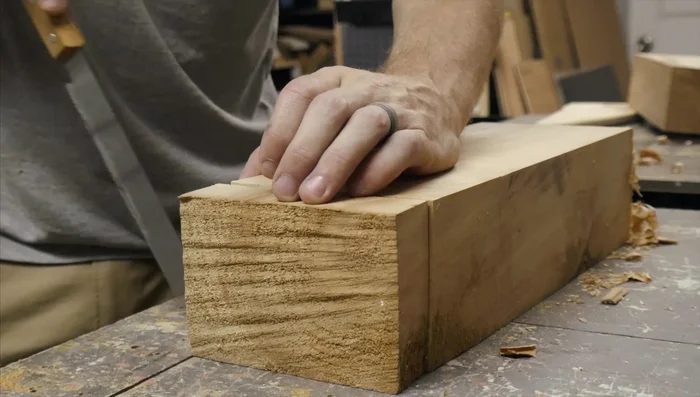
- Check the pieces for squareness and use the jointer to correct any discrepancies.
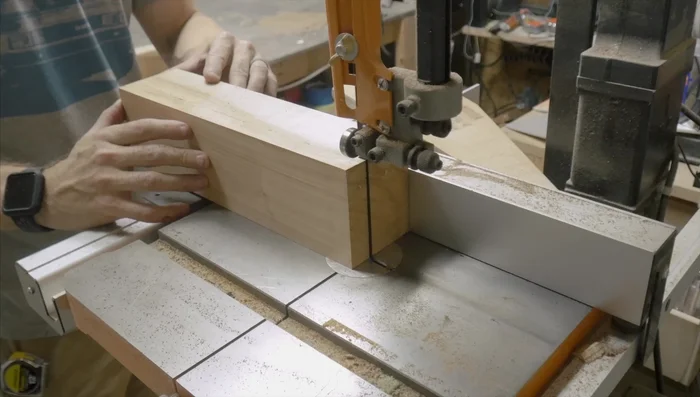
Preparing the Basswood Marking and Cutting Knife Slots
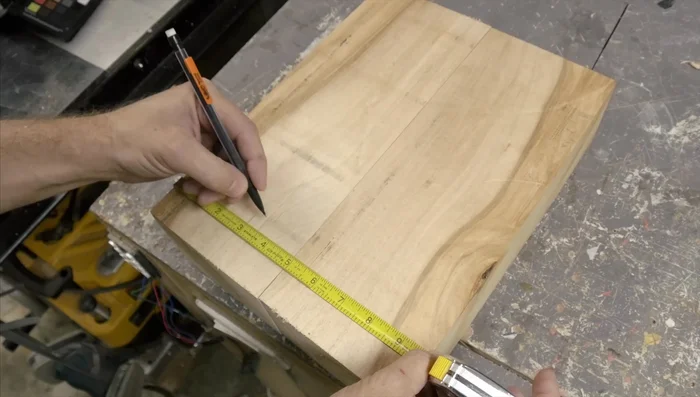
- Mark six lines across the width of both pieces to guide the cuts for the knife slots. Number the lines to remember the order.
- Cut along the marked lines with the band saw, creating 2-inch segments with 1-inch side segments.
- Reassemble the pieces in the correct order. Mark the location for the knife slots.
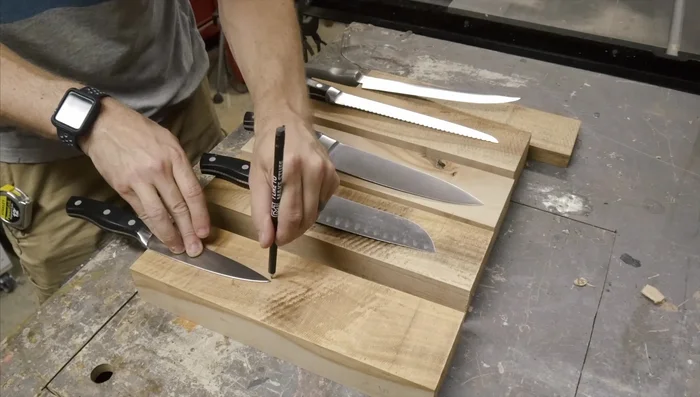
Marking and Cutting Knife Slots Creating Knife Slots
- Place knives in their designated slots, trace their outline (only the top opening needs to be precise), and use a router with a guide to cut out the slots.
- Test-fit each knife blade to ensure proper fit and adjust as needed.
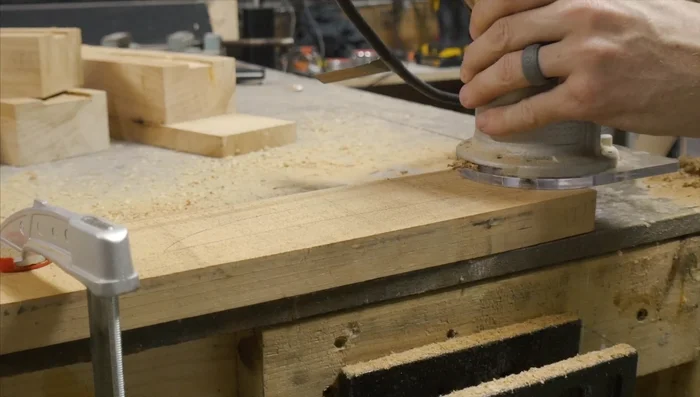
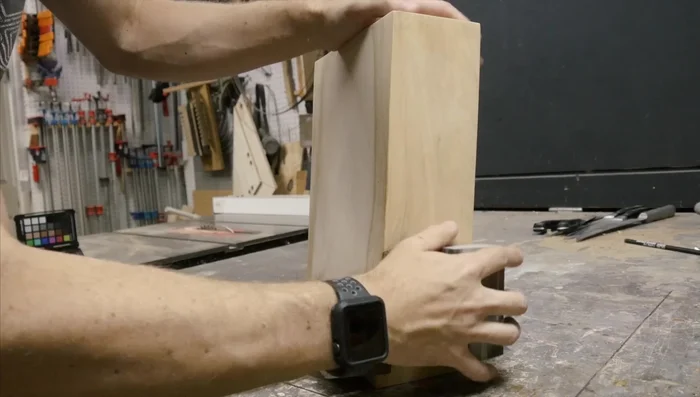
Creating Knife Slots Assembling the Knife Block
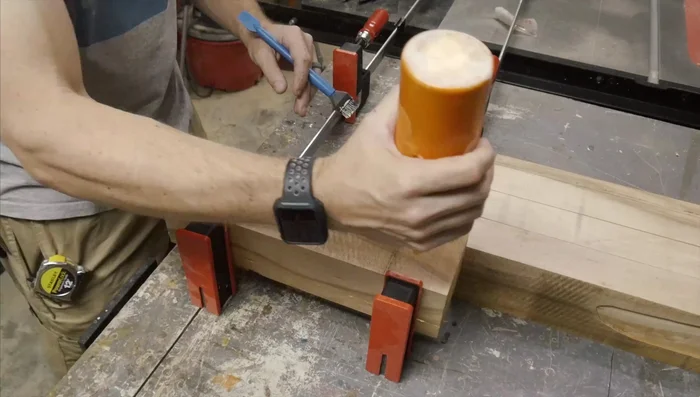
- Glue the pieces together, ensuring a tight fit and using clamps for even pressure.
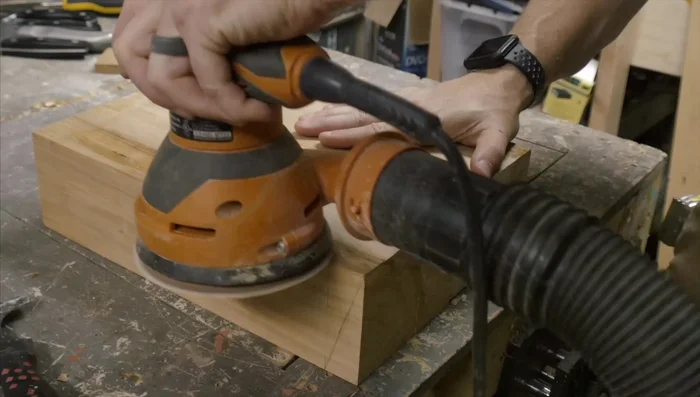
- After the glue dries, remove excess glue squeeze-out with a scraper. Sand the knife block using 150-grit and then 220-grit sandpaper.
Assembling the Knife Block Preparing and Attaching the Cookbook Shelf
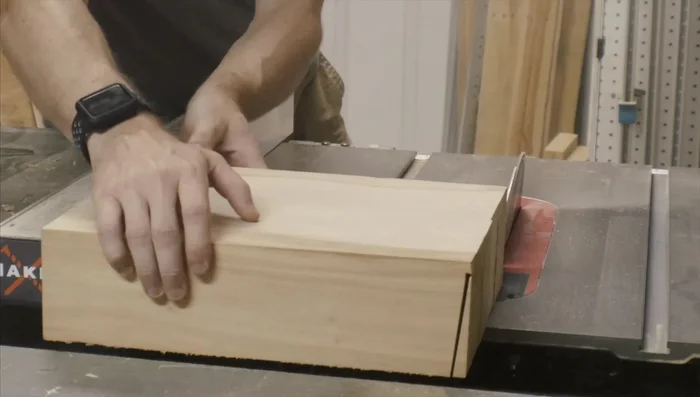
- Prepare the shelf piece from scrap teak by cutting it to width.
- Create a bevel on one end of the knife block using the table saw.
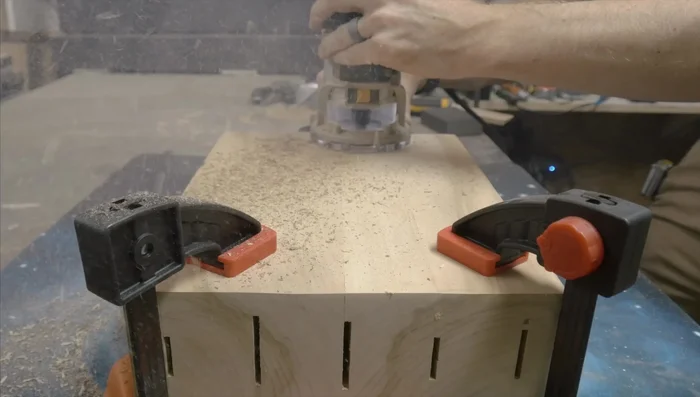
- Route out a slot for the shelf on the front of the knife block.
- Glue and install the shelf piece.
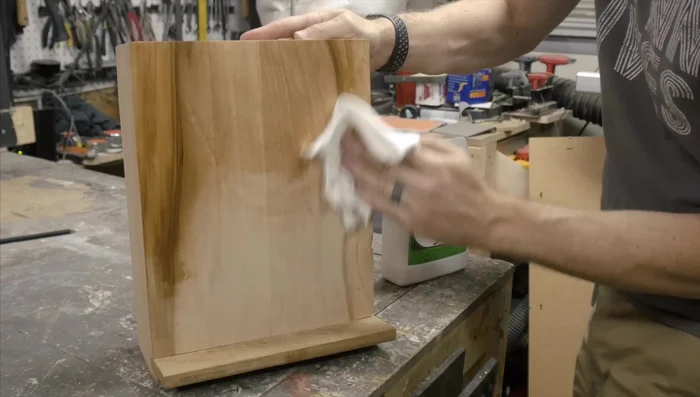
Preparing and Attaching the Cookbook Shelf Finishing
- Sand all the corners and wipe with a tack cloth to remove sawdust.
- Apply a thick coat of 100% pure tung oil to the entire knife block, including the slots at the top.
Finishing


Read more: Build a Stunning Black Walnut Coaster Set: The Ultimate Furniture Protector
Tips
- Use a flush cut saw to clean up any imperfect cuts from the chop saw or band saw.
- Precise measurements and squareness are crucial for a professional-looking finished project. Use your jointer to correct any inconsistencies.
- Test-fit each knife frequently to ensure the routed slots are appropriate before completely finishing all the slots.
- Use plenty of clamps to ensure a tight, even glue-up.
- Remove as much excess glue as possible before sanding to avoid problems later.