Express your unique style with the vibrant world of DIY snaps jewelry! This exciting craft allows you to create personalized necklaces, bracelets, and earrings featuring interchangeable charms, offering endless possibilities for self-expression. Imagine a jewelry collection that adapts to your mood, outfit, or even the season – all without breaking the bank. From delicate floral designs to bold geometric patterns, the creative potential is truly limitless. The beauty of snaps jewelry lies in its simplicity and adaptability, making it a perfect project for beginners and seasoned crafters alike.
This guide will walk you through the captivating process of creating your own stunning snaps jewelry, from selecting the perfect snaps and charms to assembling your first breathtaking piece. Prepare to unlock your inner artisan as we delve into a step-by-step tutorial, empowering you to design and build a jewelry collection as unique as you are.
Preparation and Safety Guidelines
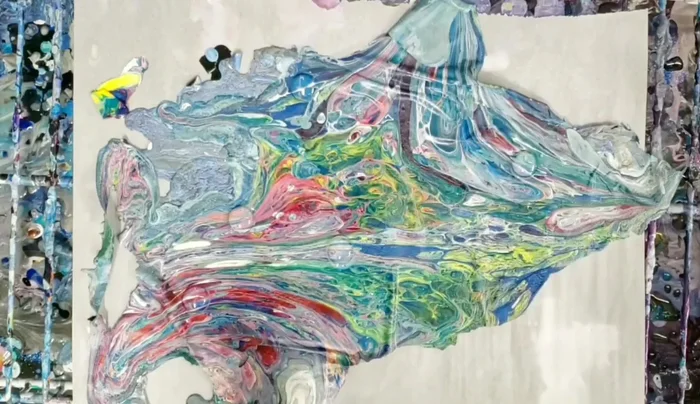
- Acrylic Skin
- 20 millimeter snaps kits (with glass pieces and snaps)
- Jewelry Glue (e.g., Fantastic Glaze and Glue, E6000)
- Scissors
- Always supervise children when using small jewelry-making components like snaps and charms. Small parts pose a choking hazard.
- Be mindful of sharp tools, like jewelry pliers. Use caution and consider wearing safety glasses to protect your eyes.
- Before wearing any DIY jewelry, ensure all snaps and components are securely fastened to prevent accidental detachment and potential loss or injury.
Step-by-Step Instructions
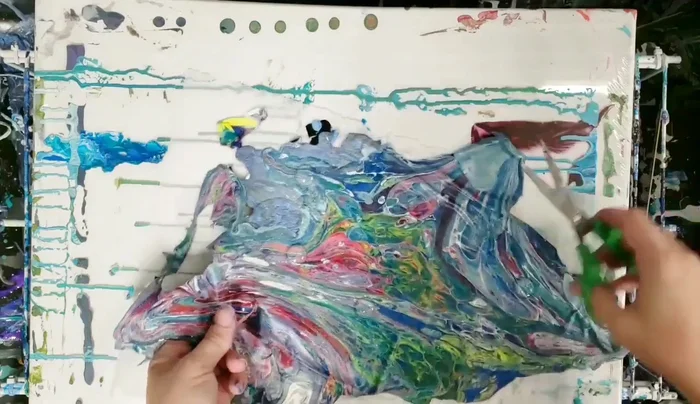
Prepare Acrylic Pieces
- Apply glue to the back of the acrylic skin pieces where you want to place the charms.
- Let the glue dry.
- Carefully cut out the glued shapes.

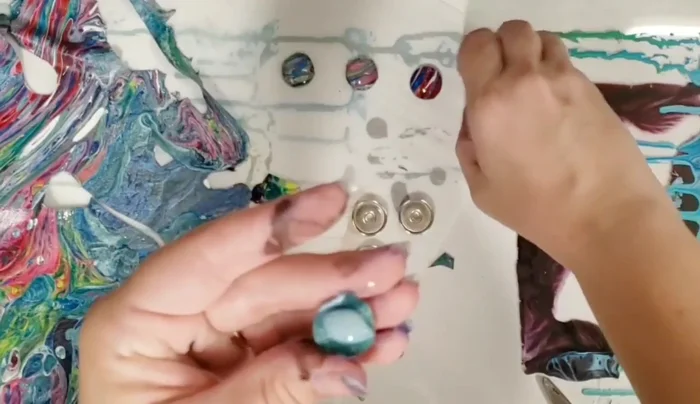
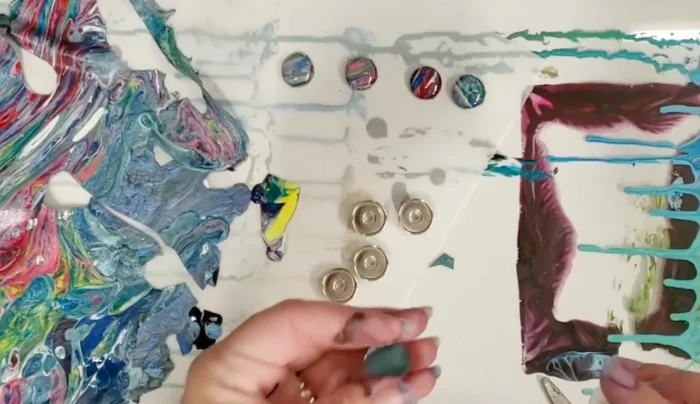
Prepare Acrylic Pieces Attach Charms to Snaps
- Apply a small amount of glue to the back of each cut-out piece.
- Press the glued pieces firmly into the snaps.
- Let the glue dry for several days for optimal durability (though a few hours is shown in the video for demonstration purposes).
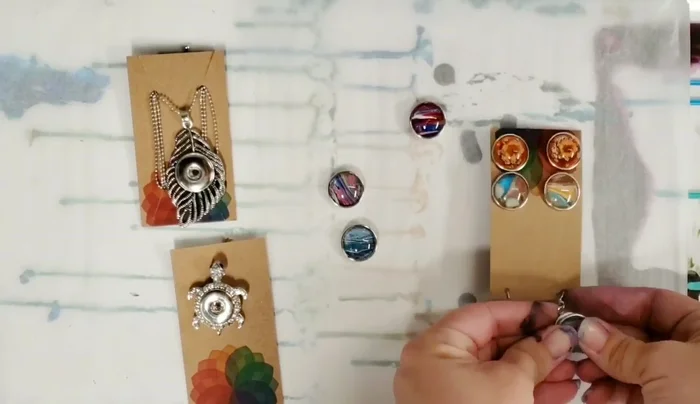
Attach Charms to Snaps Assemble Jewelry
- Snap the finished charms into the desired jewelry base (necklaces, earrings, bracelets, etc.).
Assemble Jewelry

Read more: DIY Tiered Tassel Earrings: A Quick & Easy Jewelry Tutorial
Tips
- A little acrylic skin goes a long way.
- If using acrylic skin with silicone, clean it off before gluing.
- E6000 jewelry glue is recommended for more durable results.
- Press the charms firmly into the snaps to ensure a secure bond.